
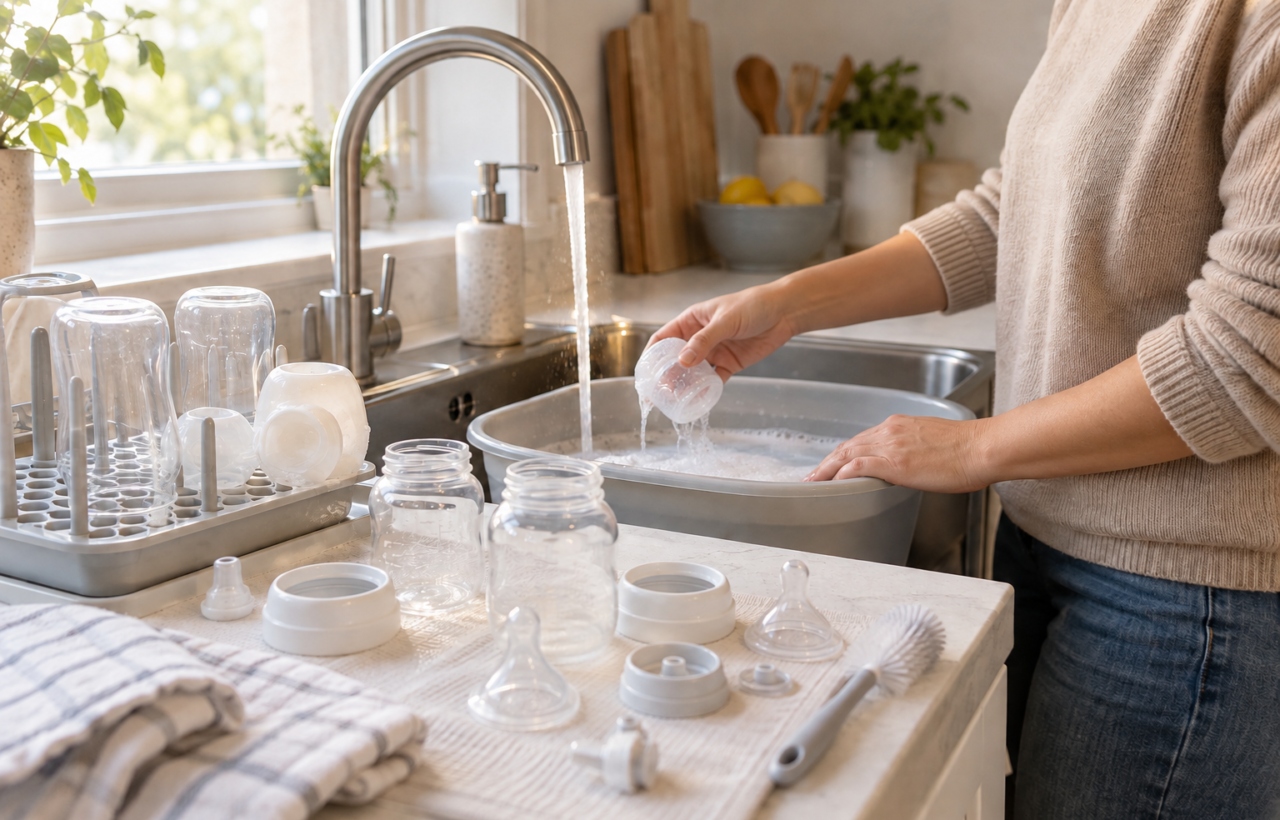
You have a used bottle in one hand, a baby who may want it again soon, and several possible ways to clean it. The safest routine is not necessarily the one with the most equipment. It is the one you can complete properly after every feed.
Treat washing, sterilising, drying and storage as separate jobs. Once you know what each job does, you can build a routine around hand washing, your dishwasher or a dedicated bottle washer without assuming that one machine handles everything.
Key takeaways
- Cleaning comes first. Sterilising cannot remove milk residue from a bottle that was not washed properly.
- Take every bottle apart before washing it, including the nipple, collar, valve, cap and any removable inserts.
- Use a dishwasher only for components labelled dishwasher-safe, and follow their placement instructions.
- A bottle washer may wash, dry or sterilise, but the available functions vary by model. Check what the selected cycle actually does.
- Let every component dry completely in a clean area before closing it up or putting it away.
- Follow local public-health and manufacturer guidance on sterilising frequency. Ask your baby’s care team for individual advice if your baby was born prematurely, has an immune-system concern or is otherwise medically vulnerable.
Build a cleaning routine that leaves no hidden milk behind
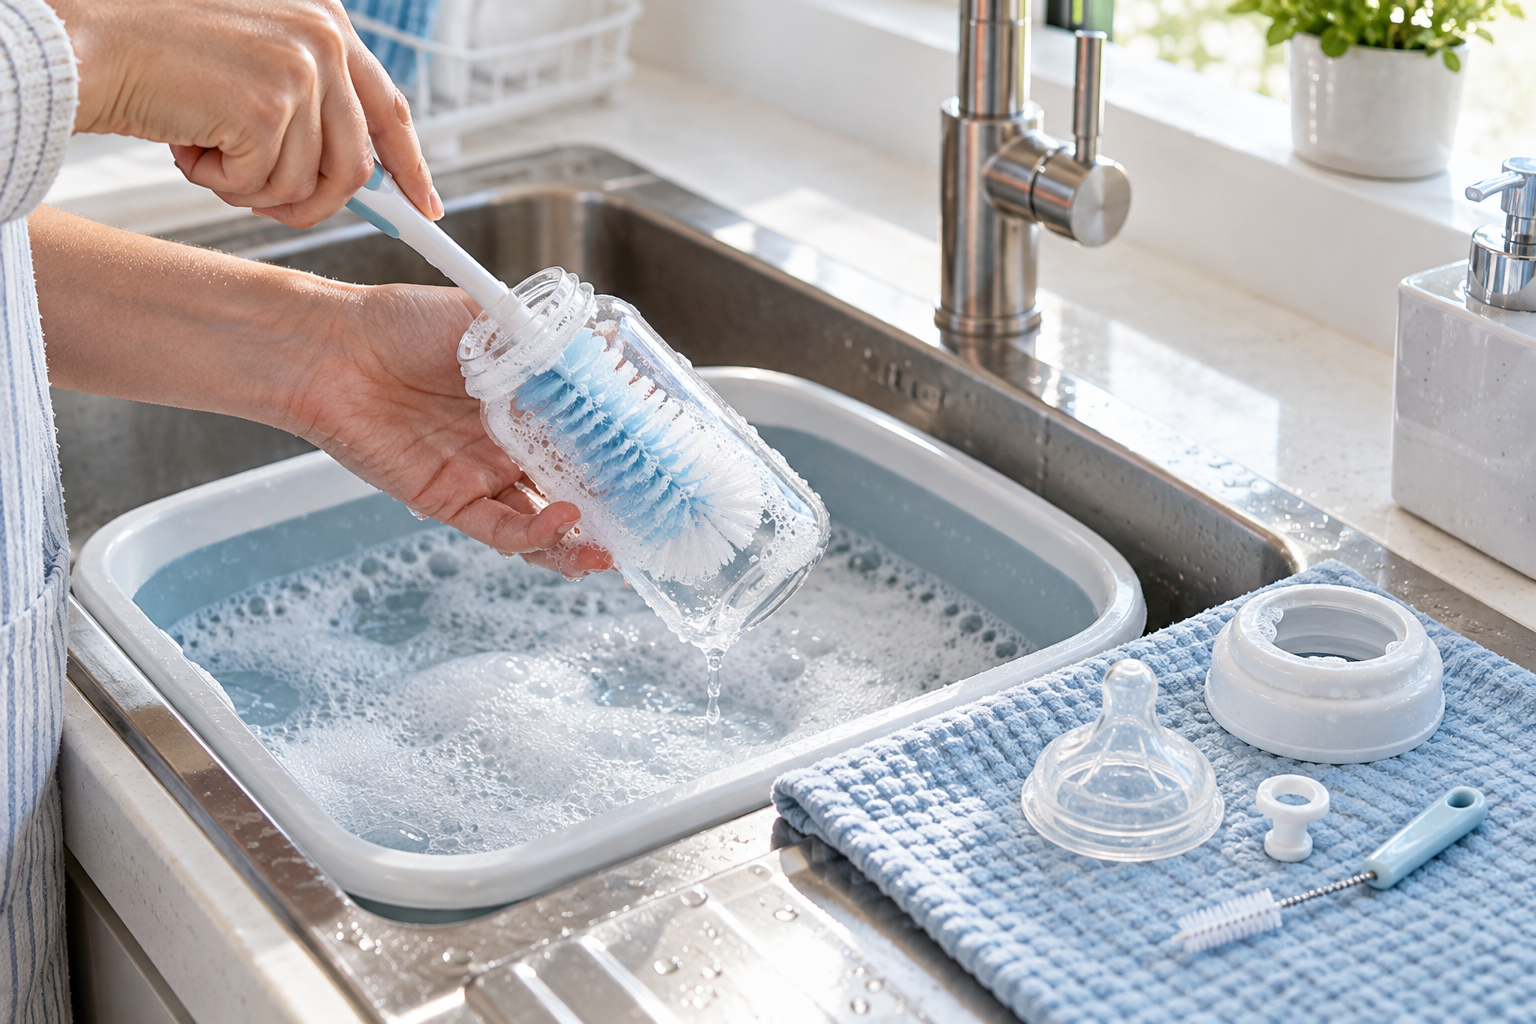
Cleaning removes milk, formula and other visible residue. Sterilising is a later step intended to reduce microorganisms. If a film remains inside the bottle, around a valve or beneath a collar, running a sterilising cycle does not correct the incomplete wash.
- Wash your hands. Start with clean hands before touching the bottle or its freshly cleaned parts.
- Disassemble the bottle completely. Separate every removable component. Milk can collect where pieces overlap, so washing an assembled bottle leaves surfaces untreated.
- Rinse away loose residue. Do this before residue dries into seams, threads and narrow openings.
- Wash each piece. Use clean soapy water, a clean basin reserved for feeding equipment and a dedicated brush that can reach the bottom and sides of the bottle. Clean around threads, valves and nipple openings rather than concentrating only on the large surfaces.
- Rinse thoroughly. Use clean water and make sure soap and loosened residue are gone from every component.
- Inspect before moving on. Hold parts where you can see the inner surfaces. Rewash anything that still feels greasy or shows residue.
- Air-dry completely. Place the parts on a clean drying rack where air can circulate. Avoid rubbing them with a household dish towel, which can transfer lint or contamination back to the clean surfaces.
Keep the brush and basin clean and allow them to dry between uses. They are part of the feeding system too: a bottle cannot come out cleaner than the tools repeatedly used inside it.
Sterilise only after the bottle is visibly clean
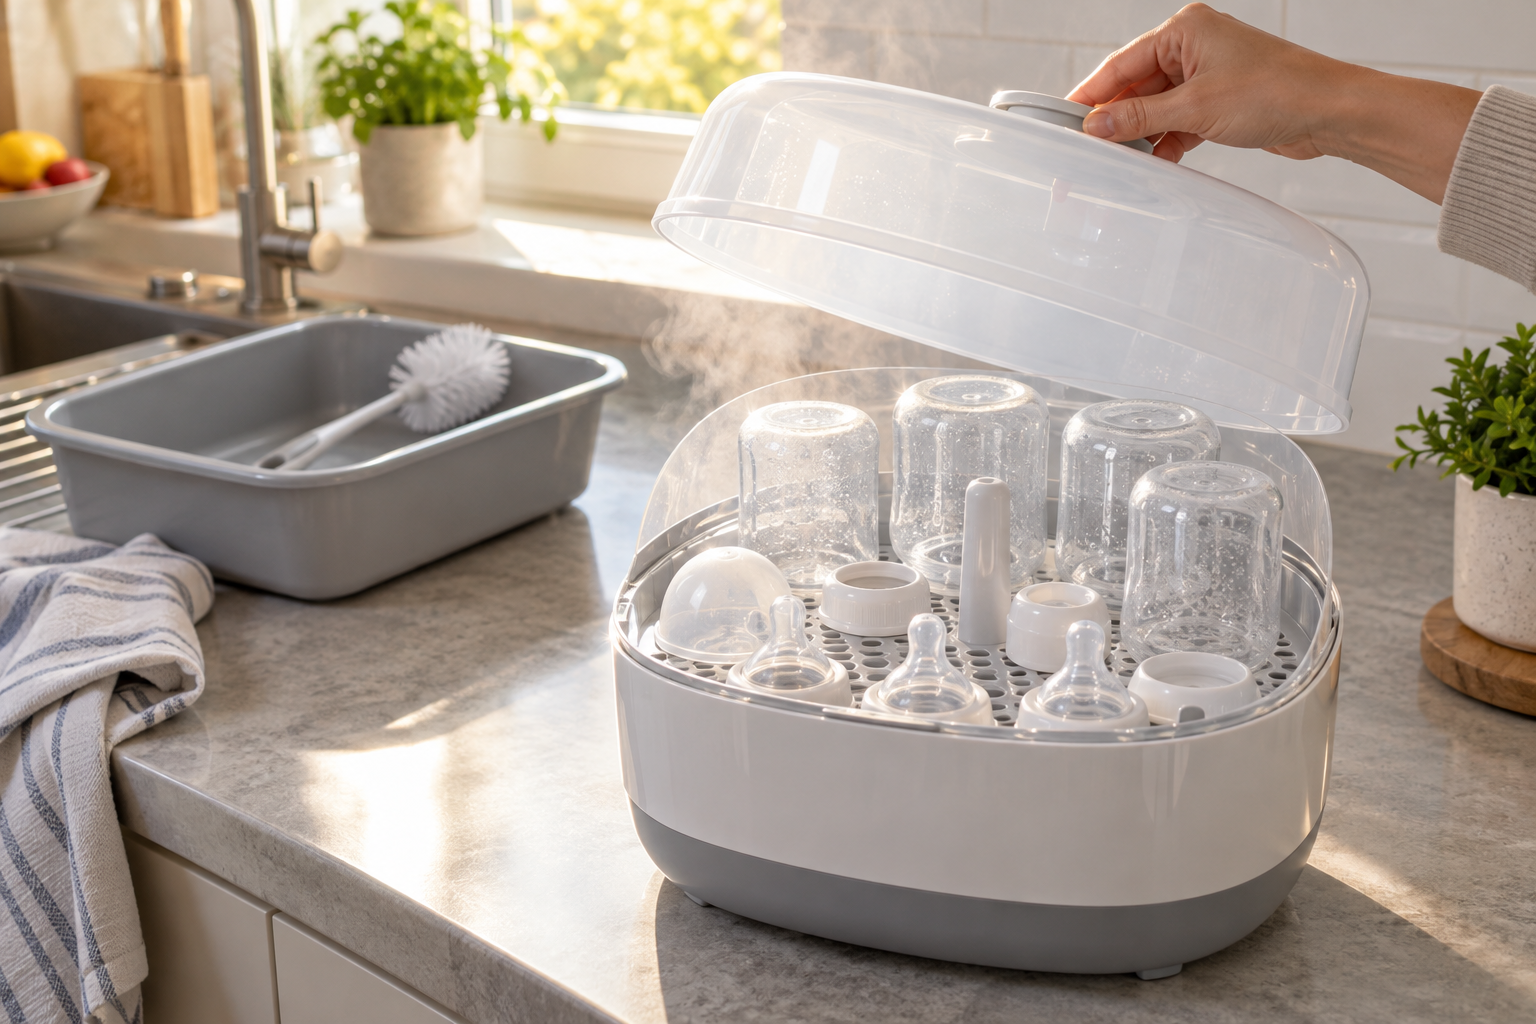
Sterilising is an additional hygiene step, not a stronger form of washing. Clean the bottle first even when your steriliser or bottle washer has a cycle labelled for sterilising.
Common methods include steam appliances, microwave steam systems, boiling where the bottle manufacturer permits it, and cold-water sterilising products. Each method has its own loading, preparation, contact-time and handling instructions. Follow those instructions exactly instead of transferring settings from one method or product to another.
Do not assume that a hot wash, heated drying cycle or ordinary dishwasher program is automatically a sterilising cycle. Look for an explicit sterilising or sanitising function in the appliance manual, confirm that your bottle parts tolerate it, and use the required cycle rather than judging by how warm the parts feel afterward.
Advice about how long families should continue sterilising is not identical in every place or for every baby. Your local public-health guidance, your baby’s health and the feeding equipment instructions should set the rule. If your baby was premature, is immunocompromised or has another medical vulnerability, get a specific recommendation from the clinician responsible for your baby’s care rather than relying on a general age cutoff.
Choose the setup by separating its four jobs
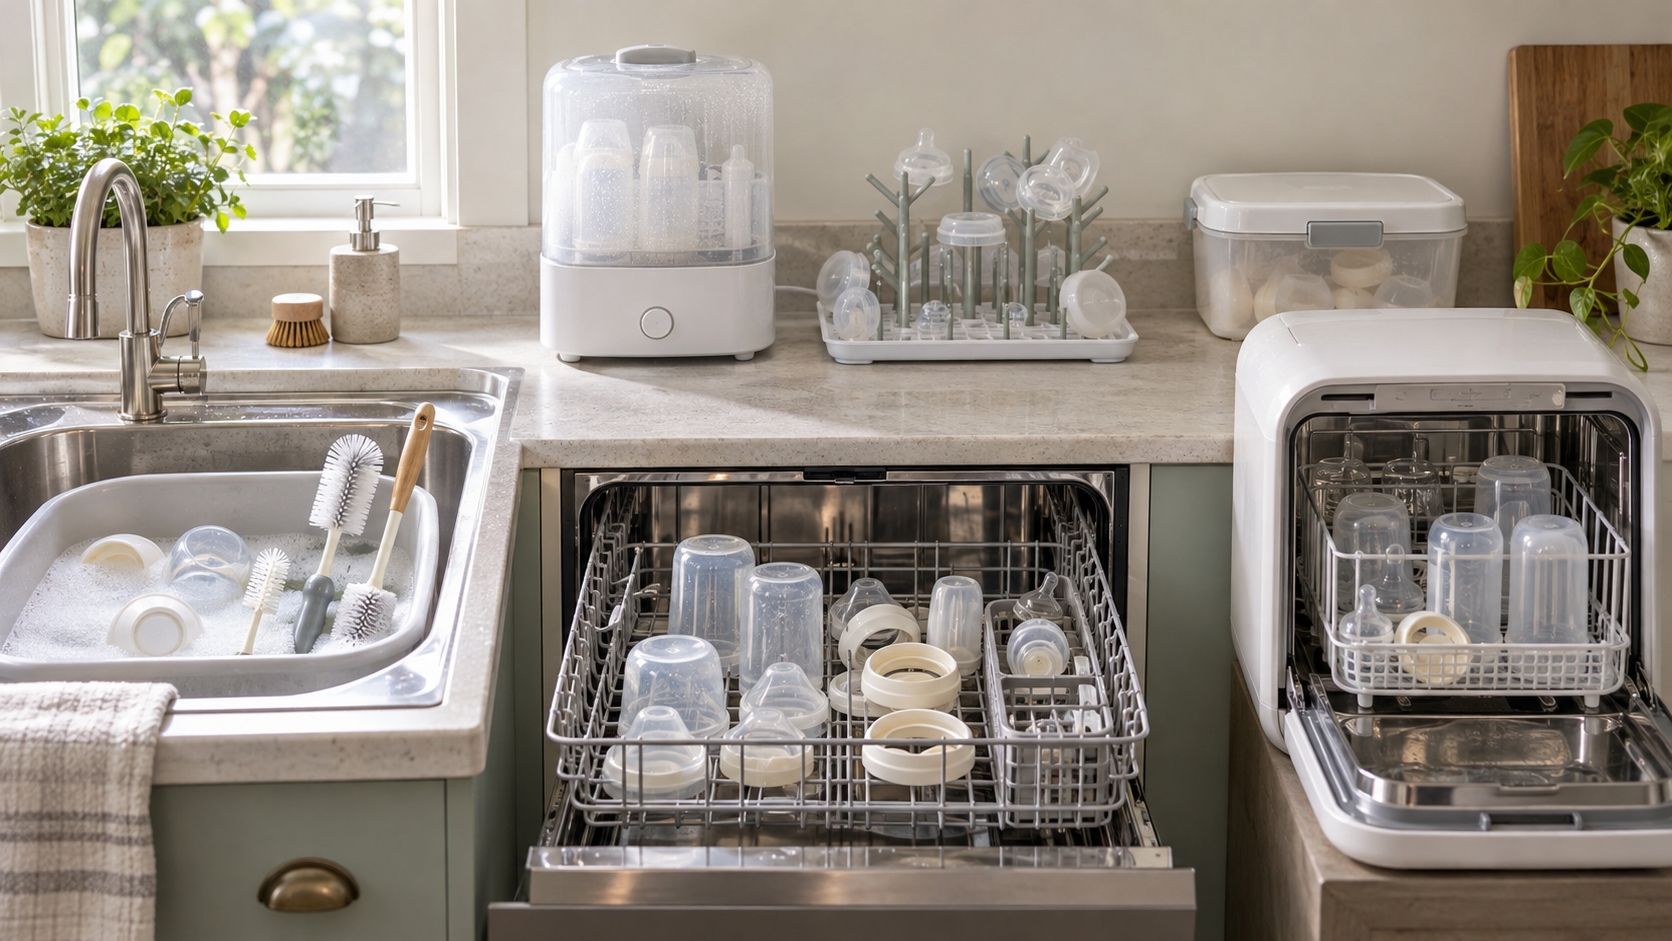
The useful comparison is not simply bottle washer versus dishwasher. Cleaning performance, sterilising, drying and convenience are distinct questions, and an appliance can be strong at one without performing the others.
Use a dishwasher when compatibility and loading are clear
A dishwasher can reduce hands-on washing when the bottle and every component are labelled dishwasher-safe. Separate the parts, place small pieces in a secure basket or other manufacturer-approved holder, and follow the stated rack-position instructions. A nipple, valve or insert that flips over, nests against another part or falls through a rack may not be cleaned as intended.
Check the appliance manual before treating its cycle as a sterilising step. When the cycle ends, wash your hands before unloading the parts and move them to a clean drying area if any moisture remains.
Consider a bottle washer for a dedicated workflow
A dedicated bottle washer may be useful when bottles account for much of your daily washing or when you want feeding parts kept separate from ordinary dishes. But the name alone does not tell you whether a model also sterilises or dries.
- Check the exact functions. Identify which cycle washes, which sterilises and which dries. Do not treat those labels as interchangeable.
- Check usable capacity. Count complete feeding sets, including collars, nipples, valves and pump-related inserts you intend to load, rather than counting bottle bodies alone.
- Check bottle compatibility. Confirm that the rack, jets and cycle are suitable for the material, shape and small components you own.
- Check maintenance. Filters, reservoirs, seals and other removable parts need their own cleaning routine. A machine does not eliminate maintenance; it changes where that work happens.
- Check the full turnaround. A fast wash is less helpful if you still need a separate sterilising step or a long period of open-air drying before the next feed.
Keep hand washing as a complete option
Hand washing remains practical when you have fewer bottles, limited counter space, incompatible parts or no suitable machine. Its weak point is usually inconsistency: a rushed wash can miss valves, threads and nipples. A dedicated basin, the right brush and a fixed order for disassembly, washing, inspection and drying make the process easier to repeat.
You can also combine methods. For example, you might wash dishwasher-safe bottle bodies in the dishwasher while cleaning delicate parts by hand, then sterilise the clean components using the method approved for them. What matters is that every part completes every required stage.
Prevent the clean bottle from becoming dirty again
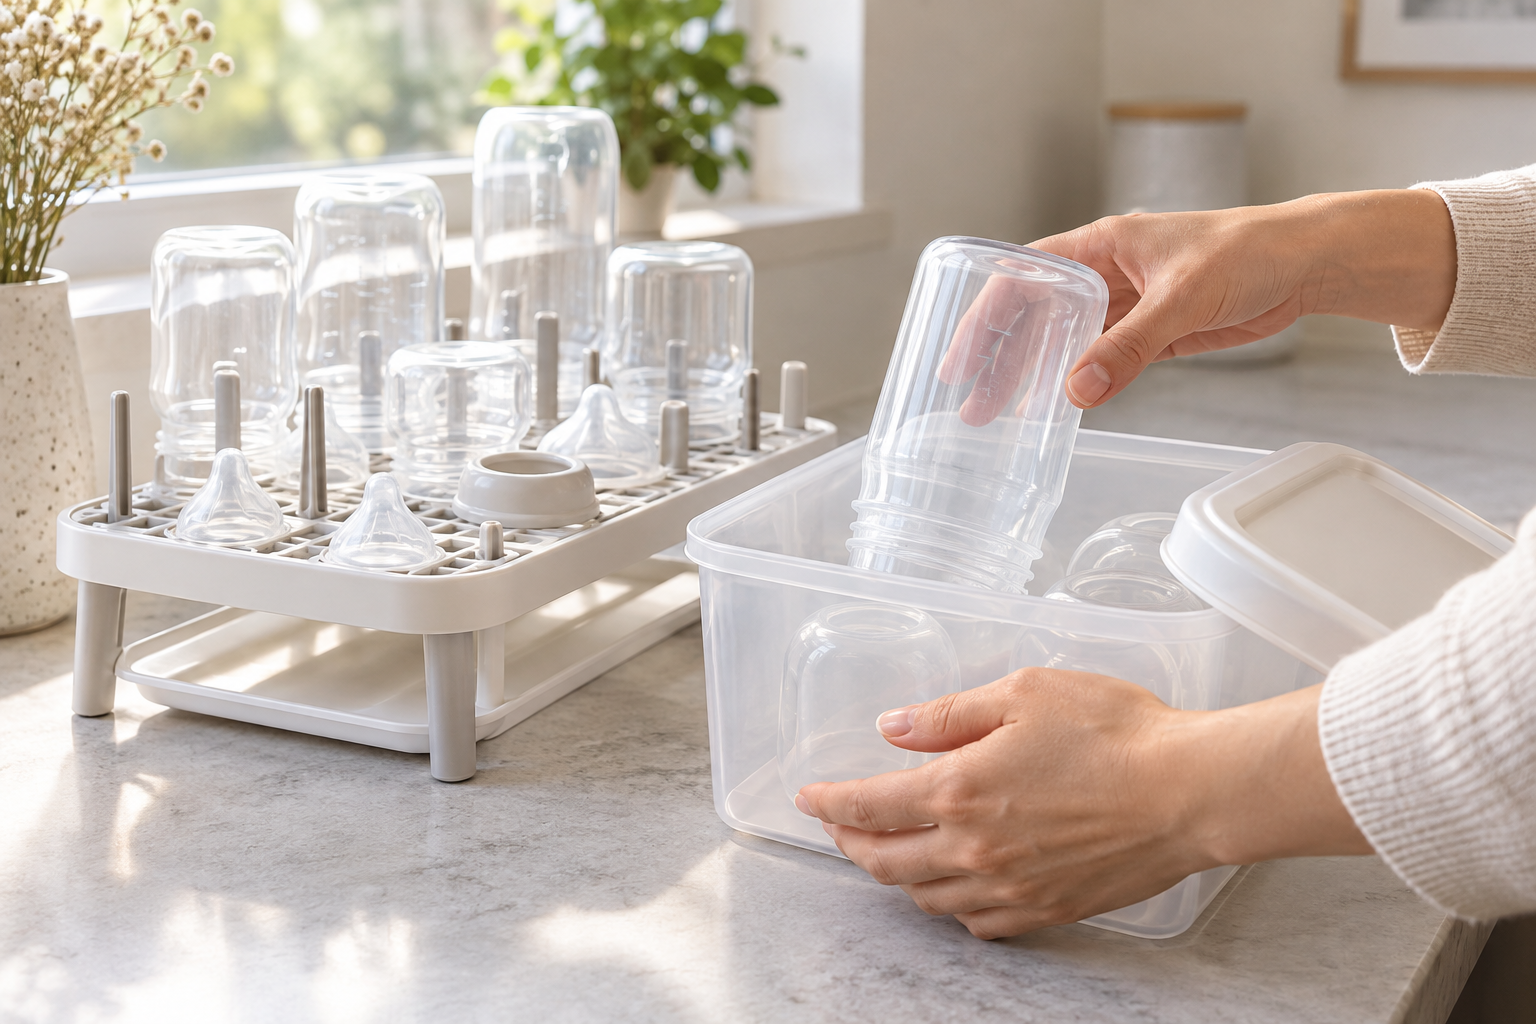
The final handoff matters. A clean bottle can be contaminated again by wet towels, an unclean counter, unwashed hands or contact with a dirty sink.
- Wash your hands before touching dry, clean components.
- Handle nipples and other parts by their outer surfaces where possible.
- Let pieces dry fully before assembly or storage; do not seal damp components inside a container or cupboard.
- Keep the drying rack away from splashes and food preparation mess.
- Store dry components in a clean, protected place.
- Rewash a component if it falls into the sink, onto the floor or onto a surface you would not consider clean enough for feeding equipment.
Inspect the equipment while it is apart. Replace a nipple, valve, seal or bottle that is torn, cracked, warped or cannot be cleaned properly, following the manufacturer’s replacement guidance. Damage is not only cosmetic when it creates a crevice that keeps trapping residue or prevents parts from fitting as intended.
For your next feed, start with one small systems change: put every bottle component, the dedicated brush and the drying rack in a clear workflow from used to washed to dry. If you are considering an appliance, write down which of those stages you need it to perform before comparing models. That keeps convenience from being mistaken for complete hygiene.
References