

You may want to pump during a commute, get through a meeting without holding two flanges, or make lunch while keeping an eye on your baby. A wearable breast pump can give you more freedom, but only if it fits your body, removes milk effectively for you, and does not create a cleanup routine you dread.
The practical promise is simple: you may be able to pump during work calls, household chores, or time spent caring for children. The buying decision is less simple. Use this guide to work out what you actually need, compare models without getting distracted by marketing, and test your choice before you depend on it.
Decide what job the pump needs to do
Start with the moment that is currently difficult. A parent who wants an occasional pump for a commute has a different problem from someone who expects to use the pump throughout a workday. Your intended use determines which compromises are reasonable.
- For occasional convenience: prioritize quick assembly, comfortable cups, easy controls, and parts you will not mind washing after an otherwise busy day.
- For regular pumping away from home: pay closer attention to battery life, charging options, milk capacity, replacement-part availability, leak resistance, and how you will keep milk and used parts safely stored.
- For use during meetings: consider noise, the visibility of the cups under your clothing, whether lights or alerts draw attention, and whether you can pause the pump without opening an app.
- For pumping while caring for another child: look at stability during ordinary movement. Hands-free does not mean spill-proof, and some cups shift when you bend, reach, lift, or sit on the floor.
- For use as a backup: favor simple operation and a battery that is easy to keep charged. A backup is not useful if you must relearn its assembly during an already stressful morning.
Also check what the manufacturer means by wearable. Some pumps place the motor and collection cup inside your bra. Other hands-free systems use in-bra cups connected by tubing to a separate motor. A conventional pump paired with a pumping bra is another hands-free option. None is universally better; the useful design is the one that solves your specific problem without weakening the parts of your routine that already work.
Treat fit and milk removal as the main requirements
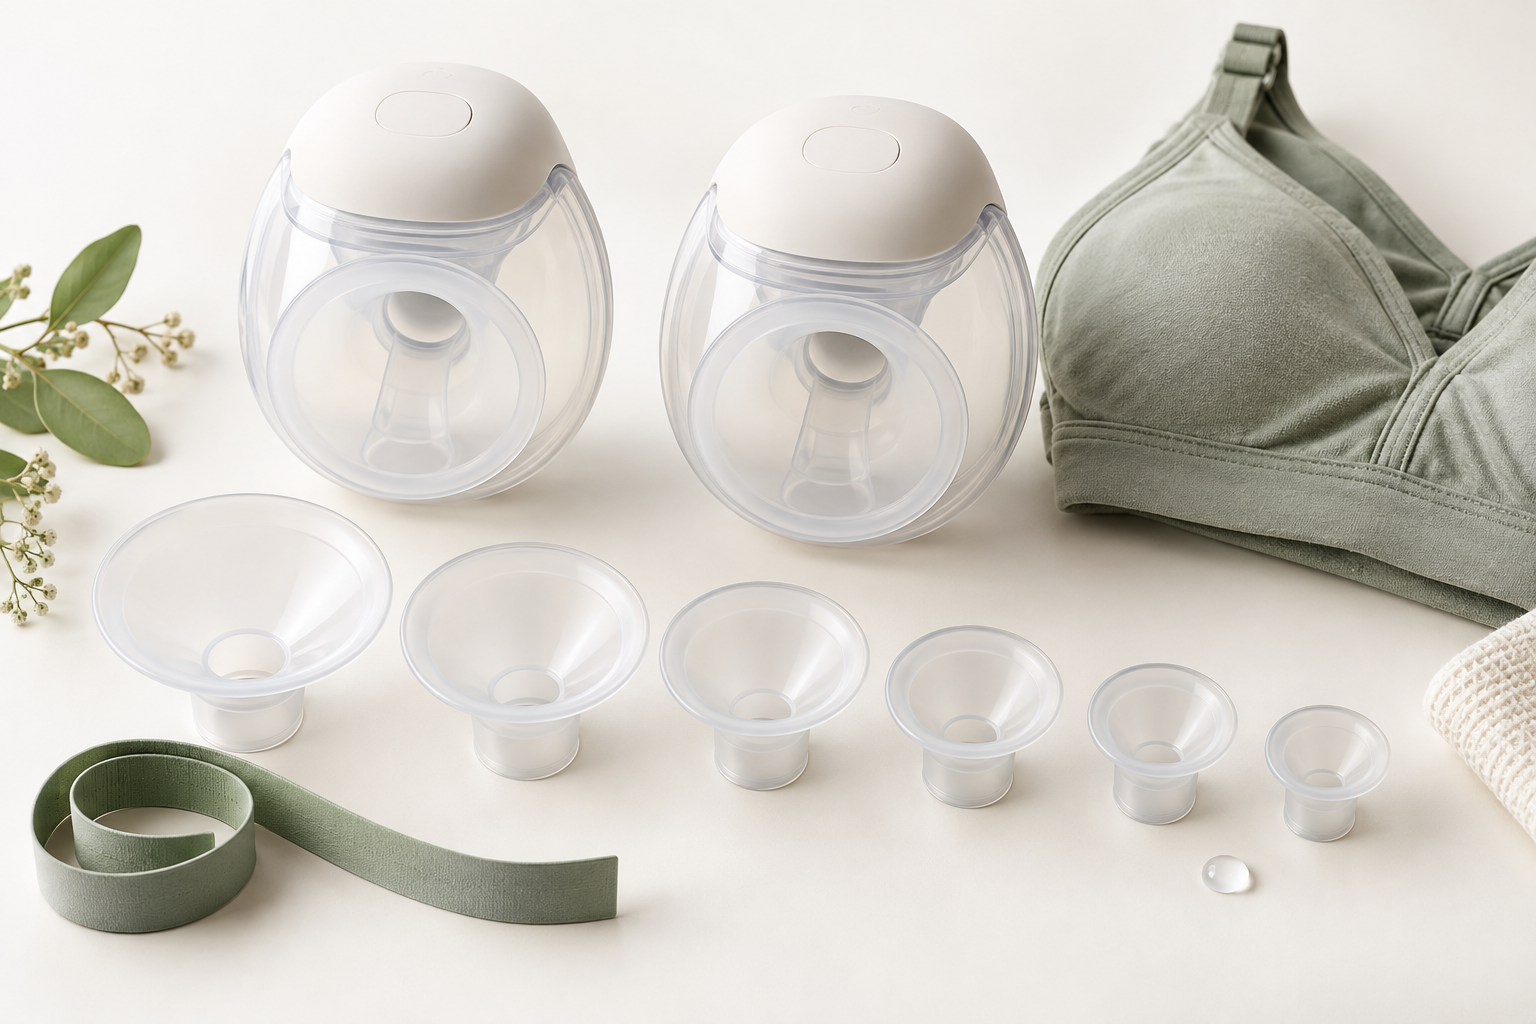
A pump can be light, quiet, and beautifully designed yet still be wrong for you. Your clothing cup size does not determine your flange size, and a flange or insert that fits one person may not fit another. Check the sizing method for the exact model rather than assuming that the included component will work.
During your first sessions, stay seated where you can see what is happening. Centre your nipple in the tunnel before starting. The cup should remain sealed against your breast, while your bra should support the pump without crushing it into your body. Watch for rubbing, pinching, loss of alignment, or tissue being pulled uncomfortably into the tunnel. More suction is not automatically more effective; use a setting that remains comfortable.
Do not judge the pump solely by another parent’s output or by a single session of your own. Milk output can vary with timing and circumstances. If you already have a setup that works, compare the wearable with that setup across several reasonably similar sessions. Note comfort, whether your breasts feel adequately softened afterward, how often you must reposition the cups, and whether the amount collected is consistently different from your usual pattern.
If the wearable does not remove milk well for you, it may still be useful for selected situations rather than every session. A product does not have to replace your existing pump to earn a place in your routine.
Know when to stop troubleshooting on your own
A pumping setup should not leave you with persistent pain, bleeding, broken skin, or worsening nipple damage. Stop using a painful configuration and seek help from a qualified healthcare professional or lactation specialist. You should also get professional guidance if you are worried about milk supply, your baby’s feeding, a persistent change in your usual output, or breast redness accompanied by feeling unwell. Changing pumps is not a substitute for assessing a feeding or health concern.
Compare the details that affect an ordinary day
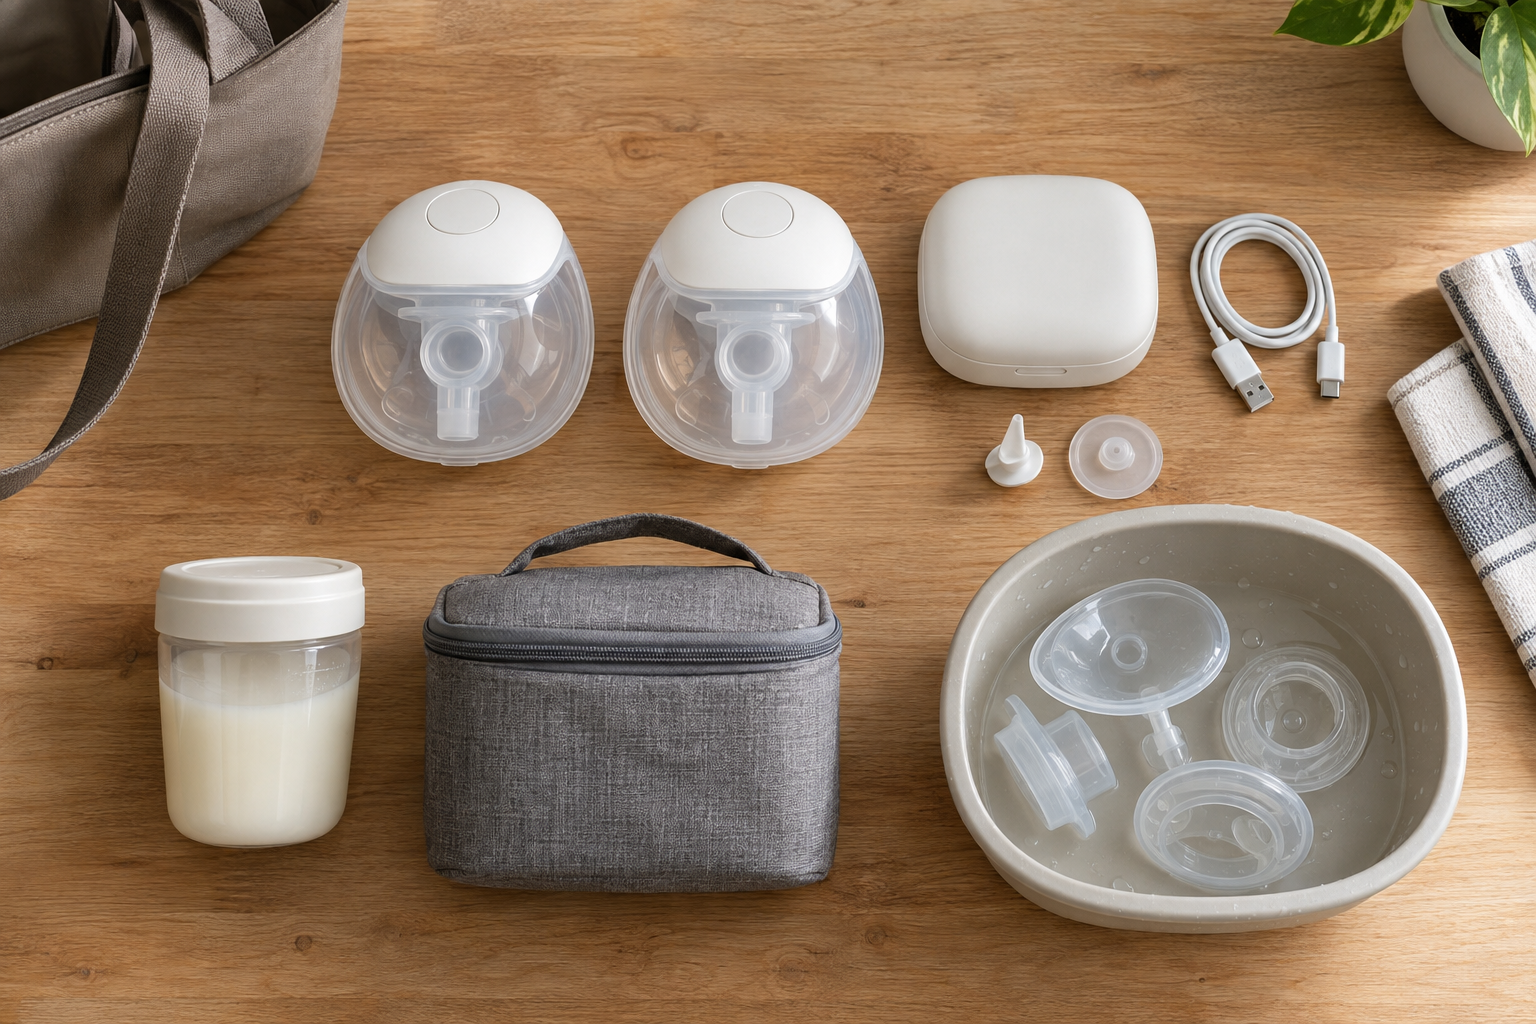
Product pages often lead with suction modes, sleek photos, and app features. Those details matter only after the pump passes the more practical checks below.
| What to check | What to look for | Why it matters |
|---|---|---|
| Fit options | Included flange sizes, compatible inserts, and clear sizing instructions | A pump cannot compensate for a flange or insert that does not suit your body. |
| Controls | Buttons you can reach while wearing the cups, plus clear indicators for mode, suction, and battery | You may not want to find your phone whenever you need to pause or adjust a session. |
| Capacity | Clearly marked containers and an understandable full-cup warning or shutoff process | You need to know what happens if a cup fills before you expect it to. |
| Battery and charging | A charging routine that fits your day, an easy-to-read battery indicator, and a charger you can realistically carry | Advertised portability disappears when the pump is unavailable between sessions. |
| Cleaning | A manageable number of milk-contact parts and instructions that suit your available sink, drying space, and cleaning method | A few awkward crevices can matter more than an extra pump mode when you wash parts repeatedly. |
| Replacement parts | Valves, membranes, seals, inserts, and containers that are available where you live | Soft components wear with use, and a hard-to-find part can sideline the entire pump. |
| Noise and visibility | A sound and profile you can accept in the places where you plan to pump | Wearable does not necessarily mean silent or unnoticeable. |
| Warranty and returns | Clear coverage, local support, and a return policy that explains restrictions on opened feeding products | You should know your options before breaking a hygiene seal or using the pump. |
When comparing weight, confirm whether the number describes one empty cup, both cups, the motors, or the complete system. Remember that collected milk adds weight during a session. When comparing battery claims, check whether the manufacturer states time, sessions, or another measure, and whether that estimate matches how you plan to use the pump.
Apps can be useful for controls and session records, but decide whether app access is essential or optional. If the basic pump becomes difficult to use without a phone, consider how that would affect you during an update, a lost connection, a low phone battery, or a rushed session.
Run a realistic home trial before relying on it

Do not make your first important session the one before a commute or during a packed workday. A quiet home trial lets you learn the assembly, find a comfortable fit, and discover where spills are likely while you still have time to correct them.
- Read the model’s instructions from beginning to end. Identify every part that touches milk, the correct orientation of valves and seals, the charging requirements, and any components that must not be immersed.
- Prepare the parts exactly as directed. Wash, dry, assemble, and charge the pump according to the manufacturer’s instructions. Damp, folded, loose, or incorrectly seated components can interfere with the seal.
- Check the fit before adding suction. Put on the bra you expect to use, position the cups, then sit, stand, reach, and bend slightly. If they shift during this dry run, adjust the bra or cup position before pumping.
- Keep the first pumping session observable. Start at a comfortable setting and confirm that both sides remain aligned. Learn what the normal motor sound, suction rhythm, and indicator lights are for your unit.
- Practice stopping and removing the cups. Pause the pump, break the seal gently, keep the cups upright, and transfer the milk using the opening described in the manual. Do this over a clean surface until the motion feels routine.
- Inspect before washing. Look for milk where it should not be, a seal that moved, or a valve that was not seated correctly. Time the complete wash, rinse, and drying routine rather than considering only the pumping session.
- Repeat in a representative situation. Once the seated trial works, try the clothing, chair, movement, and bag you will use on a normal day. Add only one new variable at a time so you can identify what caused a leak or loss of alignment.
Pack for an imperfect session
For pumping away from home, pack the small failure points: the required charger, any replaceable soft part you are likely to need, breast pads, a clean storage bag for used components, and a spare top if a leak would disrupt your day. Make a separate plan for handling and storing expressed milk safely, following the instructions from your local health authority and your child’s healthcare team where applicable.
If you will pump while looking after your baby or toddler, test each movement before trusting it. Start with calm tasks that keep the cups upright. Stop the pump before rough play, deep bending, or any activity that dislodges the seal. Free hands are useful, but the pump still needs your attention at setup, during transitions, and when the containers are becoming full.
Key takeaways
- Choose for the session that is causing trouble, not for the longest feature list.
- Confirm fit, comfort, and consistent milk removal before judging noise, apps, or appearance.
- Check the complete system: controls, capacity, charging, cleaning, replacement parts, warranty, and returns.
- Test assembly, movement, removal, pouring, and washing at home before depending on the pump elsewhere.
- Treat persistent pain, nipple damage, feeding concerns, or a continuing change in output as reasons to seek qualified support, not merely reasons to buy another device.
Before you buy, write down the two situations in which you most need a pump to work. Eliminate any model that cannot meet both without awkward workarounds. When it arrives, keep your existing routine in place until the wearable has proved comfortable, dependable, and manageable across several real sessions.
References