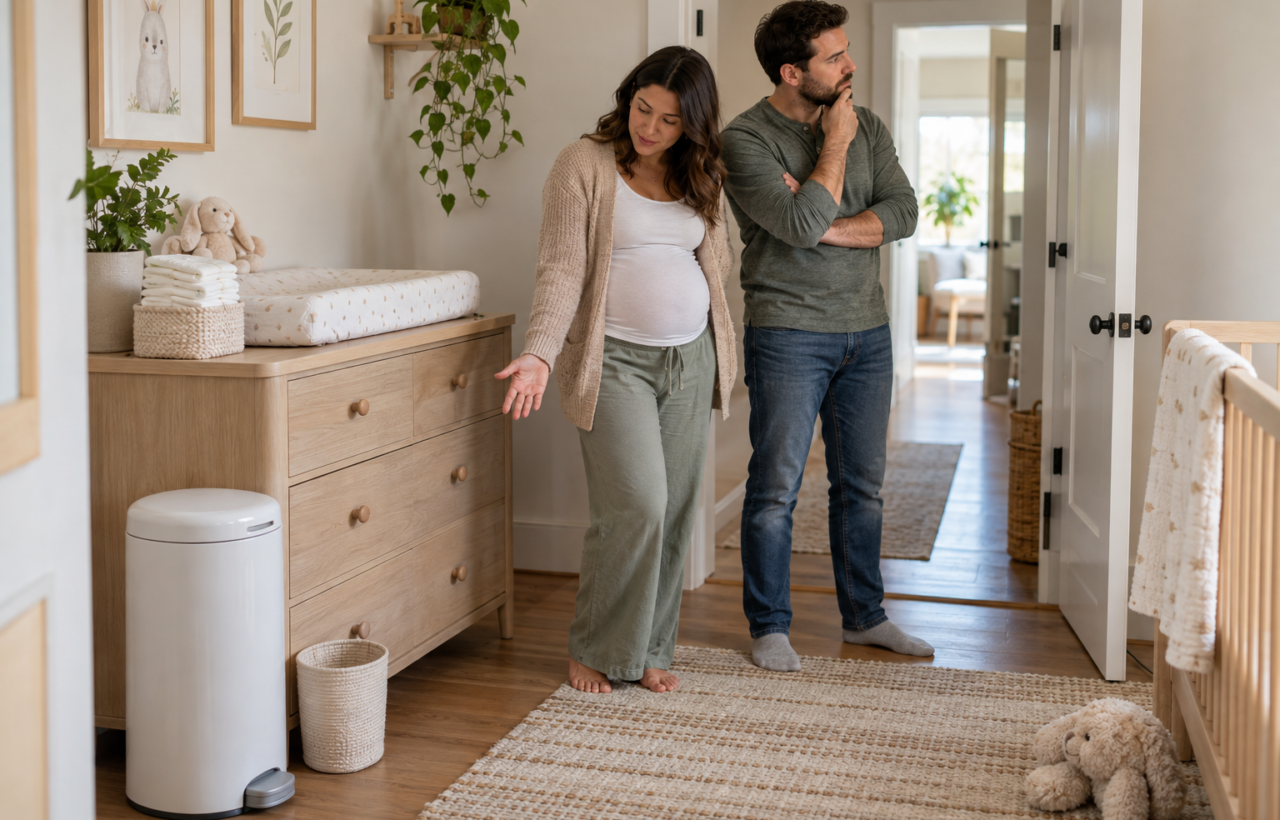
A diaper pail can look like an obvious registry item until you picture where it will sit, how often you will empty it, and whether its liners will become one more recurring purchase. The right question is not whether parents are supposed to own one. It is whether a dedicated pail will make disposal meaningfully easier in your home.
You can make that decision before choosing a brand. Map the trip from the changing area to your main garbage, identify where used diapers would otherwise wait, and check what maintaining the pail will involve. That turns a vague registry choice into a practical one.
Key takeaways
- Add a diaper pail when the route to your main garbage is inconvenient or used diapers will regularly remain indoors between trash runs.
- Skip it when a small, easy-to-empty bin already fits your routine and taking garbage out will not interrupt a change or bedtime.
- Choose by testing the entire workflow: opening, depositing a wrapped diaper, closing, removing the liner, cleaning the interior, and buying replacement supplies.
- Calculate ongoing liner and accessory costs before registering, not after you have committed to a particular system.
- Register for one pail and a modest supply of confirmed-compatible liners. Wait until you know the system works for your family before stocking up.
Decide what problem the pail needs to solve
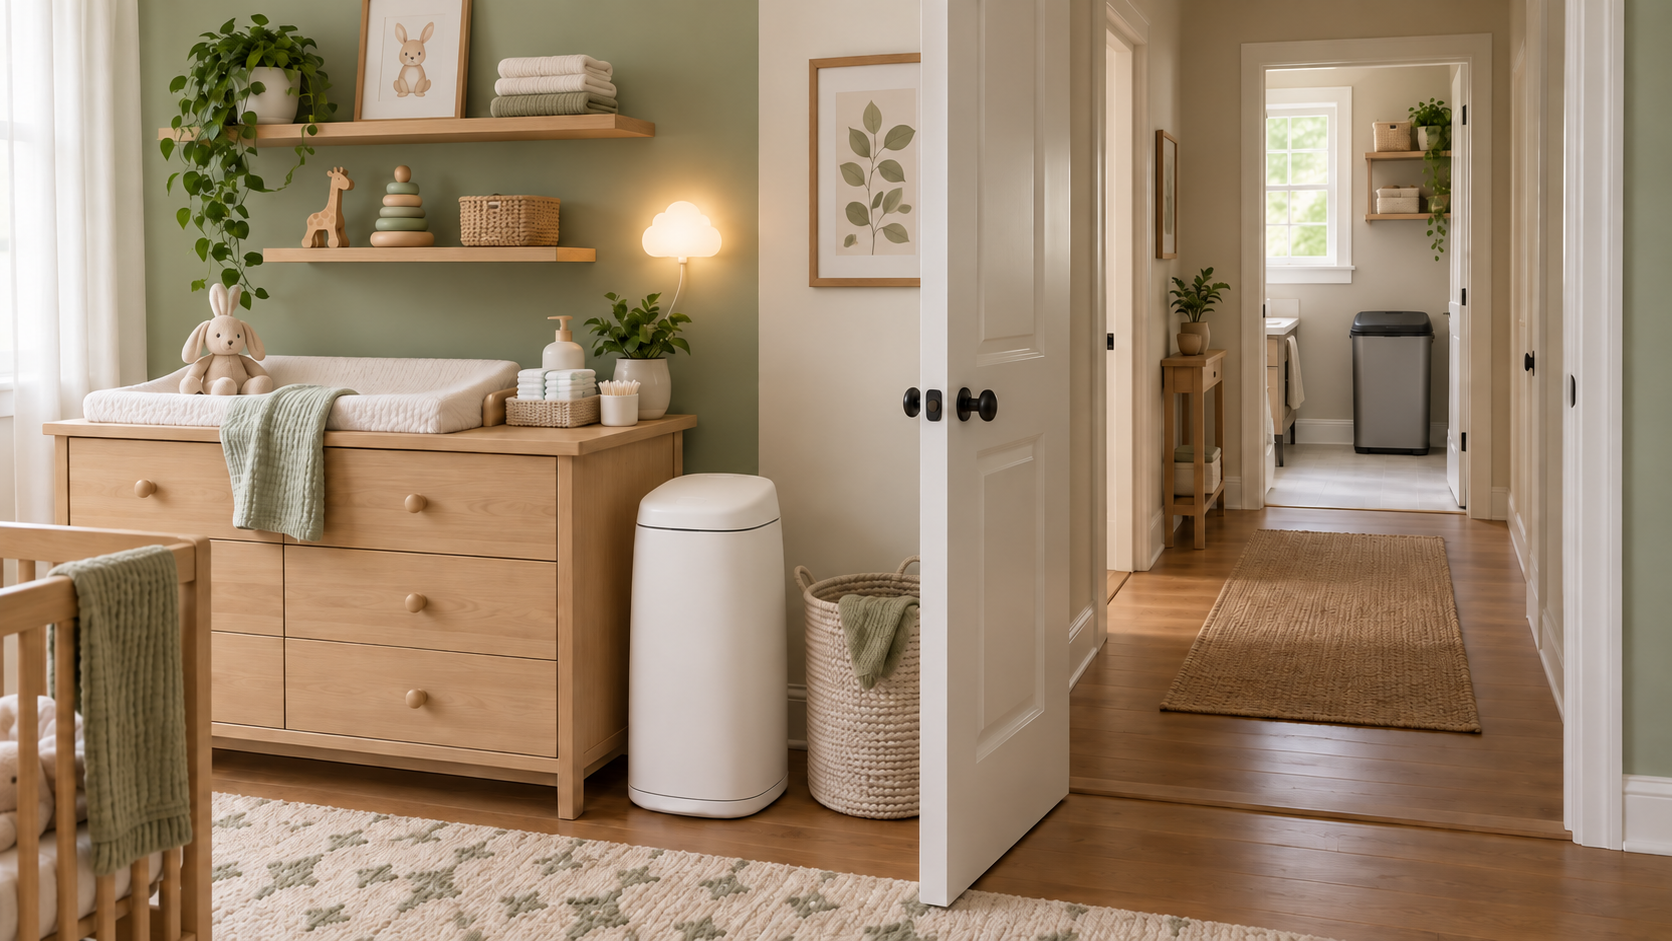
A diaper pail is a convenience tool, not a required piece of baby equipment. It stores used diapers between trips to your household garbage. Whether that job deserves a specialized container depends on your floor plan and disposal routine.
Walk through an imaginary nighttime change. After the clean diaper is on, where does the used one go? If the answer involves stairs, an outdoor bin, a locked garbage room, or leaving the baby unattended on a raised surface, a reachable dedicated pail may remove real friction. If your main garbage is already nearby and emptied frequently, a separate system may add cost without simplifying much.
Use these questions to expose the difference:
- Where will most changes happen? Mark the actual changing locations rather than assuming every change will happen in the nursery.
- What interrupts the disposal route? Consider stairs, doors, weather, sleeping family members, pets, and building garbage-room access.
- How long will diapers stay inside? A household that takes garbage out after each change has a different need from one that stores waste between scheduled trips.
- Is there a safe place for the pail? It should not block a walkway or require you to step away from a baby on a raised changing surface. Liners and loose plastic must remain inaccessible to children.
- Will you maintain a separate system? The pail still needs emptying and cleaning, and some models require specific replacement supplies.
If your current disposal route is easy, safe, and compatible with your normal trash routine, leaving a pail off the registry is reasonable. If that route repeatedly pulls you away from the changing area or leaves used diapers in an open container, a pail has a clear job.
The Diaper Genie Select is one diaper pail positioned as a registry option. Treat it, and any competing model, as a candidate for that job rather than an automatic addition.
Test the whole routine, not just the lid
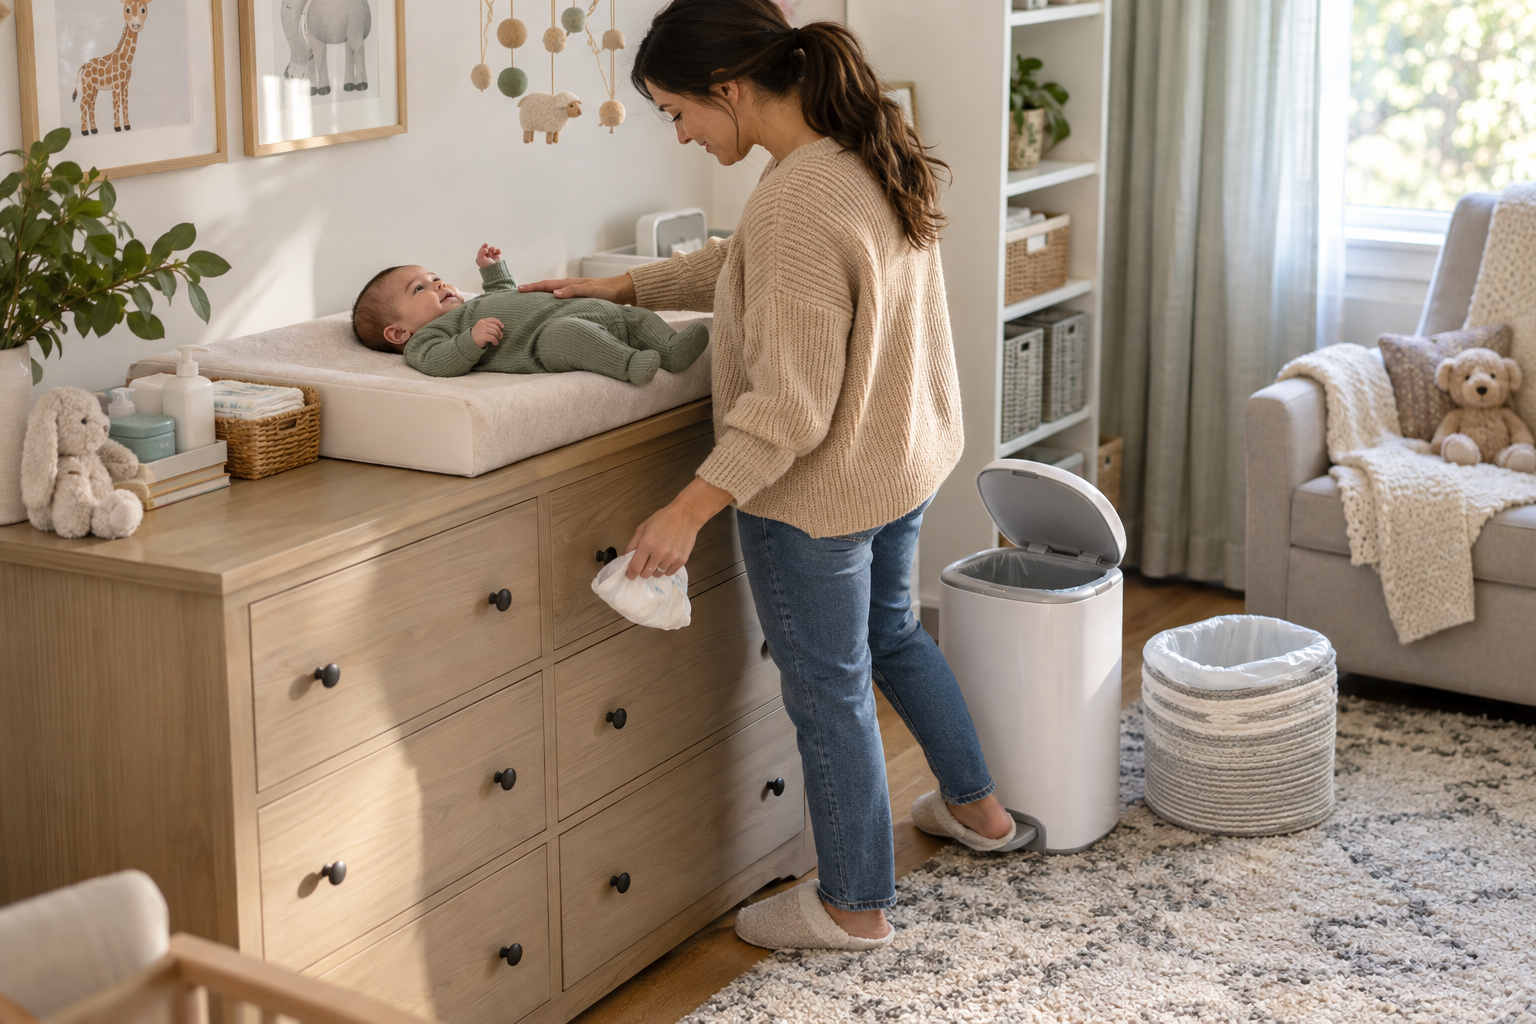
Product photos tend to show a clean, empty pail. Your daily experience will include wrapped diapers, partially filled liners, full bags, refills, and cleanup. Evaluate those moments in order.
Check the changing-station fit
- Measure the proposed spot. Mark the footprint on the floor with removable tape. Open nearby drawers and doors to make sure they still clear it.
- Trace your reach. You should be able to complete disposal without leaving a baby unattended on a raised surface. Never let convenient pail placement replace safe supervision.
- Simulate one occupied arm. Use a rolled towel or another harmless object to represent the fact that both hands may not be free. Follow the model’s intended opening and closing process.
- Consider nighttime use. If the pail will sit near a sleeping area, pay attention to the sound and effort involved in operating it.
- Plan for mobility. A spot that works for a newborn may become accessible once your child crawls or pulls to stand. Check the manufacturer’s placement and safety instructions, and keep stored liners out of reach.
Inspect the messier half of ownership
Emptying and cleaning often reveal more than the disposal opening. Before buying, find the instructions or demonstration for removing a full liner. Look for places where the bag could snag, where your hands need to go, and whether the process fits the route to your main garbage.
Then inspect the surfaces that can collect residue. Can you reach them with an ordinary cloth? Can removable components be reinstalled without a complicated sequence? Can the pail dry completely before a new liner goes in? Follow the manufacturer’s cleaning directions, especially for materials or parts that should not be soaked.
No closed container makes waste disappear. Containment while the lid is shut, the experience of opening the pail, and the experience of removing a full bag are separate questions. Marketing language about odour is less useful than understanding the closure mechanism and how often you are realistically willing to empty and clean the unit.
Count the ongoing cost before choosing a system
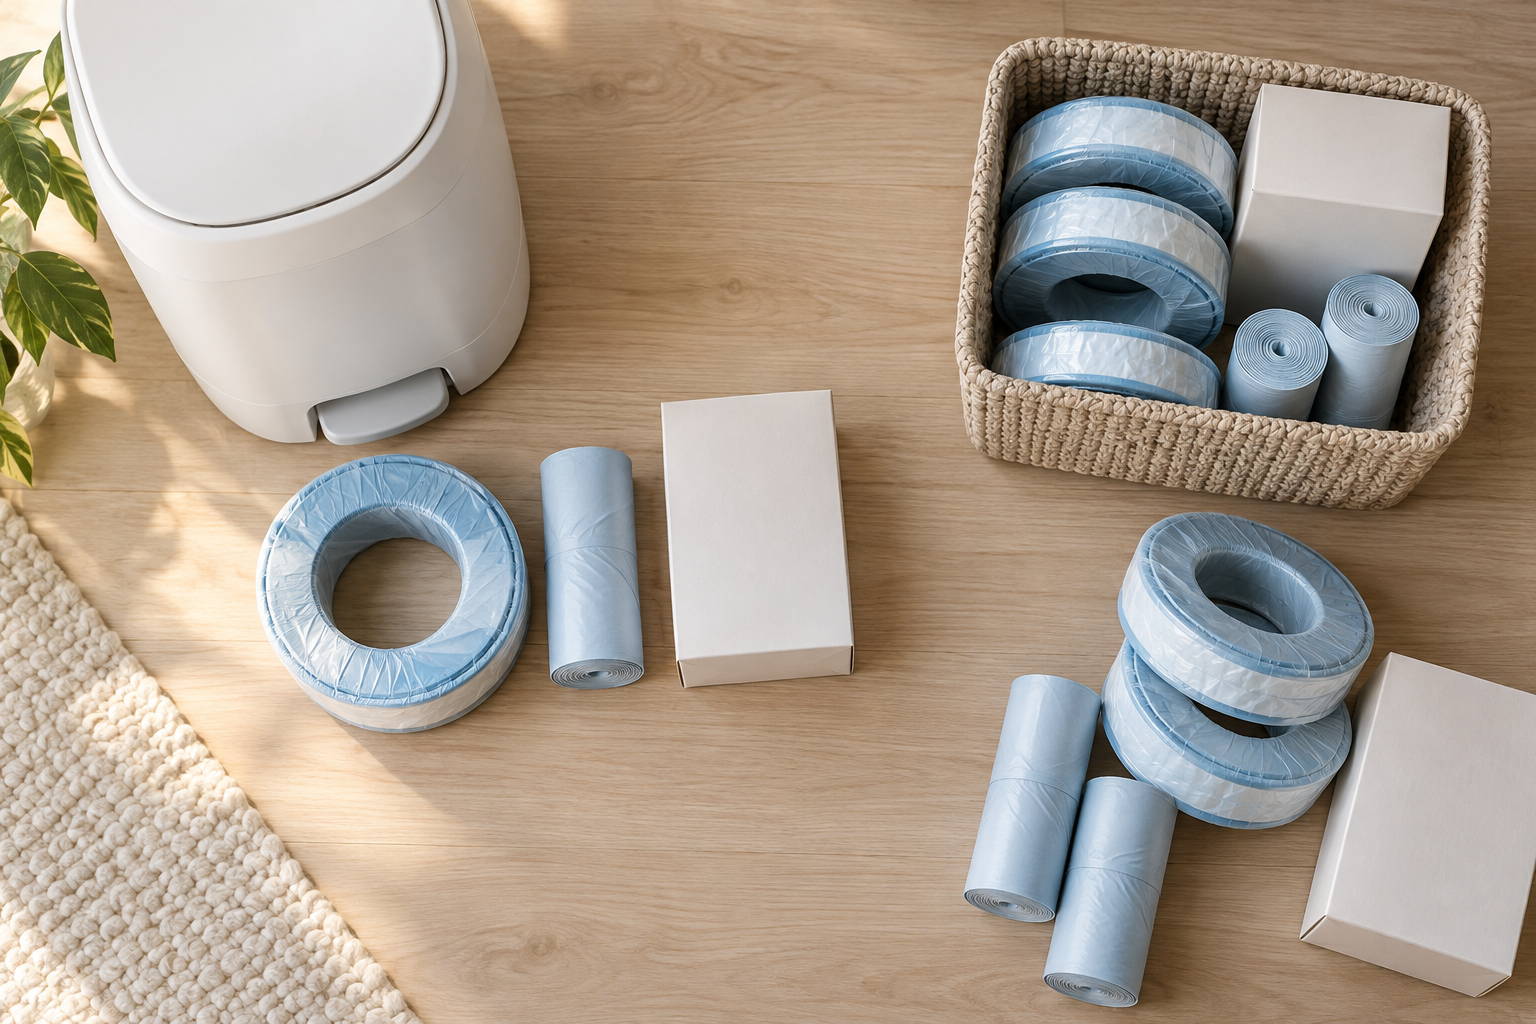
The shelf price is only the entry cost. A pail may use ordinary garbage bags, proprietary refill cartridges, or additional replaceable components. Check the exact model requirements rather than assuming that liners from the same brand will fit.
Build a simple ownership estimate using the pail price, the refill price, the amount of material in each refill, and your expected replacement rhythm. You do not need a perfect forecast. The purpose is to notice whether an affordable-looking pail commits you to supplies that are expensive, difficult to find, or available only through one retailer.
- Write down the exact refill or bag name before adding anything to the registry.
- Confirm whether standard bags are supported or merely appear to fit.
- Check where compatible supplies are sold locally and online.
- Include any filters, deodorizers, cutters, or other replaceable parts required by the model you are considering.
- Review how the manufacturer describes refill capacity, but treat it as an estimate; actual use varies with diaper size, how diapers are wrapped, and when you choose to empty the pail.
- Check the return policy before opening bulk supplies.
Availability deserves as much attention as price. A refill is not convenient if you must remember to order it well before the current one runs out. If replacement supplies are hard to obtain where you live, favour a system with a simpler supply chain or a workable standard-bag option.
Build a registry bundle you can adjust later
If the pail passes the home-layout, workflow, and ownership-cost checks, add the system as a small bundle rather than as an isolated product. Register for the pail and enough confirmed-compatible supplies to begin using it. Avoid a large refill stockpile until you know that you like the opening, emptying, and cleaning routine.
Do not register for two incompatible pail systems simply because you have more than one changing area. Start with the location where disposal is hardest. A basic lidded bin may be enough elsewhere, and you can add another dedicated pail after your real routine shows that it would help.
Keep gift receipts and note the return deadline. Registry purchases can arrive well before you begin using them, so leave bulk refill packages sealed while you confirm the setup. If a giver wants to buy extra supplies, provide the exact compatible product name or suggest a flexible gift card instead.
Before finalizing your registry, take one last walk from the changing spot to the household garbage. Measure the proposed footprint, rehearse the disposal motion, and look up the exact refill. If those three checks produce clear answers, you will know whether the pail earns its place.
References