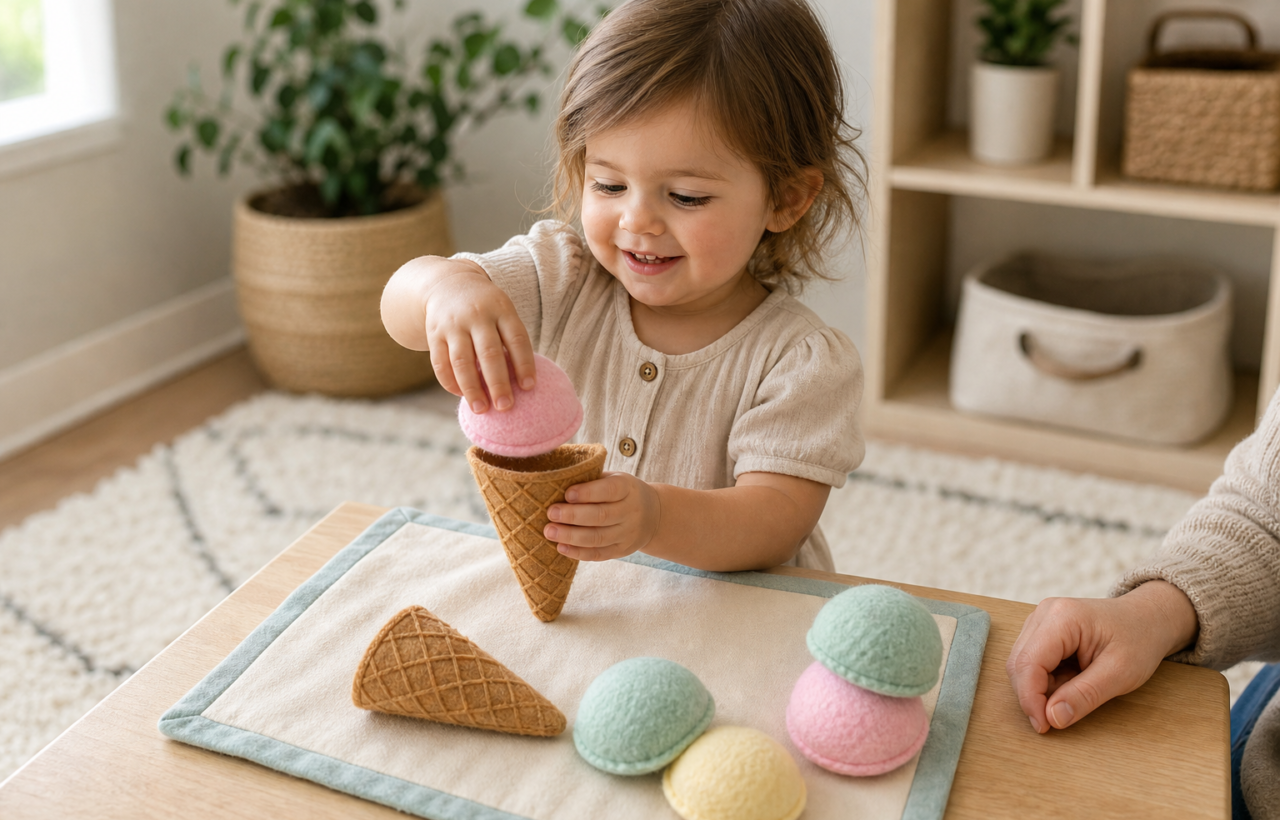
You want an indoor activity that feels new, but you do not want a long setup or another bulky toy. A homemade ice cream counter works because the routine is already easy to understand: choose a cone or cup, stack pretend scoops, add toppings, and serve.
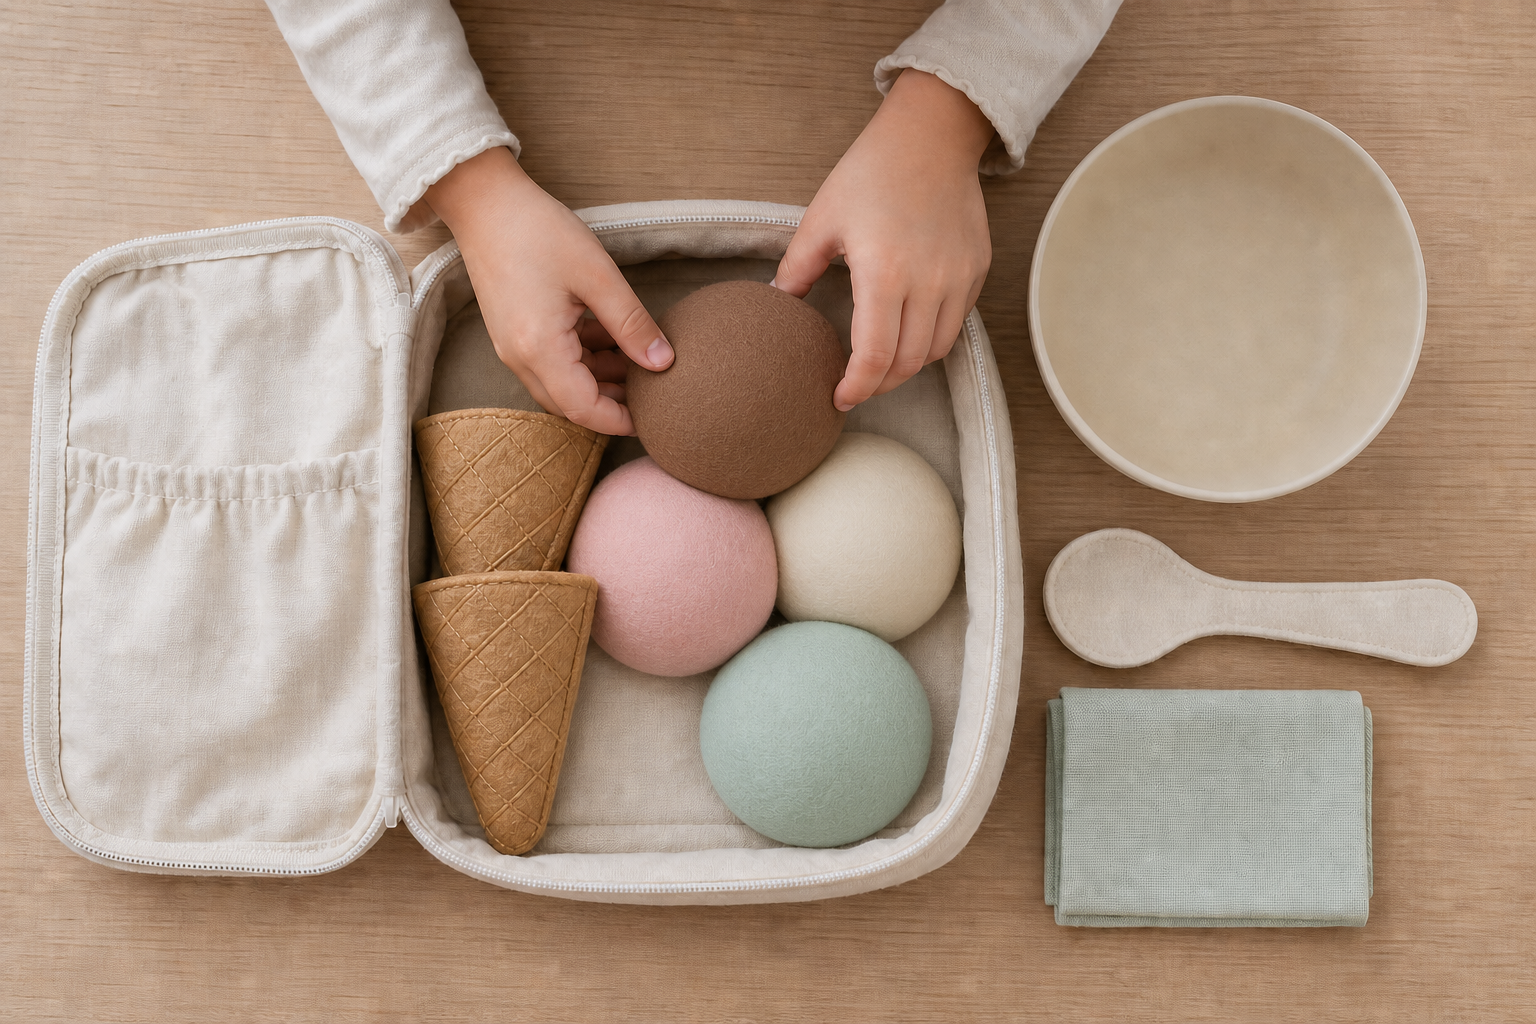
An ice-cream-making busy bag keeps that routine portable and easy to reset. The version below uses simple shapes rather than realistic details, so you can make it from materials you already have and adjust it to the way your toddler actually plays.
Choose materials for your child’s current stage
Thick felt is a practical choice because it is light, quiet, and easy for small hands to pick up. Sturdy card also works. If you use card, reinforce it with clear contact paper and make sure the finished edges and corners feel smooth.
Gather:
- Thick felt, sturdy card, or another firm craft material
- Paper and a pencil for drawing patterns
- Sharp scissors for adult preparation
- Fabric-safe glue, or a needle and thread if you prefer sewn pieces
- A washable marker for details such as a waffle pattern
- A zip pouch, fabric bag, or small container for storage
Skip buttons, beads, sequins, small pom-poms, magnets, and other loose decorations. They add very little to the game and may end up in a child’s mouth. Draw decorative details directly onto the larger pieces instead.
If your child still regularly mouths play materials, save the loose-piece version for later. You can make a simpler cloth mat with securely attached shapes, but it still requires close adult supervision. Keep the activity away from younger siblings who may handle it differently.
Build a small set before adding elaborate toppings
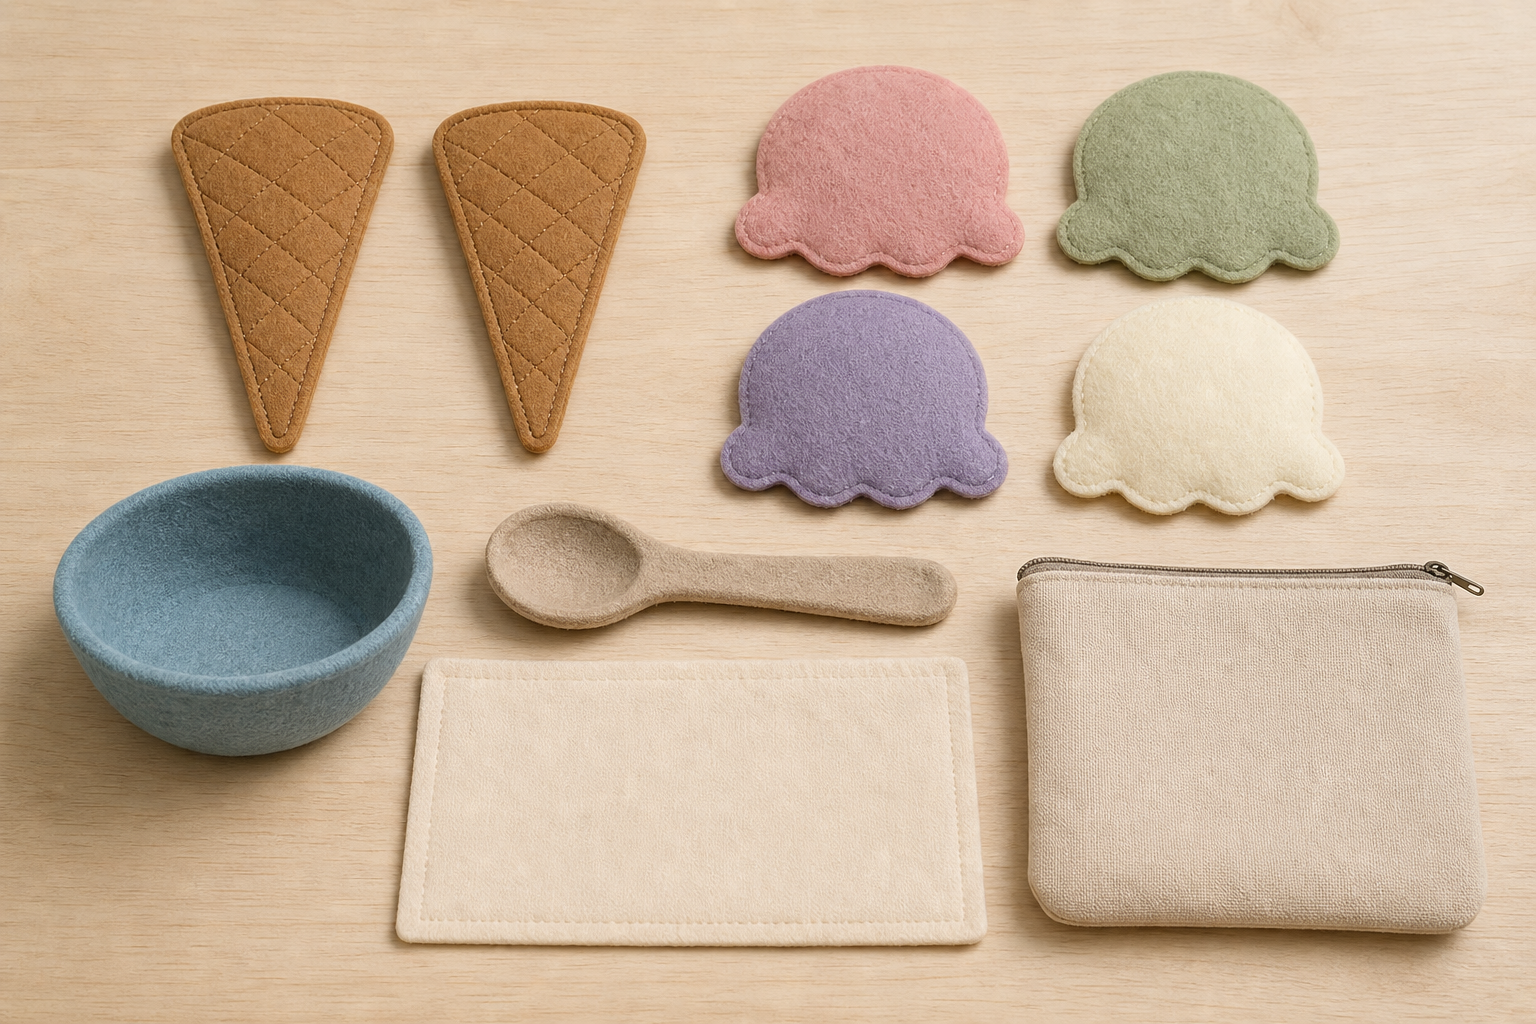
Start with the parts that make the pretend routine possible: a cone, a cup, several scoop shapes, and a spoon. Toppings are optional. A smaller set is quicker to make, easier to tidy, and less likely to overwhelm a child who is still learning what the pieces represent.
- Draw a wide triangle for the cone and a simple bucket shape for the cup. Make each base broad enough to hold a stack of scoop pieces.
- Draw rounded scoops with flat lower edges. Keep their shape and width similar so your child can place any scoop on either base.
- Cut large topping shapes, such as a drizzle, wafer, or fruit shape, only if they cannot fit inside your child’s mouth.
- Add cone lines, sprinkles, or flavour marks with a washable marker instead of attaching tiny embellishments.
- Glue or sew any layered pieces securely. Let adhesive cure completely before the set becomes a toy.
- Pull gently at every edge before play. Remove anything that lifts, sheds, tears, or feels too small for your child to handle safely.
You do not need to label the scoop colours with fixed flavours. An unlabeled pink scoop can be strawberry during one game and watermelon during the next. That flexibility gives your child more room to invent rather than search for a predetermined answer.
Show the routine, then let your toddler change it
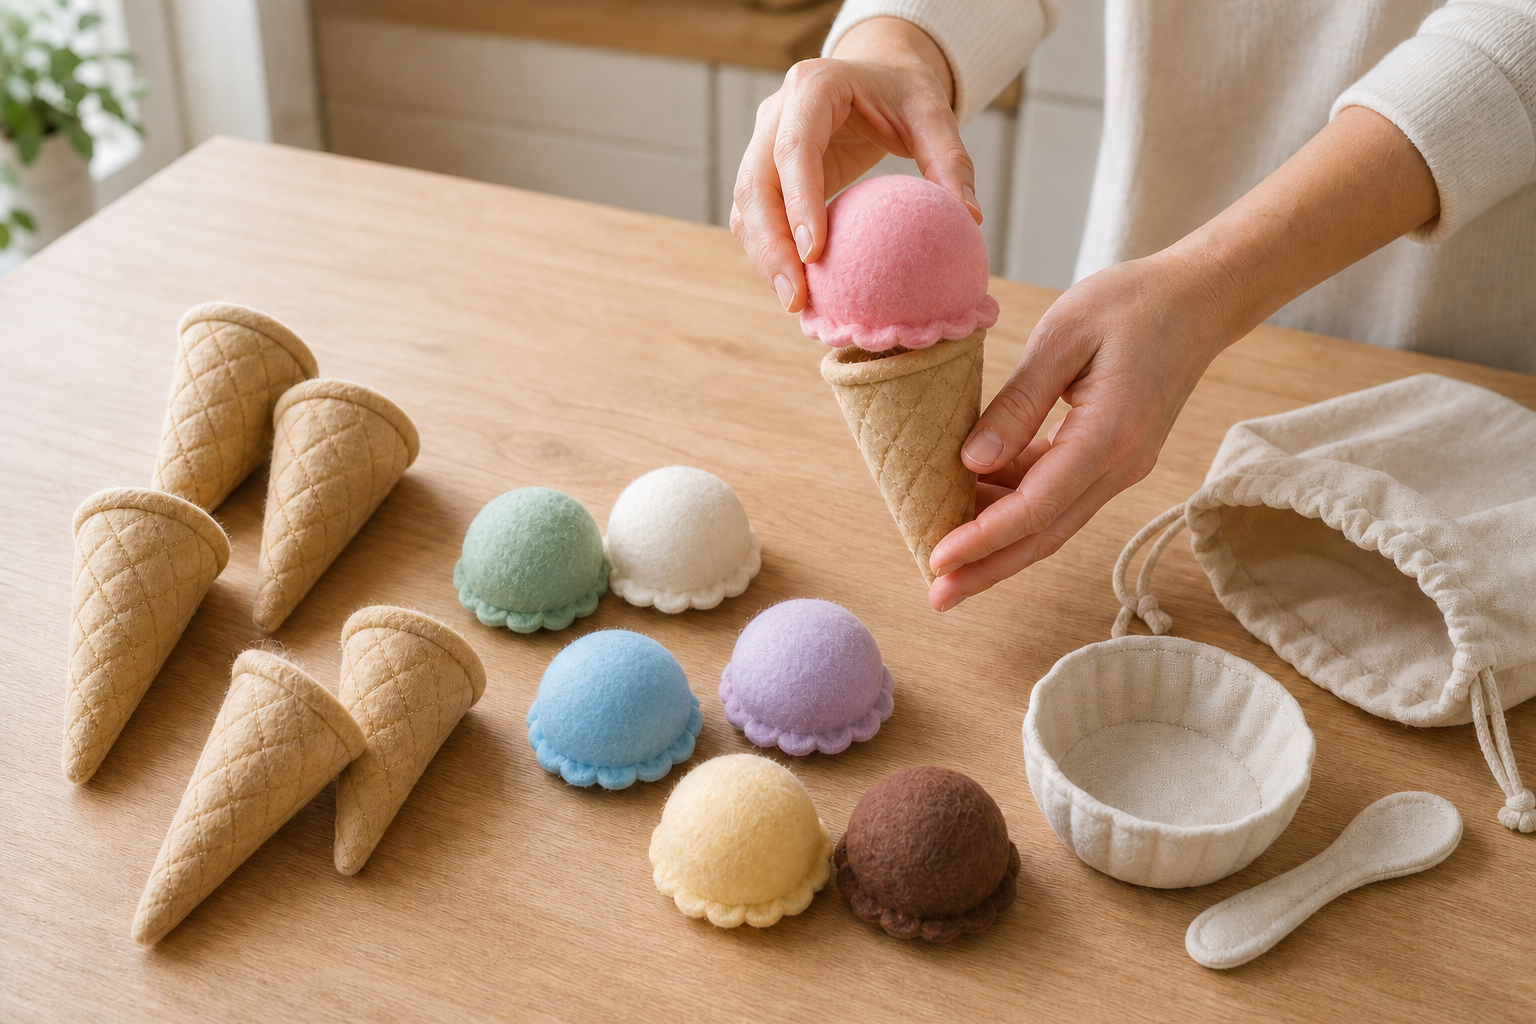
Briefly model the basic sequence. Pick a base, place a scoop, pretend to pay, and serve it. Then hand over the pieces. If your child stacks everything sideways, feeds ice cream to a stuffed animal, or uses the cup as a hat, the activity is still working. Pretend play does not need to look tidy or realistic.
Use short phrases that fit what your child is already doing: “Cone or cup?”, “More ice cream?”, “Your turn,” or “All done.” A child can answer by speaking, pointing, handing you a piece, or moving the pieces independently. Avoid turning every colour and shape into a quiz.
When the basic counter loses momentum, change the problem rather than adding more craft pieces:
- Take an order: Ask for a chosen base and a particular scoop, then let your child serve it.
- Switch roles: Let your toddler become the customer while you run the counter badly enough for them to correct you.
- Copy a stack: Build an ice cream and invite your child to make another stack that looks similar.
- Serve the toys: Place stuffed animals nearby and decide what each customer might order.
- Solve a silly problem: Pretend the shop has run out of a flavour or that a customer wants an unusual combination.
- Deliver the order: Put a finished ice cream on a toy plate and carry it carefully across the room.
For a toddler who is new to pretend play, place only a base and a small selection of scoops on the floor. Too many loose options can turn choosing into dumping. A child who already enjoys longer pretend games may be ready to invent flavours, take several toy customers’ orders, or draw a simple menu with you.
Key takeaways
- Use large, sturdy pieces and leave off small decorative items.
- Begin with a cone, cup, scoops, and spoon; add toppings only when they improve the play.
- Model the serving routine briefly, then follow your child’s version of the game.
- Offer fewer pieces when choosing or tidying becomes difficult.
- Inspect the set before every use and remove frayed, loose, or damaged parts.
Store the set so it is ready for another day
Keep every piece in the same pouch or container. When play ends, turn cleanup into the final shop task: scoops return to the freezer, cones go on the shelf, and the spoon goes beside the cup. This gives each piece an obvious destination without interrupting the pretend story.
Before packing the set, check for dampness, sticky residue, lifting adhesive, and frayed edges. Clean each material according to its care requirements and allow it to dry fully before closing the pouch. Retire damaged pieces rather than repairing them while your child is playing.
You can also rotate the bag instead of leaving it available all the time. Bring it out when you need a contained floor activity, then put it away while your toddler is still willing to help reset the shop. The next useful addition should come from what you notice during play, not from how elaborate the finished craft looks.
Cut the cone, cup, and scoop shapes first and try the game before making anything else. If your child happily serves the same pretend flavour again and again, the activity is already complete.

References