Your child does not need to cut a perfect bat or copy a finished example to make a Halloween decoration worth keeping. At this age, the best craft is usually one simple action – press, stamp, stick, tear or scribble – inside a project you have prepared.
Choose the idea that matches what your child enjoys doing now, not what the finished picture is supposed to look like. Young children can take part when a caregiver handles the difficult steps and supervises closely. That division of labour gives your child real ownership without handing them tools or materials they are not ready to manage.
Start with the action your child can enjoy
A complicated template can turn a relaxed activity into a series of adult corrections. Instead, decide what your child will actually do. A young toddler might pat paper onto an adhesive surface. A child who loves repetition might cover a page with stamped circles. A preschooler might choose facial features, arrange them and explain the character they have made.
Give the project one main action and leave the precise cutting, measuring and assembly to yourself. If you find yourself repositioning every piece, the adult portion is swallowing the child’s portion. Make the design looser or offer fewer materials.
It also helps to separate the process from the product. Your pumpkin does not need symmetrical eyes. Your ghost can be a cluster of white marks. The useful question is not, “Does this look like the example?” It is, “Did my child get to make choices and manipulate the materials?”
Prepare the table before you invite your child over
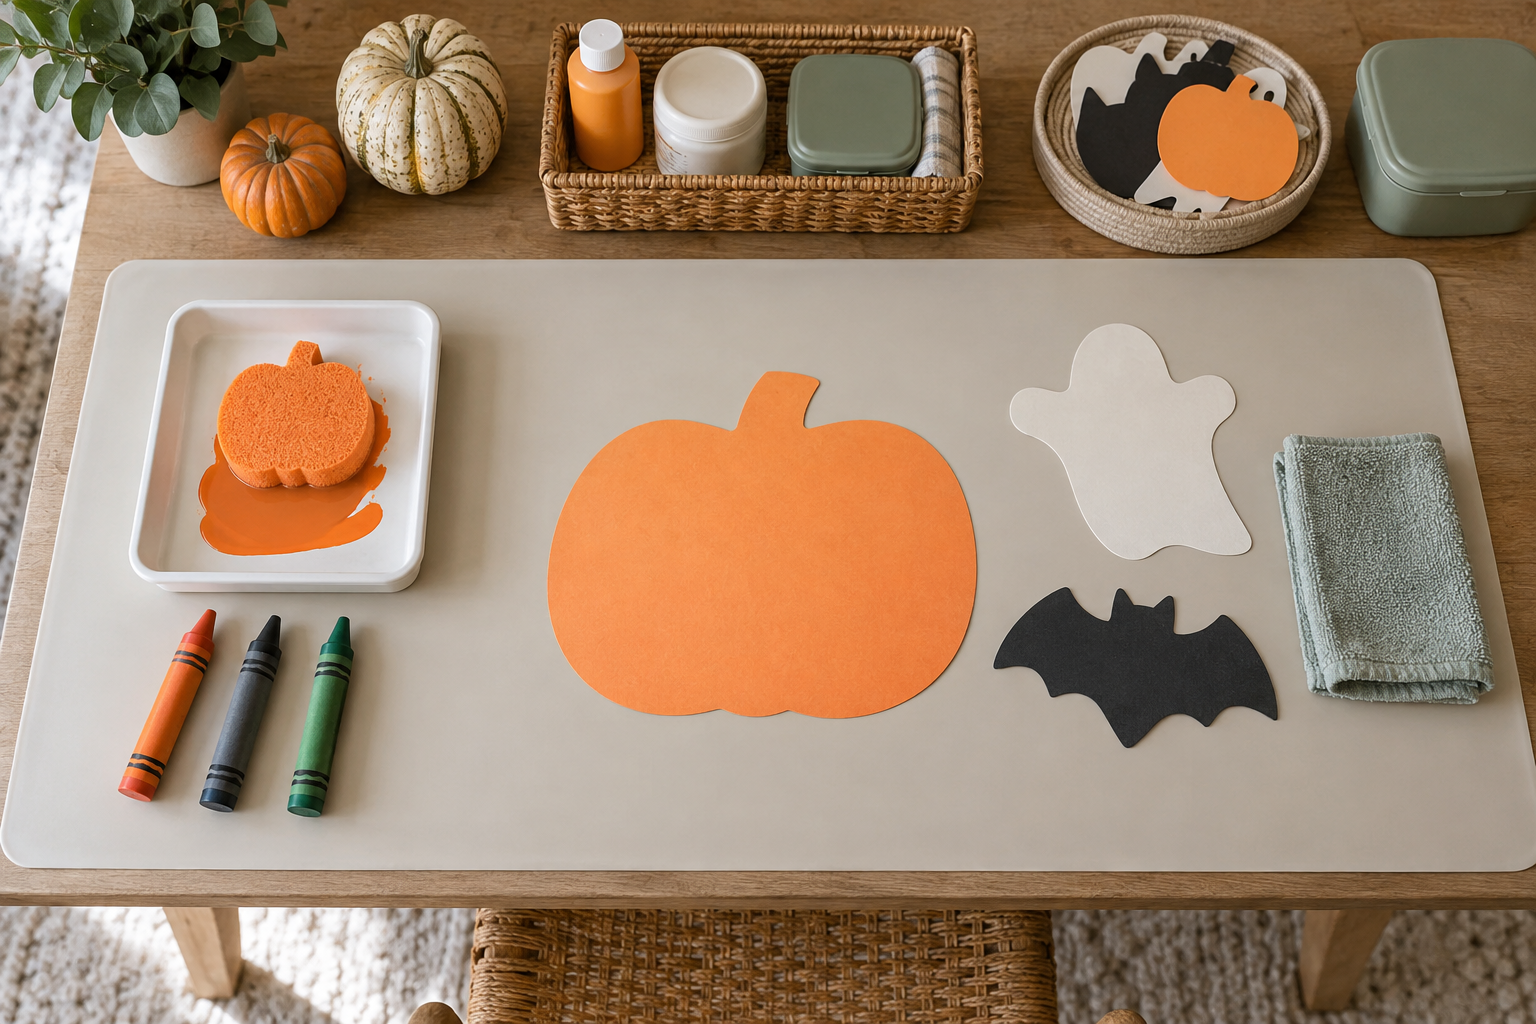
The frustrating part of toddler crafting is often not the craft. It is opening paint, finding scissors and holding a rolling glue stick while your child loses interest. Do all of that preparation first.
- Cover the work surface and put a damp cloth within reach.
- Cut any silhouettes, frames and facial features in advance.
- Place only the materials needed for the current step on the table.
- Use washable, non-toxic craft materials that are labelled for your child’s age, following the package directions.
- Keep paint containers, tool drawers and spare decorations out of reach.
- Let paint dry completely before adding another layer or displaying the craft.
Close supervision still matters when a product is labelled washable or non-toxic. Those labels do not make craft materials food. If your child still puts objects in their mouth, skip loose items such as buttons, beads, pom-poms and googly eyes. Make eyes and decorations from large pieces of paper instead. An adult should control regular scissors, staplers, hole punches and hot glue throughout the activity.
Dress for the mess you have chosen. A glue-stick collage needs less protection than hand painting, while stamping can send paint beyond the edge of the page. An old shirt, a covered table and a clear route to the sink are usually more useful than repeatedly telling a busy child to be careful.
Five Halloween crafts built around simple movements
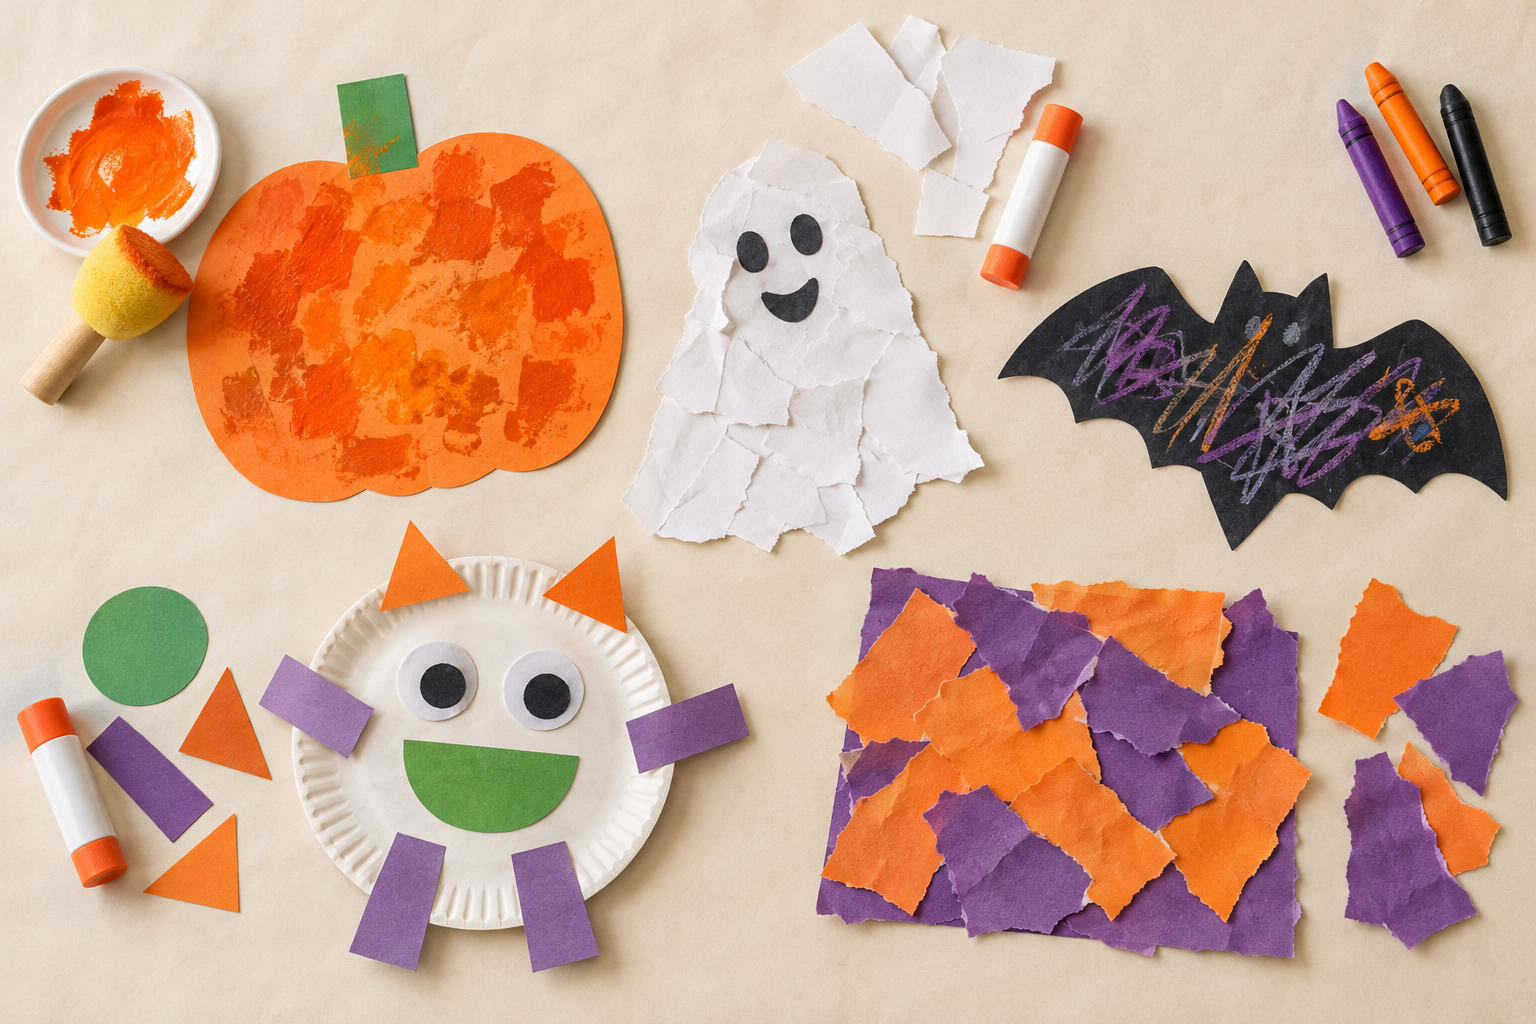
Sticky pumpkin window collage
You need: clear adhesive paper, wide pieces of orange paper or tissue, black construction paper and tape.
Cut a large pumpkin outline from black paper. Tape a sheet of clear adhesive paper to the table with its sticky side facing up, then place the outline over it. Hand your child broad orange pieces to press inside the pumpkin. The pieces can overlap and extend beyond the outline. When your child is finished, seal the front with another clear sheet and trim the edges yourself.
This is a useful choice for a child who dislikes wet paint. For a child who mouths paper, keep control of the supply and offer one large piece at a time. Hang the sealed collage on a window or glass door only after checking that no loose scraps remain.
Sponge-stamped ghosts
You need: dark construction paper, washable white paint, a large clean sponge and a chunky crayon or paper face shapes.
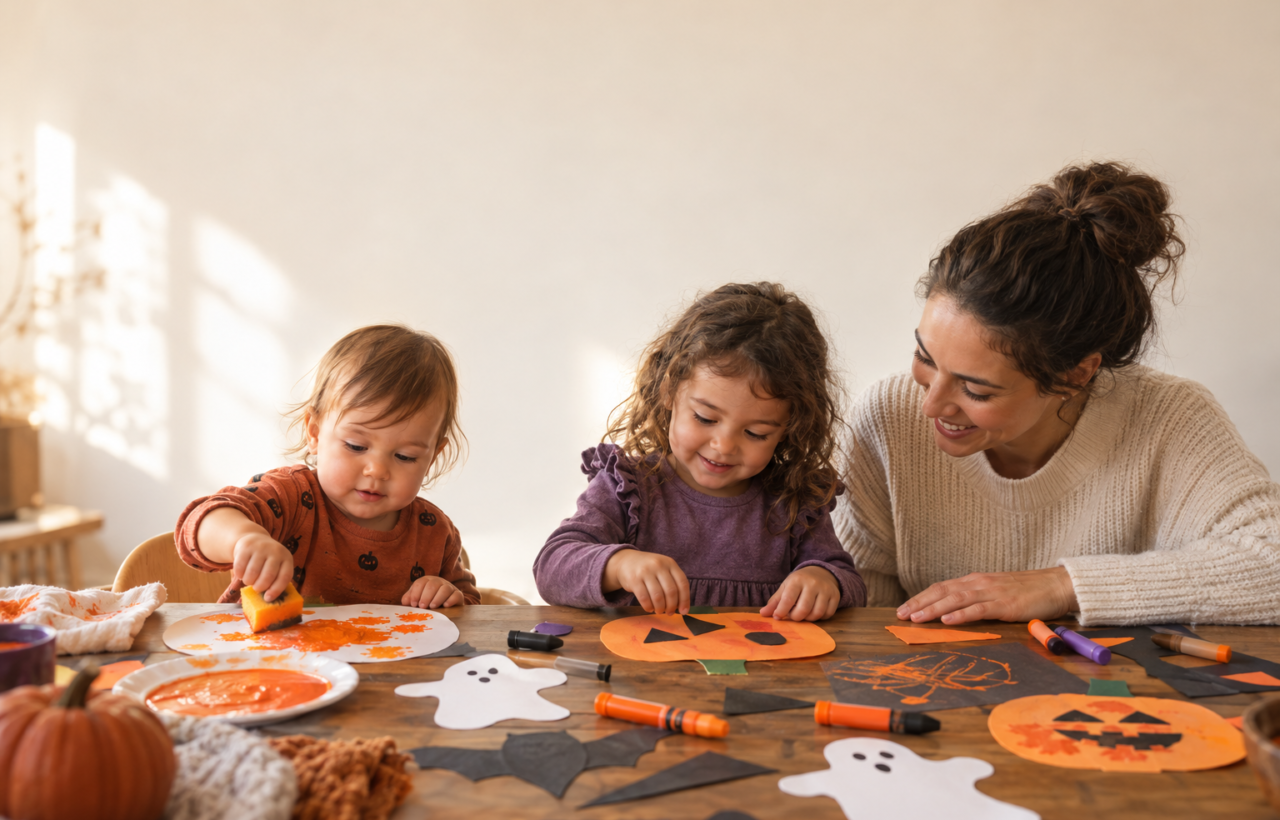
Put a shallow amount of paint on a washable tray. Show your child how to touch the broad sponge to the paint and press it onto the paper. Let the marks overlap until the page has as many ghostly shapes as your child wants. Once the paint is dry, an older child can draw faces. For a younger child, prepare large paper eyes and mouths that can be attached with a glue stick under your supervision.
If your child does not want paint on their hands, do not turn that hesitation into another task to overcome. Give them a sponge with an easy-to-hold dry side, or choose the sticky collage instead.
Cardboard-tube pumpkin prints
You need: a cardboard tube, orange washable paint, sturdy paper and a green crayon.
Dip one end of the tube lightly into the paint and let your child stamp rings across the paper. Overlapping rings become a loose pumpkin patch without requiring your child to stay inside an outline. When the prints are dry, your child can add green marks for stems, or you can draw the stems while they choose where each one belongs.
Keep the paint layer shallow. A heavily loaded tube tends to slide instead of stamp, which can make a child press harder and spread paint across the table. If the tube becomes soft or crushed, replace it rather than expecting your child to grip it more carefully.
Torn-paper monsters
You need: coloured construction paper, a glue stick, a larger backing sheet and pre-cut paper features.
A preschooler can tear broad strips and shapes. For a younger toddler, tear the paper yourself and make pressing the pieces the main activity. Cover a manageable area of the backing sheet with the glue stick, then let your child arrange the coloured paper. Add large paper eyes, teeth, horns or feet after the body is in place.
There is no incorrect arrangement, which makes this a good project for a child who wants to direct the activity. Ask where a feature should go and accept the answer. A mouth at the top of the page is still a monster made by your child.
Paper-plate pumpkin faces
You need: a plain paper plate, an orange chunky crayon or washable paint, a glue stick and large black paper shapes.
Let your child colour or paint the plate. While it dries, offer a small selection of large face shapes that you have cut in advance. Your child can choose the eyes and mouth, position them and press them onto glue you have applied. Add a broad paper stem yourself if your child wants the face to read more clearly as a pumpkin.
Do not present a full pile of facial features at once. A limited choice keeps the task understandable and reduces the chance that loose paper covers the table before the plate is ready.
Adjust the same project instead of expecting more patience
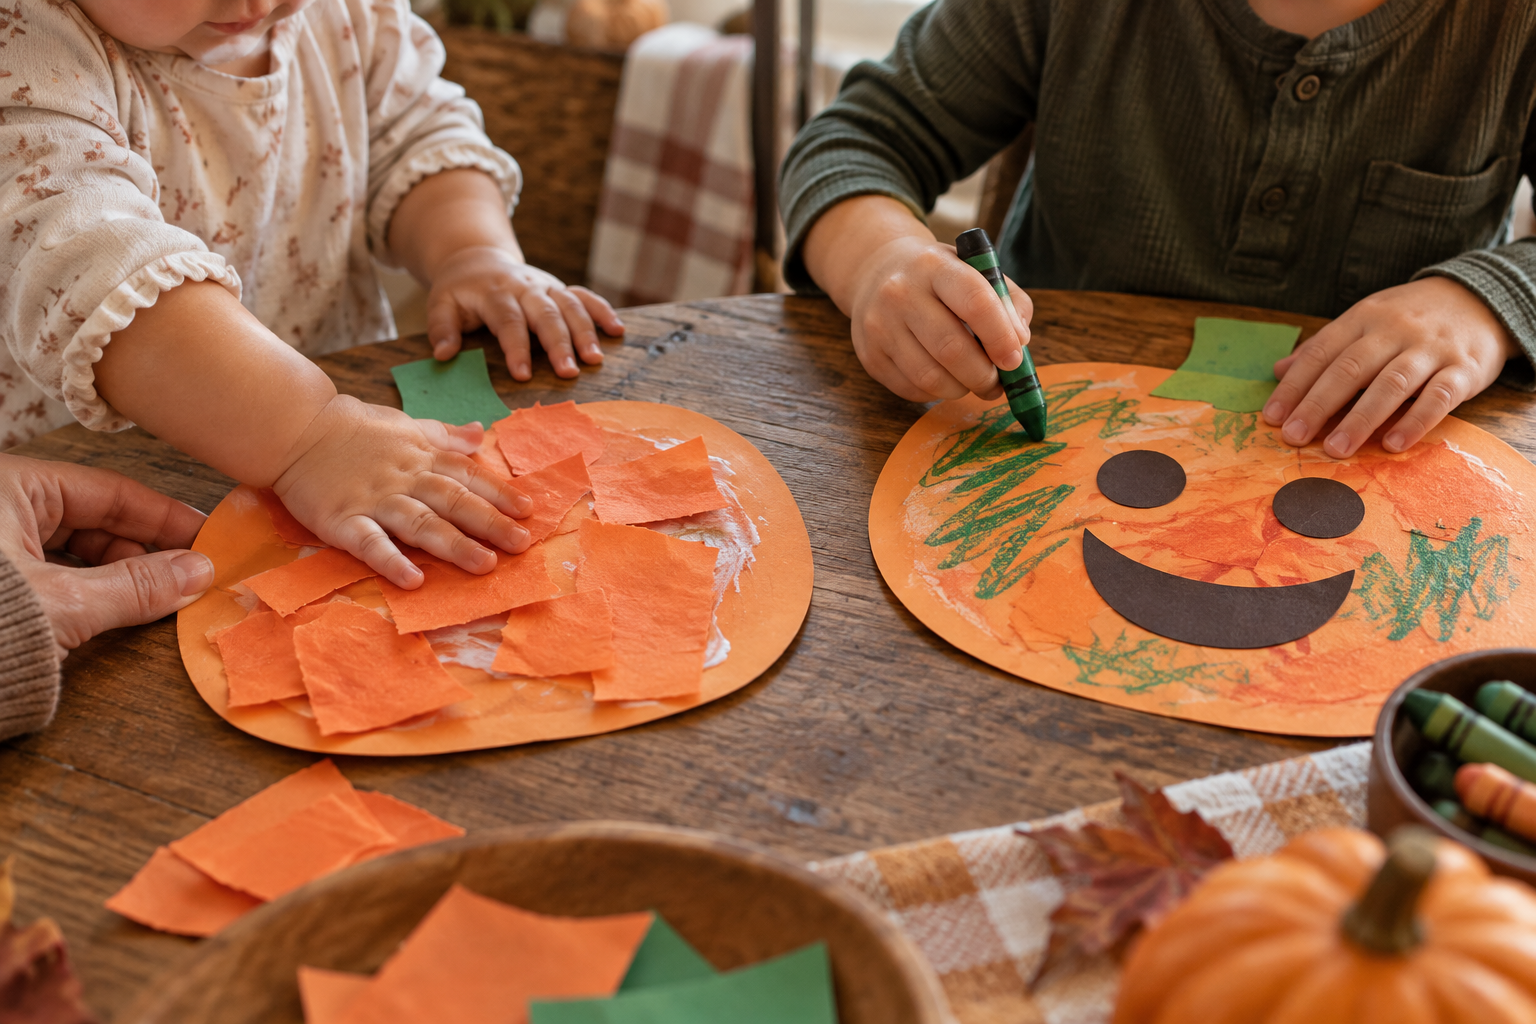
A project can work for siblings at different stages when each child gets a different job. The youngest child might stamp paint or press prepared paper. A preschooler might tear shapes, choose a colour plan, draw a face or use child scissors with direct adult supervision. You can handle the final trimming and hanging.
Watch for the moment the activity stops being satisfying. Repeatedly dropping tools, sweeping materials aside, climbing down or trying to open unrelated containers usually means the craft is over. You do not need to persuade your child to complete the picture. Put unfinished work somewhere safe to dry and offer it again later if they ask.
If your child is cautious, demonstrate one movement on a separate scrap rather than altering their picture. If they are energetic, tape the paper firmly to the table and choose stamping over precise placement. If they want control, offer meaningful choices: dark or light paper, ghost or pumpkin, crayons or collage. Avoid asking a question when only one answer is acceptable.
You can also stop before the decorating stage. A page of orange rings, white sponge marks or torn paper is already the child’s work. Turning every mark into a recognizable character is optional, and the adult additions should not hide what the child actually did.
Key takeaways for an easier craft session
- Choose one main action your child already enjoys, such as stamping, sticking or scribbling.
- Prepare cuts, tools and cleanup supplies before your child comes to the table.
- Use age-appropriate materials and stay close enough to prevent mouthing or unsafe tool use.
- Offer a limited set of materials, then add more only if your child remains engaged.
- Let your child’s choices remain visible, even when the result is uneven or unexpected.
- End when interest fades; a Halloween craft does not need to look finished to be complete.
Pick the project with the easiest child-sized job, prepare the adult steps first and leave room for the result to surprise you. A crooked pumpkin face or crowded patch of ghosts is not a failed version of your example. It is evidence that your child made the decoration.
References