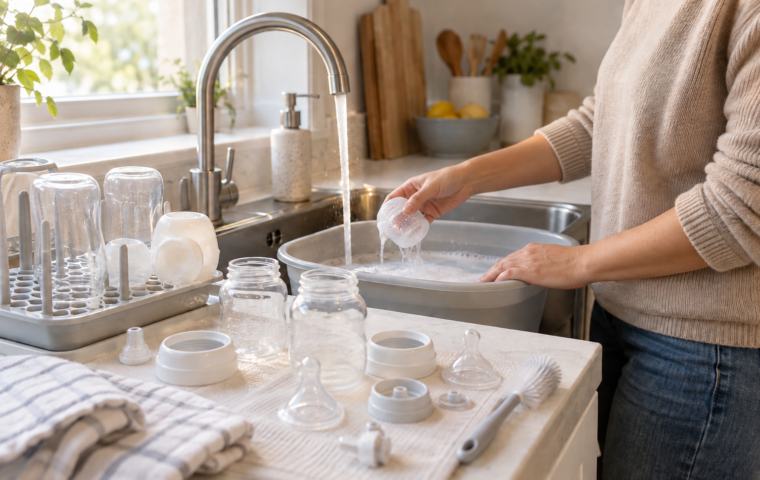
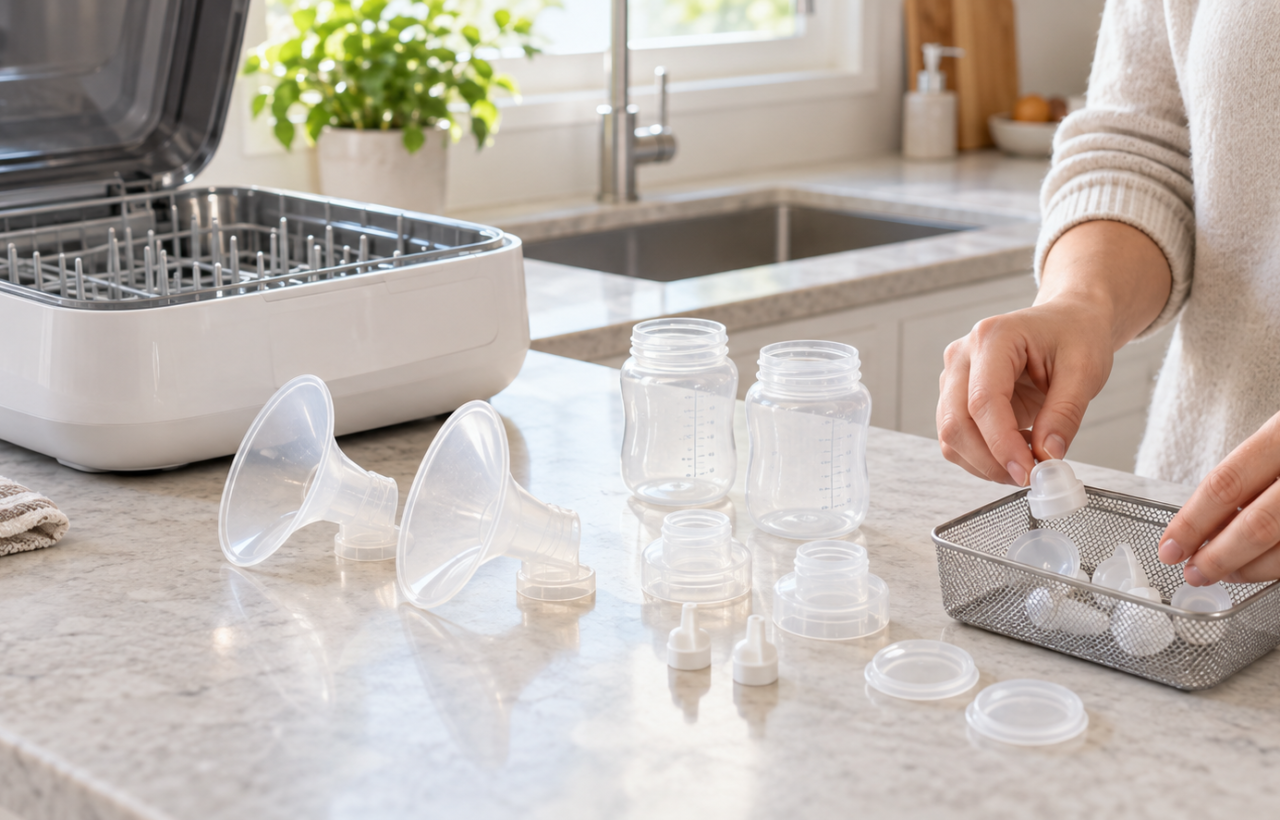
You can clean some breast pump parts in a bottle washer, but only when the pump instructions permit machine washing and the washer supports those parts and the cycle you plan to use. A machine made for baby bottles does not automatically make every flange, valve or membrane compatible.
The safest approach is a part-by-part check followed by careful loading and inspection. That takes a few minutes the first time, then gives you a repeatable routine for the many washing sessions ahead.
Start with the part, not the machine
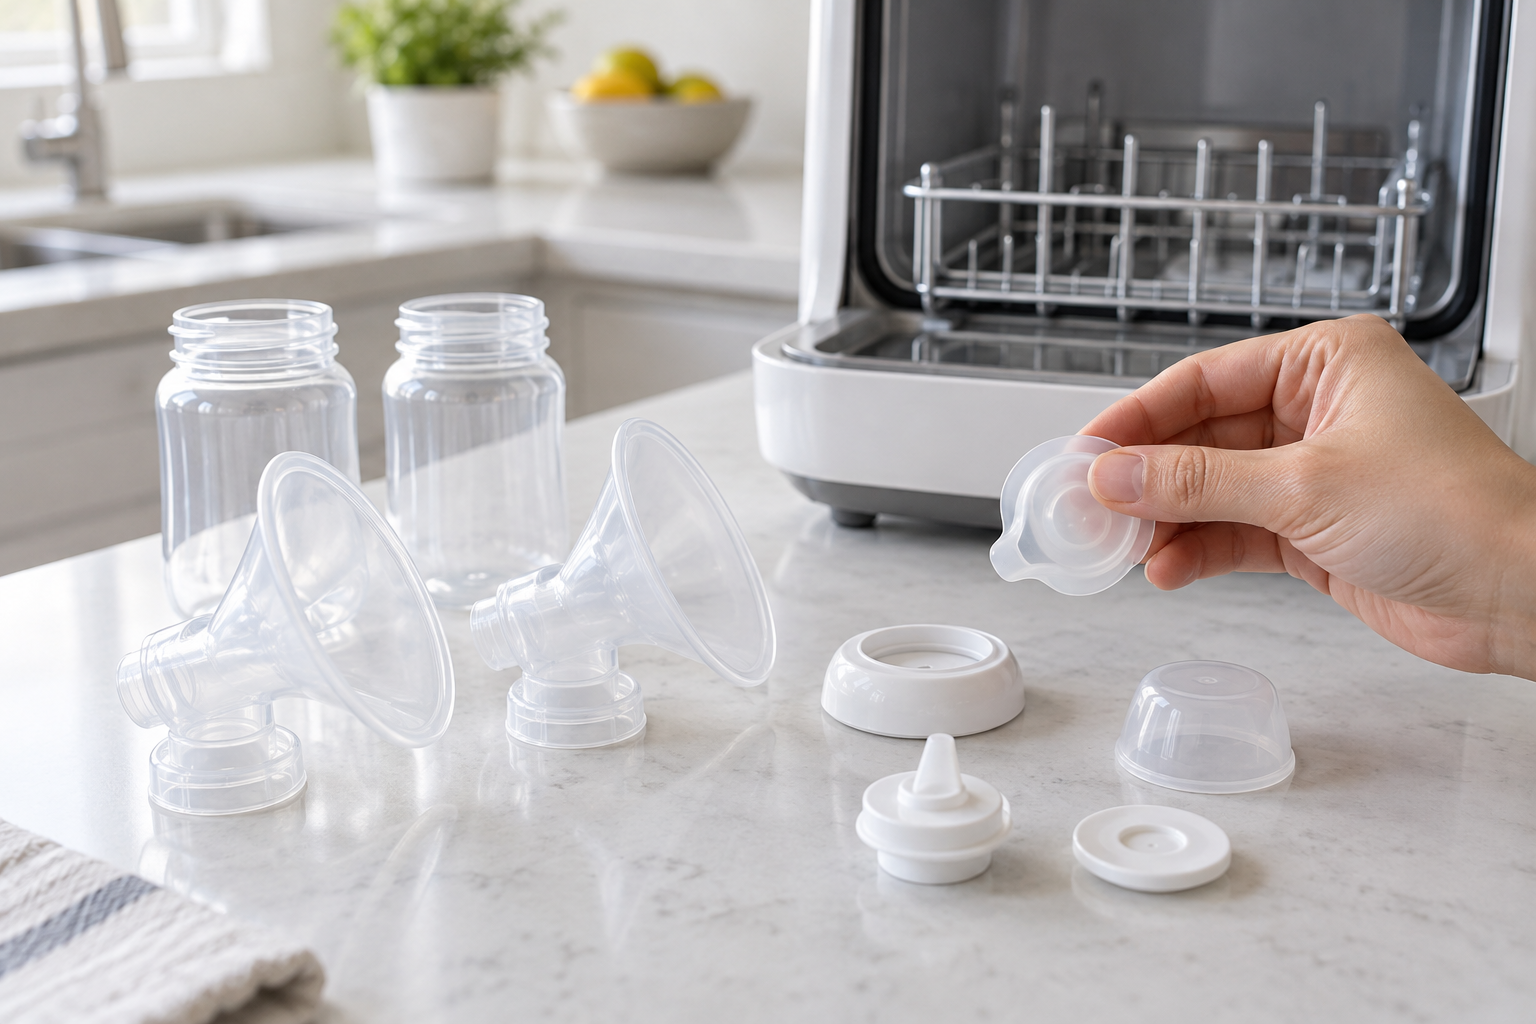
A bottle washer may be able to wash pump components effectively while still being unsuitable for one small piece in your particular pump. Compatibility depends on the material, shape, permitted temperature and whether water can reach and drain from every surface.
A purpose-built machine may offer stages that clean, sterilize and dry compatible breast pump parts. The important word is compatible. A pump part does not become washer-safe simply because it fits in the basket.
Before the first cycle, check both sides of the pairing:
- Your pump instructions: Identify every washable milk-contact part and note how far it must be disassembled. Look for restrictions on machine washing, heat, detergent and sterilizing cycles.
- Your bottle washer instructions: Confirm that breast pump parts are supported. Check which rack, basket, holder, detergent and program the manufacturer specifies.
- Each individual component: Do not assume that approval for the flange also covers its valve, membrane, connector, cap or collection container.
- Your care plan: If a neonatal unit, pediatrician or another clinician has given you a specific cleaning protocol because of your baby’s health, that protocol takes priority over the convenience settings on the machine.
Keep the pump motor, powered units, cables and charging components out of the washer. Treat tubing separately and follow the pump maker’s directions for it; tubing is not automatically washable just because it connects to a washable part.
If either set of instructions is silent or unclear, do not use the most intense cycle as a test. Hand-wash the part by the method specified for the pump until you can confirm compatibility.
Use a loading routine that exposes every surface
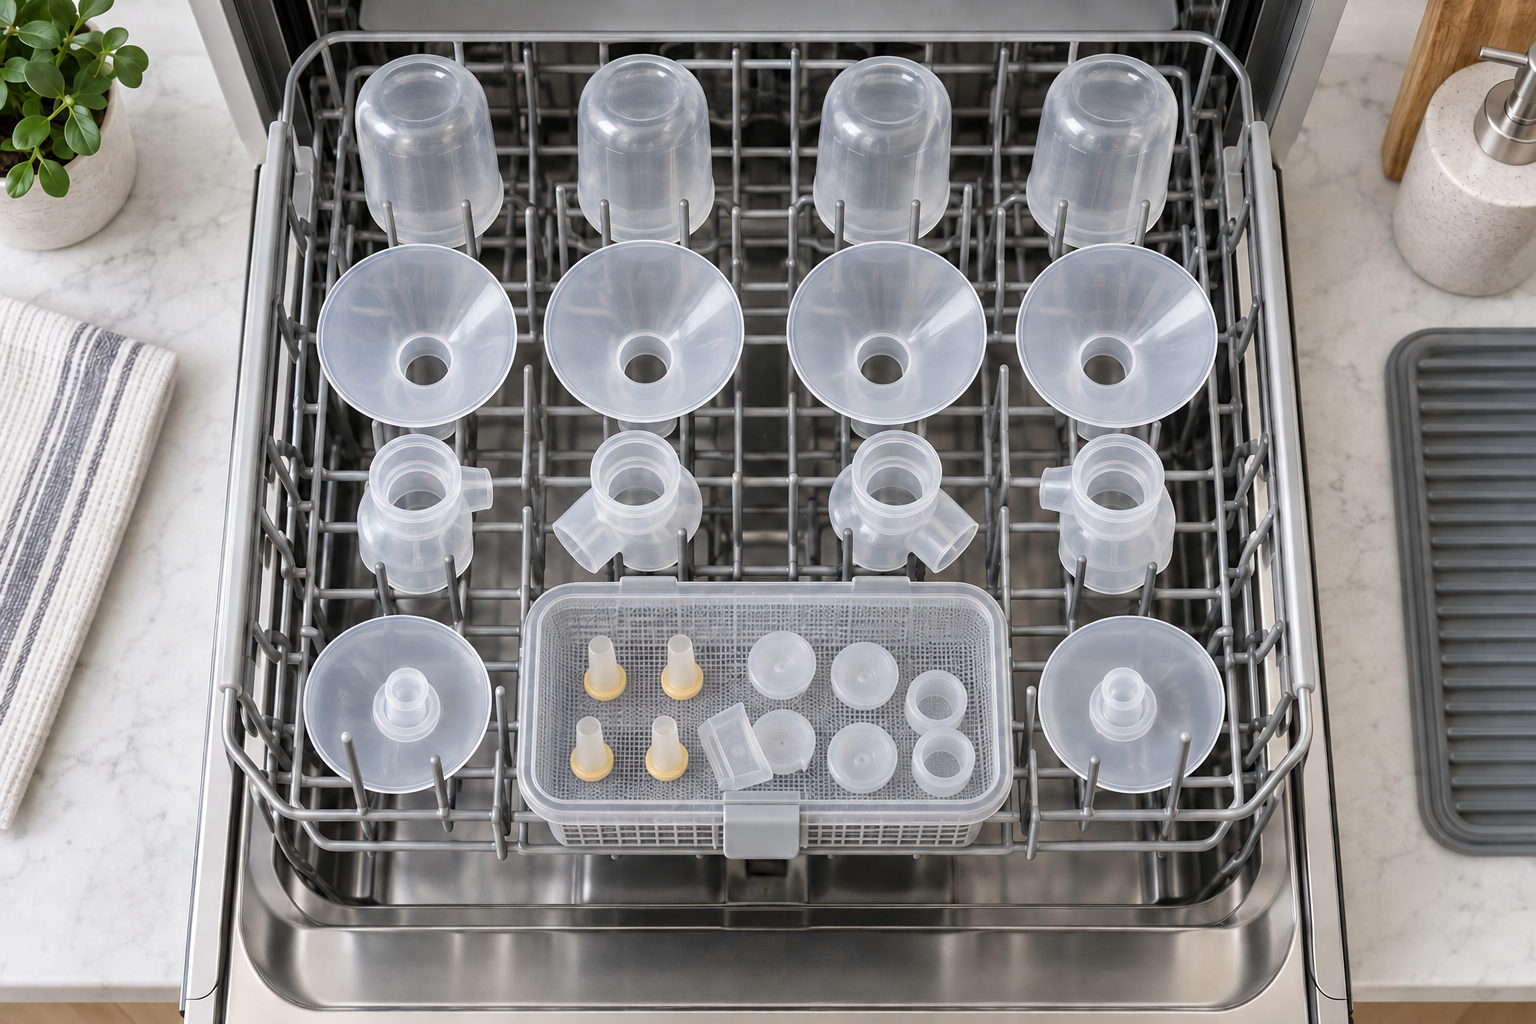
A compatible part can still come out dirty when it is nested inside another piece, hidden from the spray or loose enough to move during the cycle. Loading is part of the cleaning process, not just a way to fit everything into the machine.
- Wash your hands and prepare a clean landing area. You will need somewhere protected to place the parts after the cycle.
- Separate the washable parts fully. Follow the pump’s diagram rather than relying on how the assembled pump looks. Remove valves, membranes and connectors when the instructions tell you to do so.
- Check for damage before washing. Set aside anything cracked, torn, warped or no longer fitting correctly, and follow the manufacturer’s replacement guidance.
- Complete any required pre-treatment. If either manual calls for draining, rinsing or another step before loading, do it now. Do not invent an extra step that conflicts with the pump instructions.
- Load without stacking or nesting. Give each milk-contact surface a clear path to the spray. Angle hollow pieces so water can enter and drain, and secure small valves or membranes in the holder intended for them.
- Use the approved detergent and cycle. More detergent or more heat is not automatically more effective. Follow the washer’s quantities and the pump part’s limits.
- Let the selected cycle finish. Opening the machine early can interrupt washing or drying. Handle finished parts with clean hands.
Do not overload the rack to save a second run. When parts touch closely, the spray may not reach the surfaces that held milk. A smaller, correctly arranged load is the useful load.
Cleaning, sterilizing and drying are different jobs
A washer may combine several functions, but they do not replace one another. Cleaning removes milk residue. A sanitizing or sterilizing stage applies the machine’s additional process to already clean, compatible parts. Drying removes the moisture left after washing.
That distinction changes how you choose a program. A sterilize-only setting is not a shortcut for a dirty part, and a wash setting does not include an extra sterilizing stage unless the machine instructions explicitly say it does. Likewise, a cycle name on the control panel does not prove that every pump component can tolerate that cycle.
Use the pump instructions and any health-specific guidance to decide whether an additional sanitizing or sterilizing stage is called for. Then confirm that every part in the load is approved for it. If one component is not, remove it and clean it by its approved method rather than exposing it to a cycle it may not tolerate.
Drying deserves the same attention. Do not assemble or store parts while visible water remains trapped in a connector, collection cup or fold. If the machine’s compatible drying cycle leaves a part wet, finish drying it in the clean manner directed by the pump manufacturer.
Inspect the parts before the next pumping session
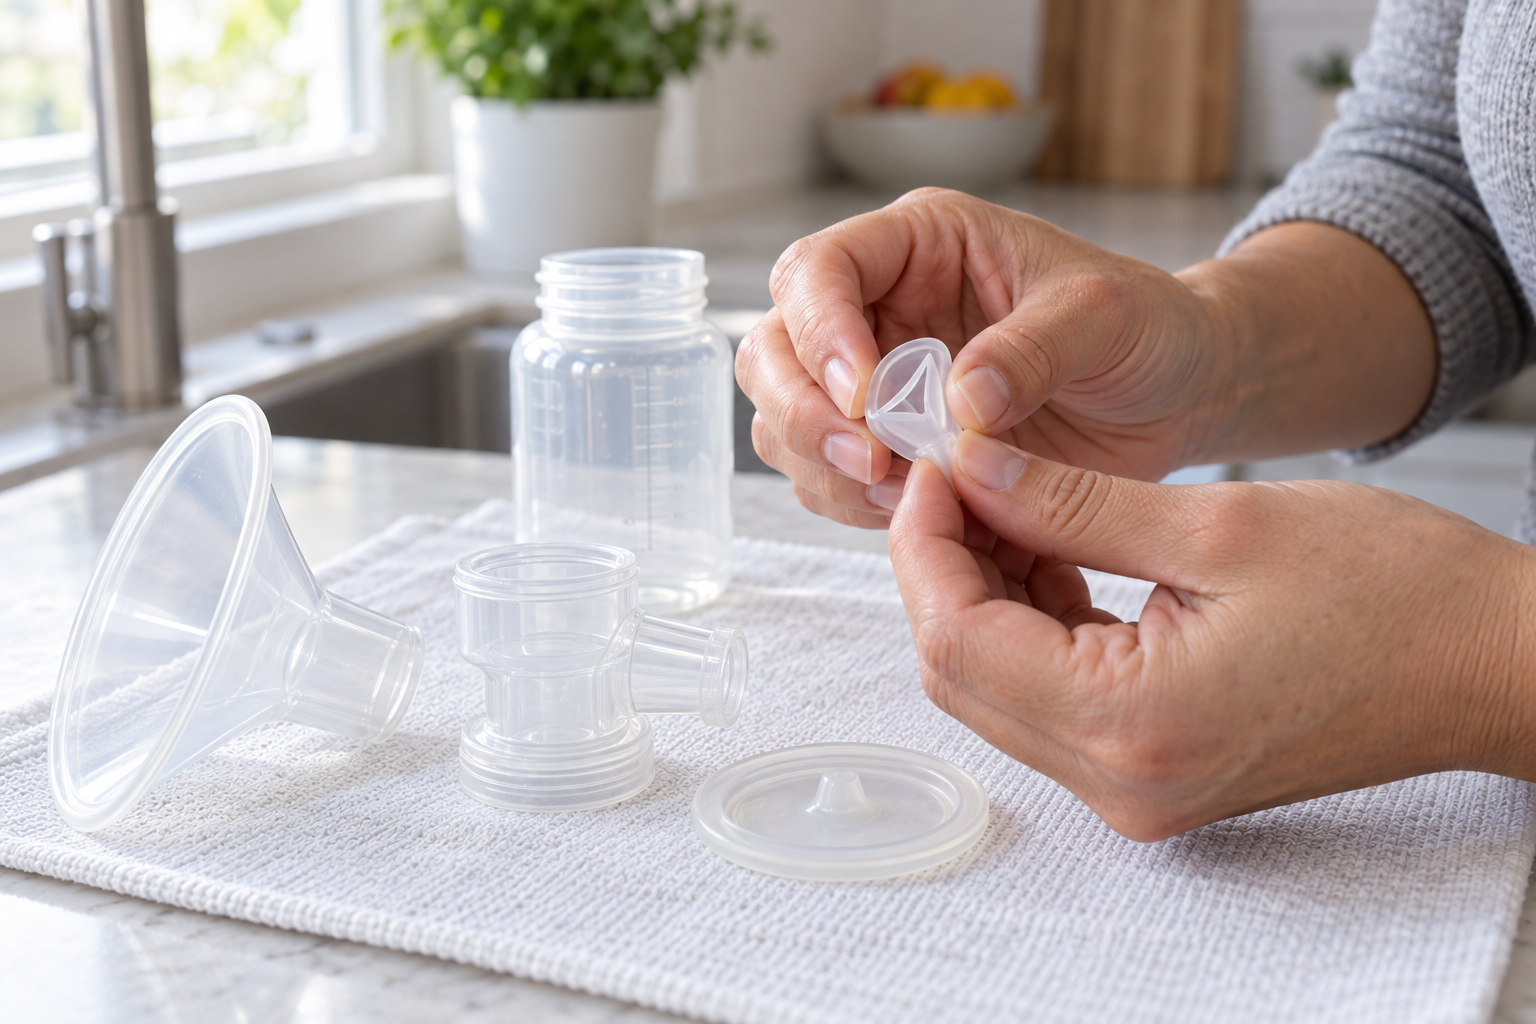
A completed cycle tells you that the program ended. It does not tell you that every piece was positioned correctly. Make a quick visual check part of your unloading routine.
- Look for residue: Check inside connectors, around threads, beneath rims and along the folds of valves and membranes. Rewash a part if milk residue or a film remains.
- Check for retained water: Separate any surfaces that trapped moisture and allow them to finish drying before assembly or storage.
- Check the shape and fit: Stop using a piece that has cracked, torn, warped or stopped fitting as intended. Follow the pump maker’s directions for replacement.
- Check the machine: Maintain the filter, spray openings, reservoir and other removable components on the bottle washer’s stated schedule. A recurring dirty or wet spot may point to poor loading or overdue machine maintenance.
- Store only clean, dry parts: Put them in a clean, protected place and assemble them as directed for your pump.
If the same piece repeatedly comes out dirty, do not keep rerunning an unchanged load. Recheck its position, the small-parts holder, the spray path and the machine’s maintenance instructions. If the washer cannot expose and drain that component reliably, wash it separately using the pump-approved method.
Key takeaways
- Use a bottle washer only for pump parts and cycles permitted by the relevant instructions.
- Check flanges, valves, membranes, connectors and containers individually; approval for one component does not cover the whole assembled pump kit.
- Disassemble the parts, secure small pieces and load everything so spray can reach the milk-contact surfaces and water can drain.
- Treat washing, sterilizing and drying as separate functions, even when one machine combines them.
- Inspect every load for residue, moisture and damage before you assemble or store the parts.
- When compatibility is unclear, use the pump manufacturer’s approved hand-washing method instead of guessing.
For your next wash, make one written list of the parts approved for the machine and the cycle each can tolerate. Keep it near the washer. That small check turns a vague yes-or-no question into a routine you can follow when you are tired and the next pumping session is approaching.
References