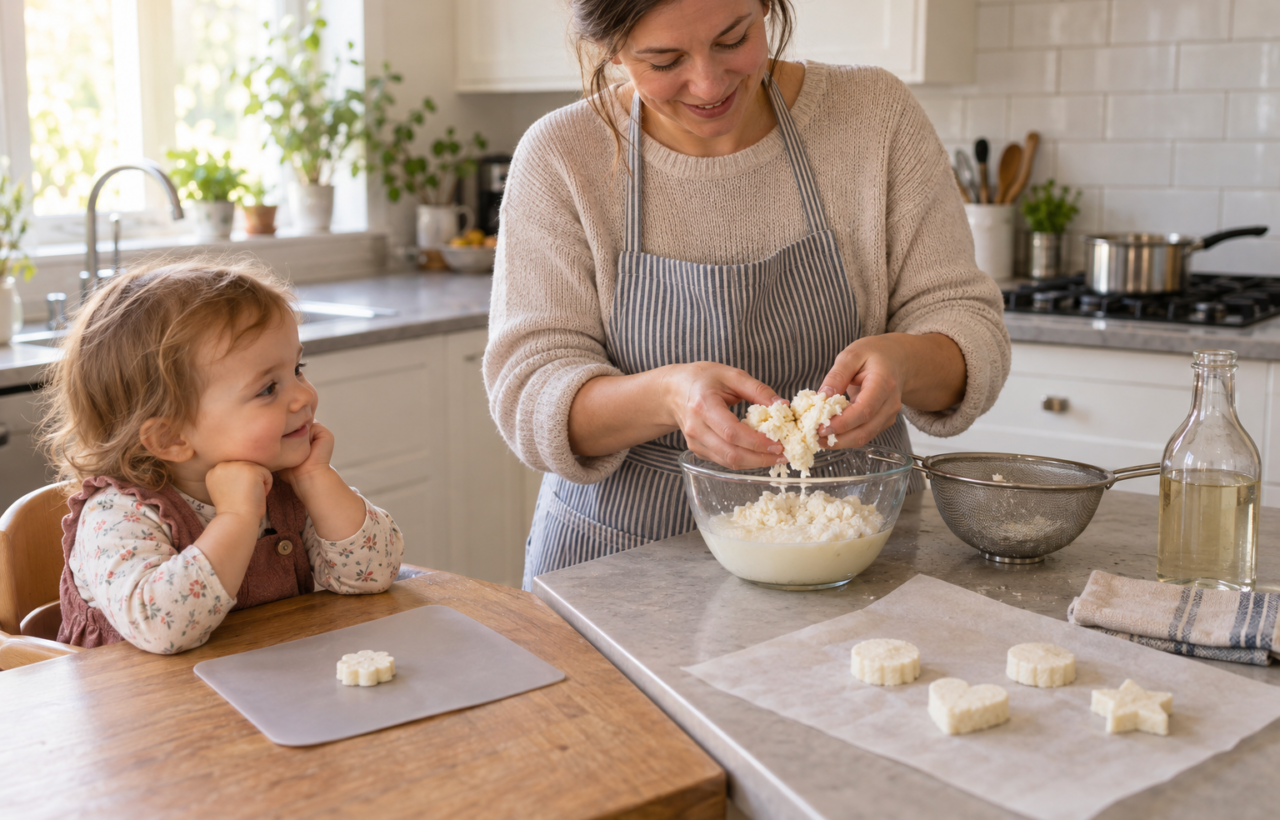
You have milk, vinegar, and a curious young child – but you also have hot liquid, a messy strainer, and someone who may put the result straight into their mouth. The safest way to try this activity is as an adult-led demonstration with one small, carefully chosen job for your child.
The payoff is wonderfully concrete: you separate soft curds from milk, press them into a shape, and let them harden. Your child gets to watch an everyday food become a completely different material, while you keep the hot and fiddly parts under control.
Key takeaways before you start
- The useful material is the solid casein curd that separates from the liquid after you combine warm milk and vinegar.
- An adult should handle all warming, pouring, and initial straining. Wait until the curds are cool before inviting a child to touch them.
- Remove as much liquid as you can, then make a thin, even shape. A thick piece dries slowly and is more likely to stay soft in the middle.
- Treat the finished piece as a supervised craft, not food, a teether, or a tested children’s toy.
- If your child still mouths craft materials, keep this as a watch-and-talk activity rather than a hands-on one.
What milk and vinegar are actually making
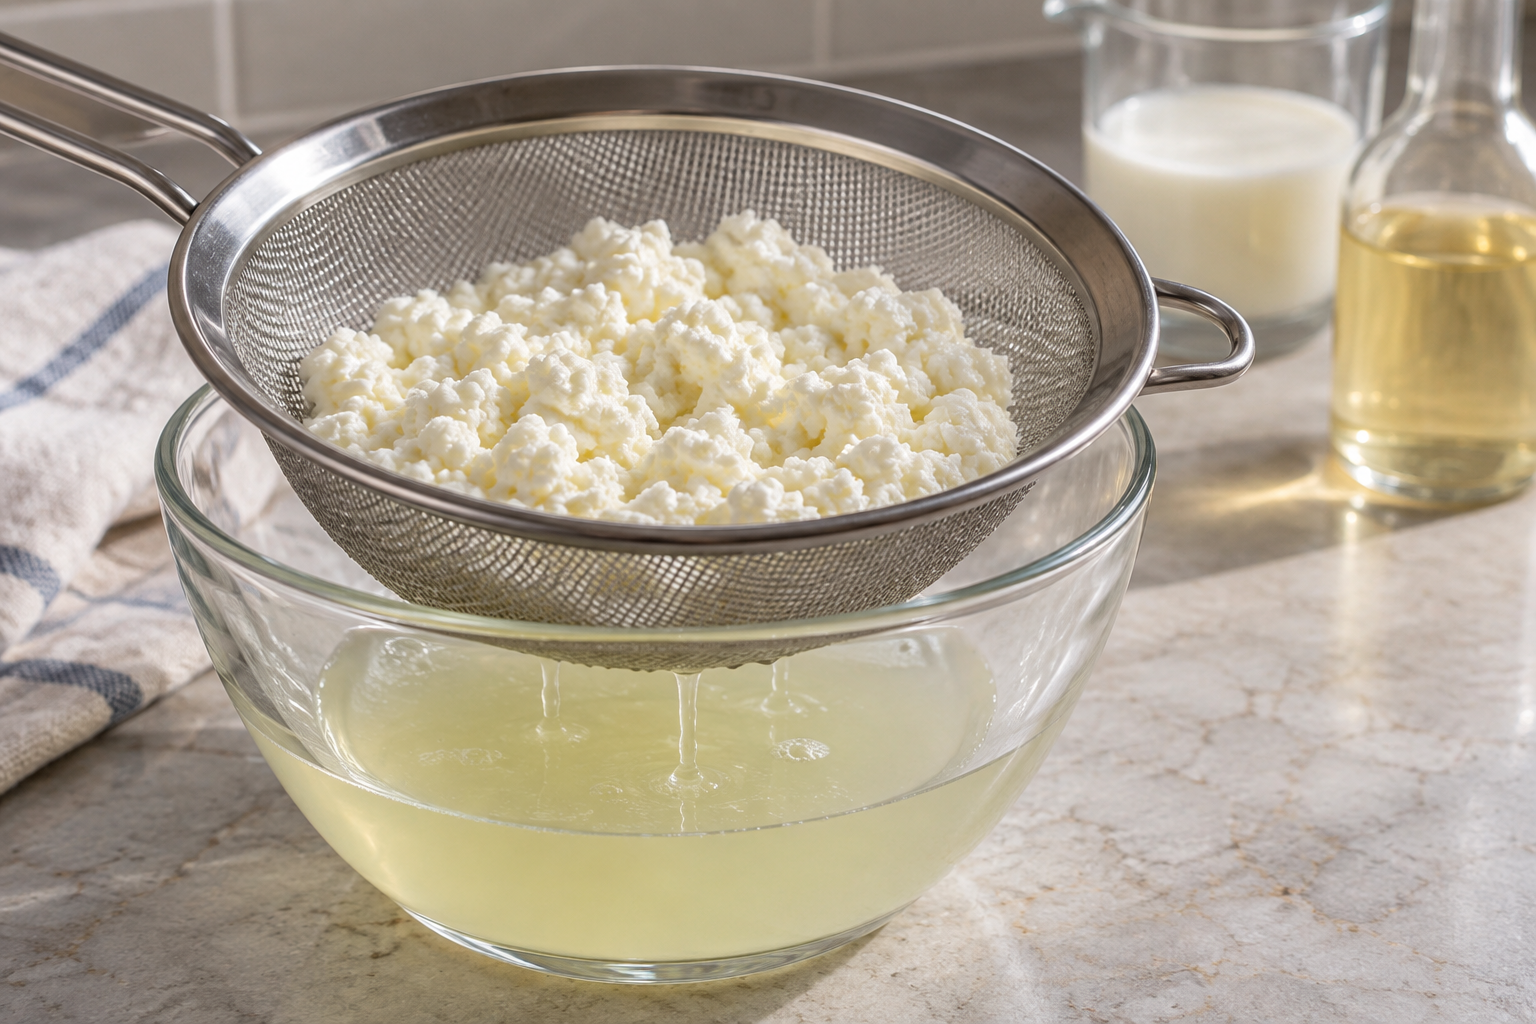
Milk contains proteins, including casein. Adding vinegar changes the conditions around those proteins, causing the casein to gather into visible white curds. Those curds can be strained, pressed, shaped, and dried. That simple separation is why milk and vinegar can be used to make casein plastic.
The word “plastic” can be misleading here. You are not making the same material used in a plastic cup or building brick. You are making a milk-protein material that is moldable while damp and firmer after it dries. Think of it as a small science craft, not a homemade replacement for commercial plastic.
The clearest learning moment happens before shaping. Let your child look at the mixture after it separates. Point out the solid curds and the thinner liquid around them. The change is easier to understand when they can see both parts.
How to make casein plastic without rushing the cues
Gather a simple setup
- Milk
- Vinegar
- An adult-controlled way to warm the milk
- A heat-safe bowl and spoon
- A fine strainer or a strainer lined with a clean cloth
- A second bowl to catch the liquid
- A plate or washable work surface
- Paper towel or a clean kitchen towel
- A broad mold or cookie cutter, if you want a defined shape
Set everything out before warming the milk. The awkward part of this activity is moving between a hot container, vinegar, and a strainer. A prepared station lets you keep both hands on the task instead of opening cupboards while supervising a child.
Follow the material rather than the clock
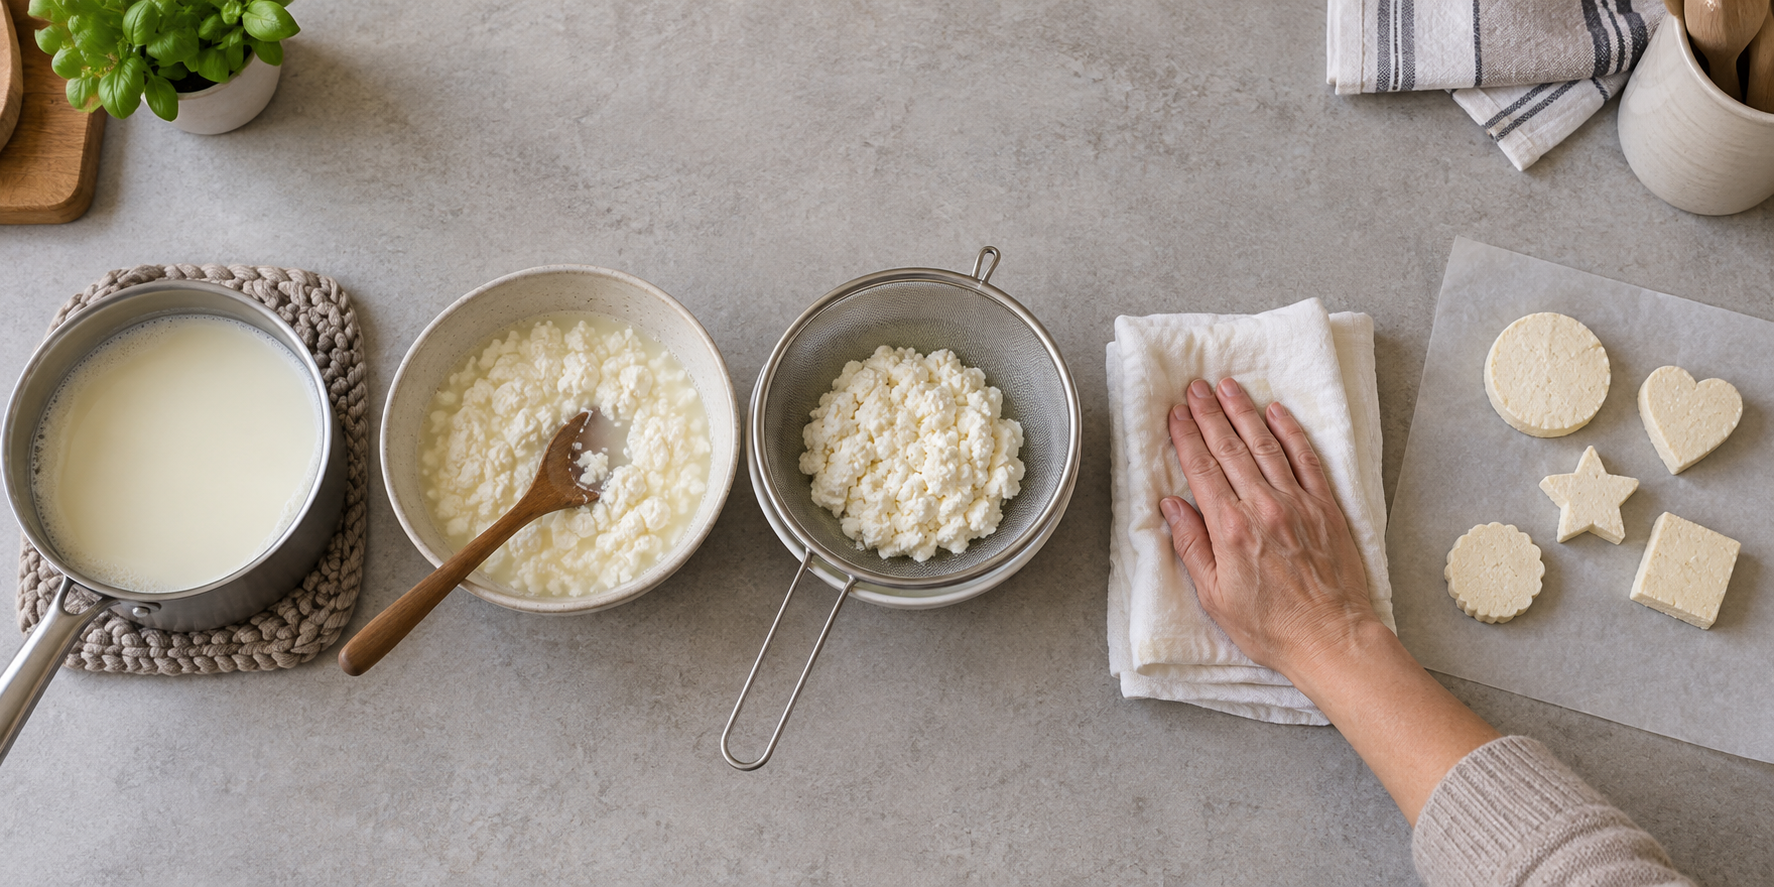
- Create a hot zone. Put the warming container, bowl, vinegar, and strainer beyond your child’s reach. Keep the child in a secure seat or at a separate observation spot.
- Warm the milk. An adult should warm it until it is clearly hot, without letting it boil. Move it to the heat-safe bowl carefully.
- Add vinegar gradually. Stir gently as you add it. Watch for white curds to form and separate from the thinner liquid. Once that separation is obvious, stop adding vinegar.
- Let the mixture become safe to handle. Do not test hot curds with a child’s hand. The adult should decide when both the curds and equipment are cool enough to touch.
- Strain the curds. Pour the mixture through the prepared strainer. Press the curds with the back of a spoon to push out more liquid. If you use a cloth, the adult can gather it around the curds and press carefully.
- Blot and shape. Transfer the drained curds to a washable surface. Press them together while they are still damp and workable. Make one broad, even piece instead of several small pieces that could become choking hazards.
- Leave the shape to dry. Put it somewhere dry and completely out of reach. Turn it only when it is firm enough to lift without bending or breaking. Do not call it finished while the centre still feels soft or damp.
Drying is the stage most likely to test your patience. A dry-looking surface does not guarantee that the middle is ready. Thickness, retained liquid, and airflow all affect the result, so use the feel of the piece rather than promising your child that it will be ready at a particular time.
Give your baby or toddler a role that fits their behaviour
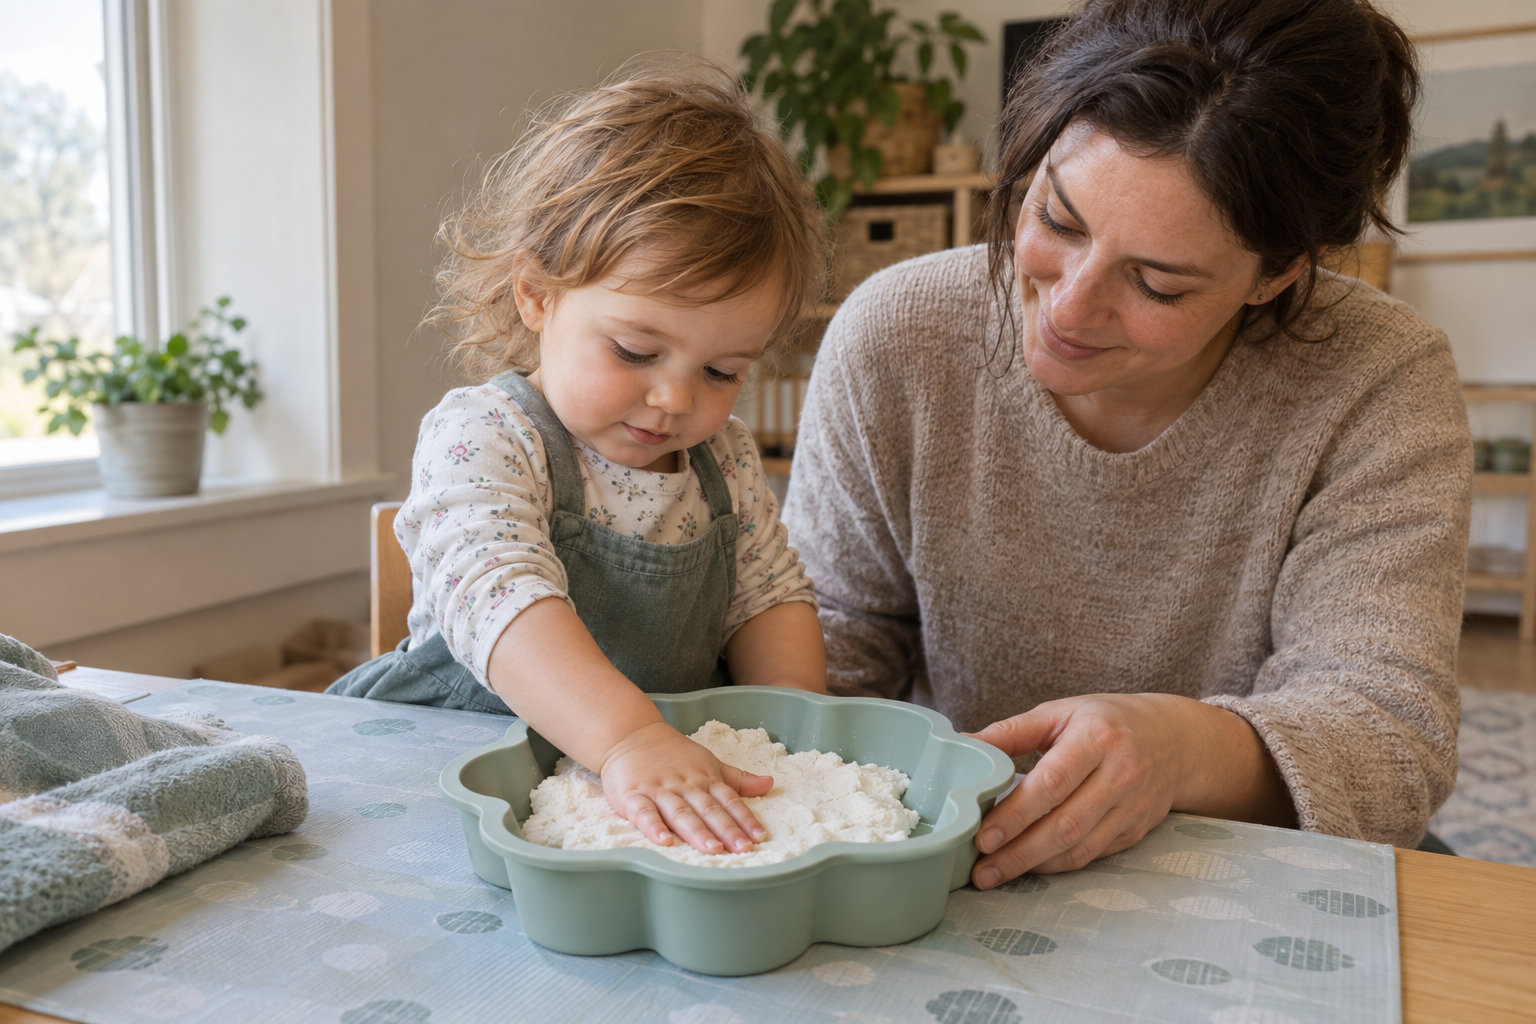
A baby does not need to handle the mixture to benefit from the activity. From a safe distance, they can watch you pour, stir, and separate the curds. Use plain words such as “liquid,” “lumpy,” “wet,” and “firm” as the material changes.
A toddler who can follow a firm stop instruction and no longer mouths every new object may be able to help after the curds have cooled. Give them one controlled job: choosing a broad shape, pressing with the back of a spoon, or patting the curds inside a large mold. Keep your hand near the materials and end the hands-on part if the curds start travelling toward their face.
If your child has a milk allergy or has been told to avoid contact with milk, skip this experiment. Vinegar changes the casein’s structure, but it does not turn a milk-derived material into a milk-free one.
Do not frame the curds as something to taste, even though the starting ingredients are familiar foods. They have been heated, handled, strained through craft equipment, and left to dry. Wash hands and surfaces after the activity, and keep the finished piece away from babies, pets, and unsupervised toddlers.
Fix common problems by checking moisture first
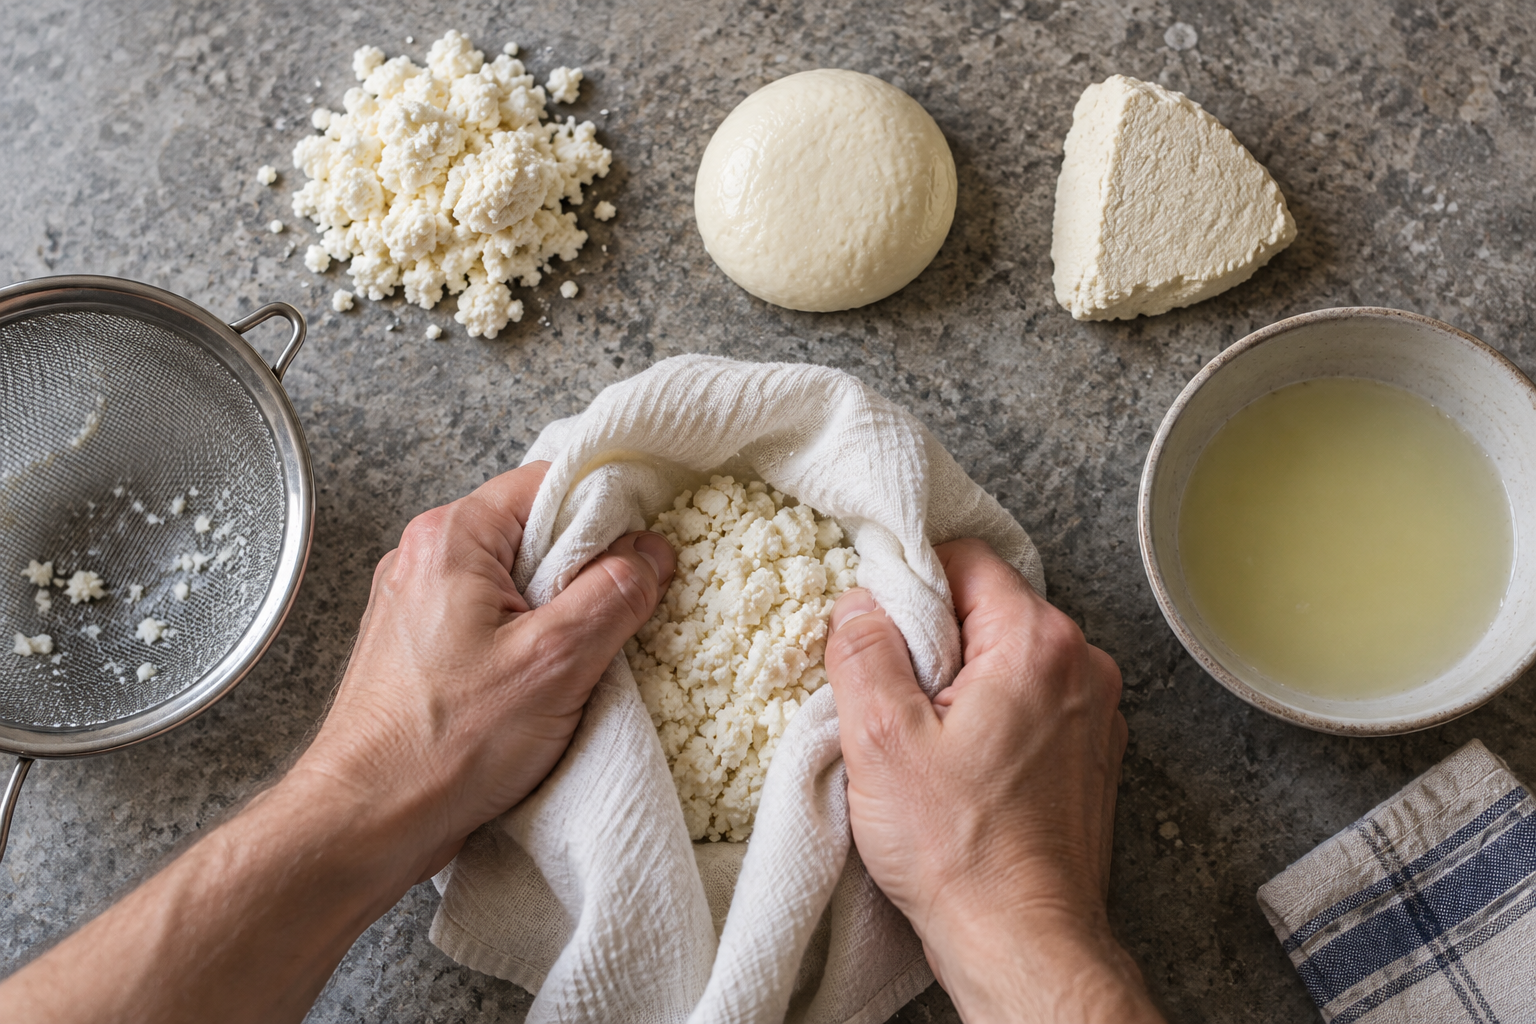
If the experiment is not behaving as expected, avoid changing several things at once. The appearance and feel of the mixture usually tell you which step needs attention.
- You see milk but few curds: The milk may have cooled too much, or there may not be enough vinegar to trigger a clear separation. The adult can warm the mixture gently or add vinegar in small increments, stirring and watching after each addition.
- The curds feel sloppy: They are still holding too much liquid. Return them to the strainer, press again with a spoon, and blot the surface before shaping.
- The material will not hold together: Gather it while it is still damp and compress it firmly. A wide, simple shape is easier to consolidate than narrow arms, points, letters, or tiny decorative pieces.
- The shape cracks as it dries: It may be too thick or uneven. On the next attempt, press the curds into a thinner piece with a consistent thickness and smooth the joins before the surface begins to dry.
- The outside is firm but the middle is soft: The piece is not finished. Leave it in a protected, well-aired place and turn it when it can withstand handling.
- It develops mould, slime, or an unpleasant spoiled smell: Discard it and wash the surface and tools. Next time, remove more liquid and make a thinner shape.
Once the piece is fully dry, use it as a short-lived display object or a reminder of the experiment. Keep it away from water and regular toy bins. It has not been designed or tested for chewing, bathing, rough play, or prolonged use by a child.
For your first attempt, make one plain disc or other broad shape and concentrate on getting it well drained. Once you know what properly separated, workable curds feel like, you can try a more ambitious shape another day.
References