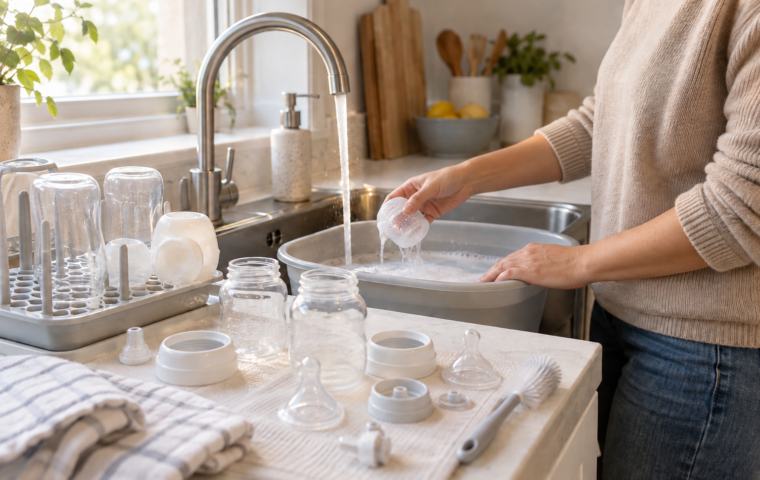

You can buy a cup labelled leakproof, toddler-friendly and easy to clean, then discover that your child cannot get a drink from it, the seal falls out in the dishwasher, or milk hides inside the lid. The most useful question is not, “Which sippy cup is best?” It is, “Which cup can my child drink from and I can clean correctly every day?”
Start with the drinking mechanism. Then check the flow, the number of removable parts and how the cup behaves when it is dropped. That order will tell you more than a long list of features on the package.
Choose the drinking mechanism before the brand
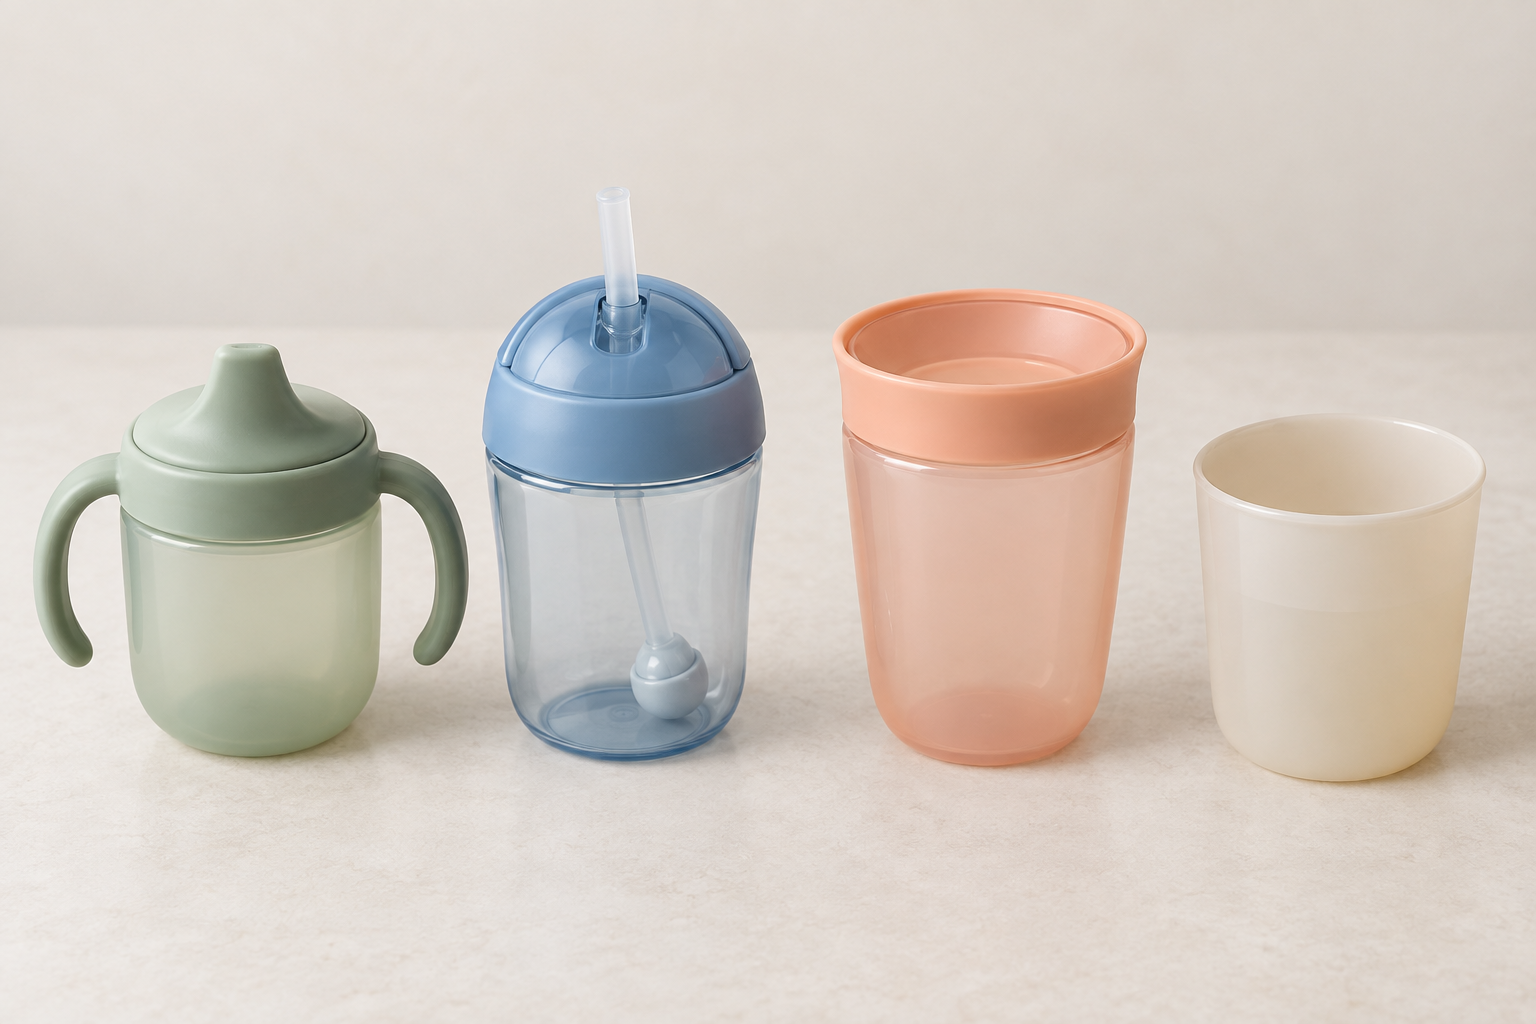
“Sippy cup” can describe several very different designs. A familiar shape does not mean the drinking action will be familiar to your child.
- Spout cups direct the drink through a defined mouthpiece. Some spouts are soft and flexible; others are firm. Check whether your child can comfortably position their lips around the spout.
- Straw cups keep the cup more upright while the child drinks. They still vary considerably: the straw may be wide or narrow, weighted or fixed, and fitted with a valve that changes how much effort is required.
- Rim-activated cups release liquid when the child presses and drinks at the edge. They look simple from the outside, but the lid may contain a removable valve or silicone disc.
- Small open cups have no valve to overcome and no hidden lid parts, but they require hands-on supervision because they do not contain spills.
Match the cup to what your child can do now. Watch one attempt closely. Can they find the drinking point? Can they maintain a comfortable lip seal? Does liquid arrive with a reasonable effort? If they repeatedly suck, pause and give up, check the valve and flow before deciding that they dislike the cup.
Also consider how the cup fits into your day. Handles may help a child who is still learning to hold a container, but they can make the cup wider. A slim body may travel well, but become slippery when wet. A design that works at the table may not fit your stroller tray, bag pocket or cup holder. Measure the spaces that matter rather than assuming a toddler cup will fit them.
Leak resistance and easy drinking pull in opposite directions
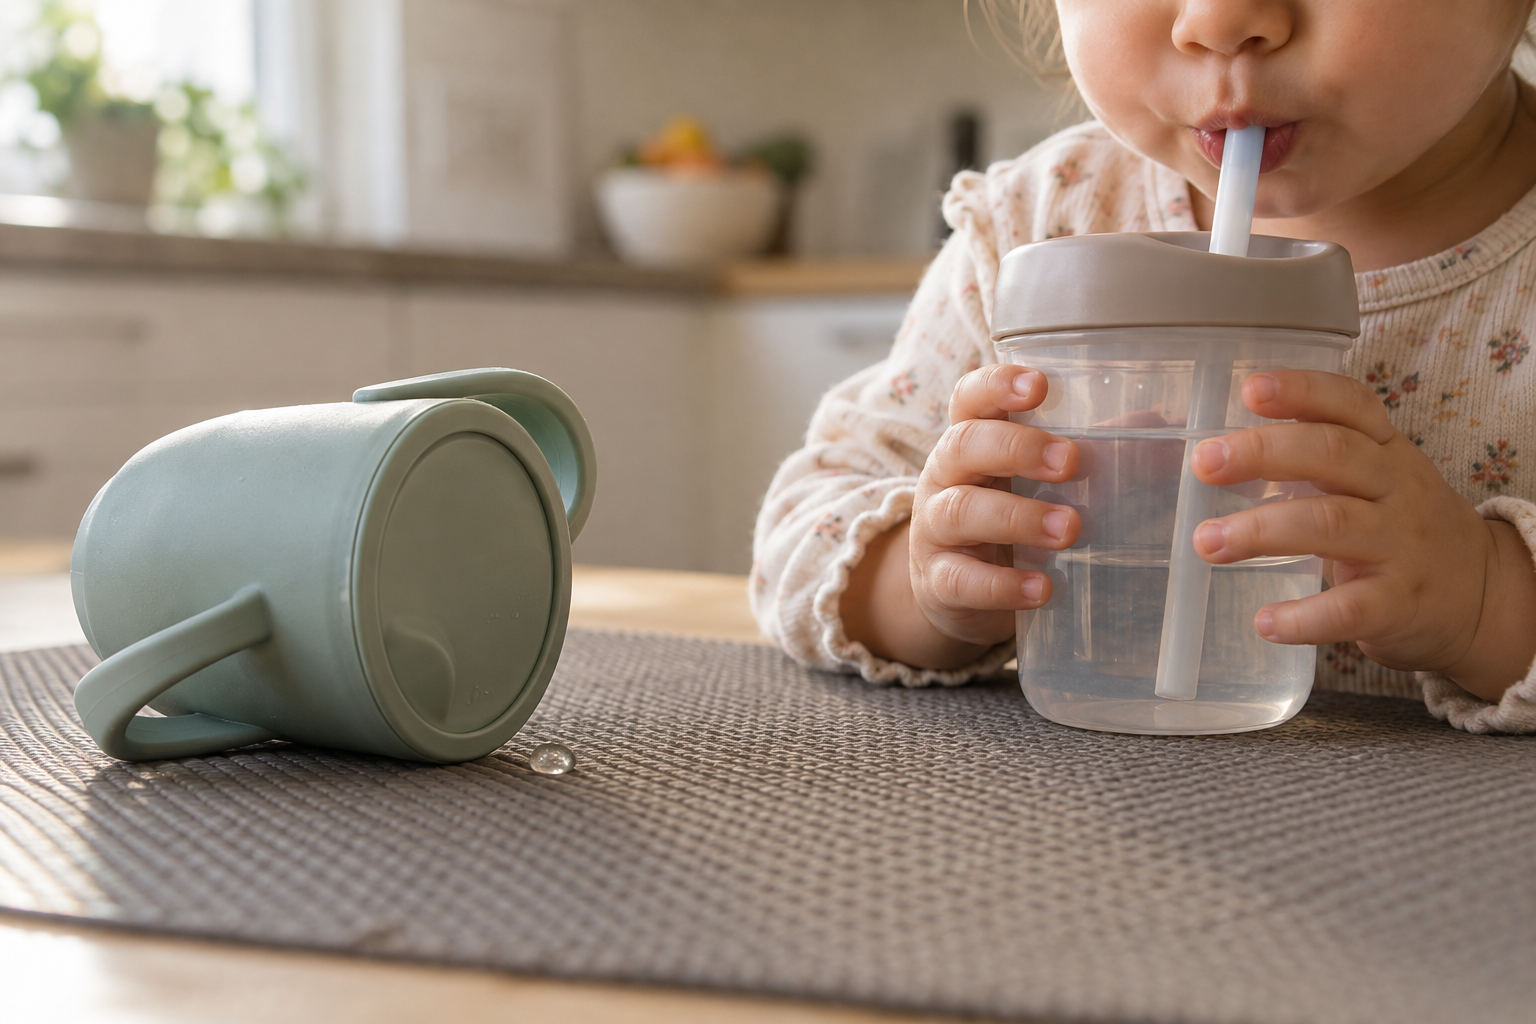
A spill-resistant lid needs some way to stop liquid when nobody is drinking. That same valve must open when your child takes a sip. A tighter system can contain more mess, but it may also demand more suction or add more parts. The most leak-resistant option is not useful if your child cannot drink from it consistently.
Real toddler use includes cups being dropped, shaken and carried into active play. Check the complete cup rather than trusting the word “leakproof” on its own.
- Read the assembly instructions. A seal installed upside down or a lid tightened unevenly can make a good cup leak or block the flow.
- Fill the cup and close it exactly as directed. Look around the rim for gaps, buckling silicone or crossed threads.
- Turn it over above the sink. A brief drip immediately after drinking is different from a continuing leak through the valve or lid.
- Shake and tip it as it will be shaken and tipped in your home. Test with the parts and lid you will actually use.
- Let your child try it while seated and supervised. Leak control and drinkability need to be judged together.
If the flow is too difficult, do not cut, pierce or remove a spill-control part unless the manufacturer explicitly allows that configuration. Altering a valve can create an unpredictable flow and may make pieces easier to detach. Choose a different mechanism instead.
Inspect the cleaning job before you commit
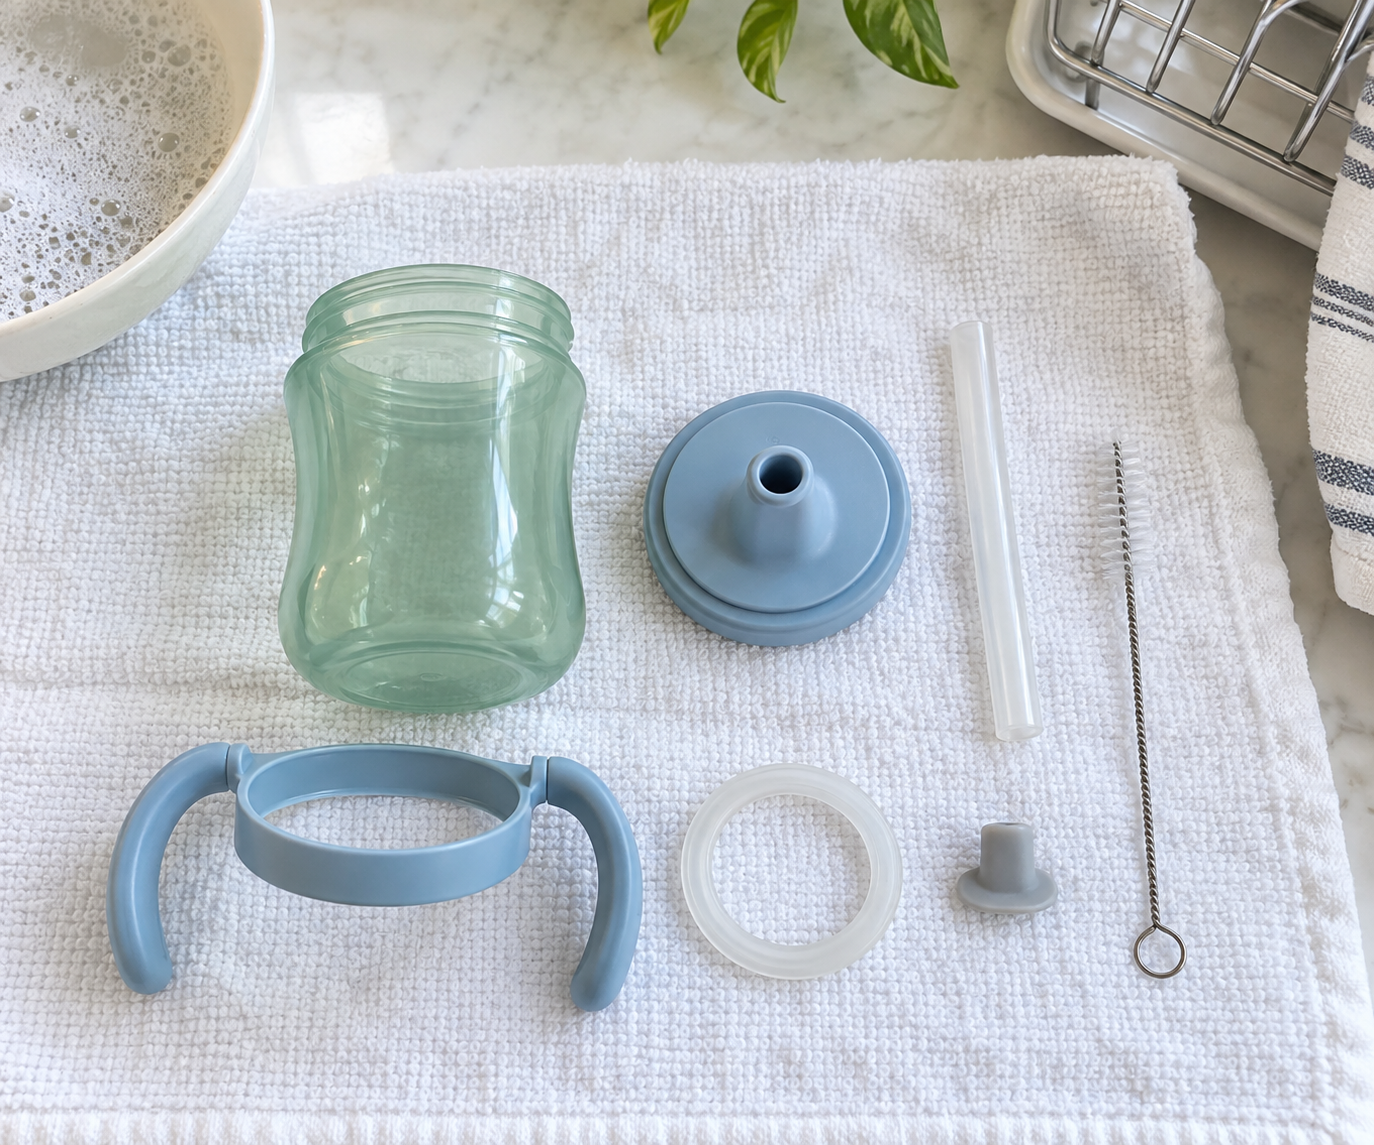
The outside of a cup can look clean while liquid remains under a gasket, inside a valve or at the bend of a straw. Before buying several matching cups, inspect one lid as if you were about to wash it after a busy meal.
- Count the parts you must remove. Include valves, silicone rings, straw sections and weights, not just the cup and lid.
- Check whether the parts are easy to grip. A tiny seal that is difficult to remove is also easy to forget, damage or lose.
- Look for narrow channels and covered recesses. You need a brush or cleaning method that can reach every surface that touches the drink.
- Confirm the washing instructions for every component. A dishwasher-safe cup body does not automatically mean that every valve, straw and seal can be placed anywhere in the dishwasher.
- Reassemble the cup from memory. If the orientation of a seal is hard to see, keep the instructions available for anyone else who prepares the cup.
After washing, let the pieces dry separately before reassembly. Trapping damp parts inside a closed cup makes it harder to notice moisture or residue. Replace components that are cracked, torn, persistently discoloured or no longer sealing as intended, following the manufacturer’s guidance.
This is also where a low purchase price can become misleading. If replacement straws or valves are unavailable, losing one small piece can make the whole cup unusable. Check for replacement parts before buying a multipack or building your routine around one model.
Introduce the cup as a skill, not a test

A new cup changes several things at once: how your child holds the container, where they place their mouth, how hard they draw and when liquid arrives. Give them a chance to learn the mechanism without turning each attempt into a contest.
- Offer the cup while your child is seated, alert and supervised.
- Use a drink that is already appropriate and familiar to them.
- Show the drinking action slowly, then place the cup within reach.
- Help with the angle or handle position only as much as needed.
- If your child becomes frustrated, stop and try again at another ordinary meal or snack rather than repeatedly pushing the cup back toward them.
Change one variable at a time when something is not working. First verify that the parts are assembled correctly. Then assess the flow. Next consider the mouthpiece shape, cup weight or handle position. Replacing the entire setup after every unsuccessful sip makes it difficult to see what the actual obstacle is.
Some mess is a design question; difficulty swallowing is not. Stop the attempt if your child appears distressed. Repeated coughing, choking or difficulty managing liquids deserves advice from your child’s health-care professional or a qualified feeding specialist. A different cup should not be treated as a substitute for an assessment when drinking itself is consistently difficult.
Key takeaways
- Choose a spout, straw, rim-activated lid or open cup according to the drinking action your child can manage now.
- Judge leak resistance and drinkability together; a cup that stays dry but blocks the drink has failed its main job.
- Disassemble one cup completely before buying multiples, and make sure every drink-contact surface can be reached and dried.
- Test the assembled cup over the sink and during a supervised drink before putting it in a bag.
- Troubleshoot one variable at a time: assembly, flow, mouthpiece, weight and grip.
- Seek professional guidance when coughing, choking or difficulty handling liquids happens repeatedly.
Buy one cup in the mechanism that best matches your child, use it through several calm, supervised opportunities, and watch what actually happens. Their drinking effort and your cleaning routine will tell you whether it deserves a permanent place in the cupboard.
References