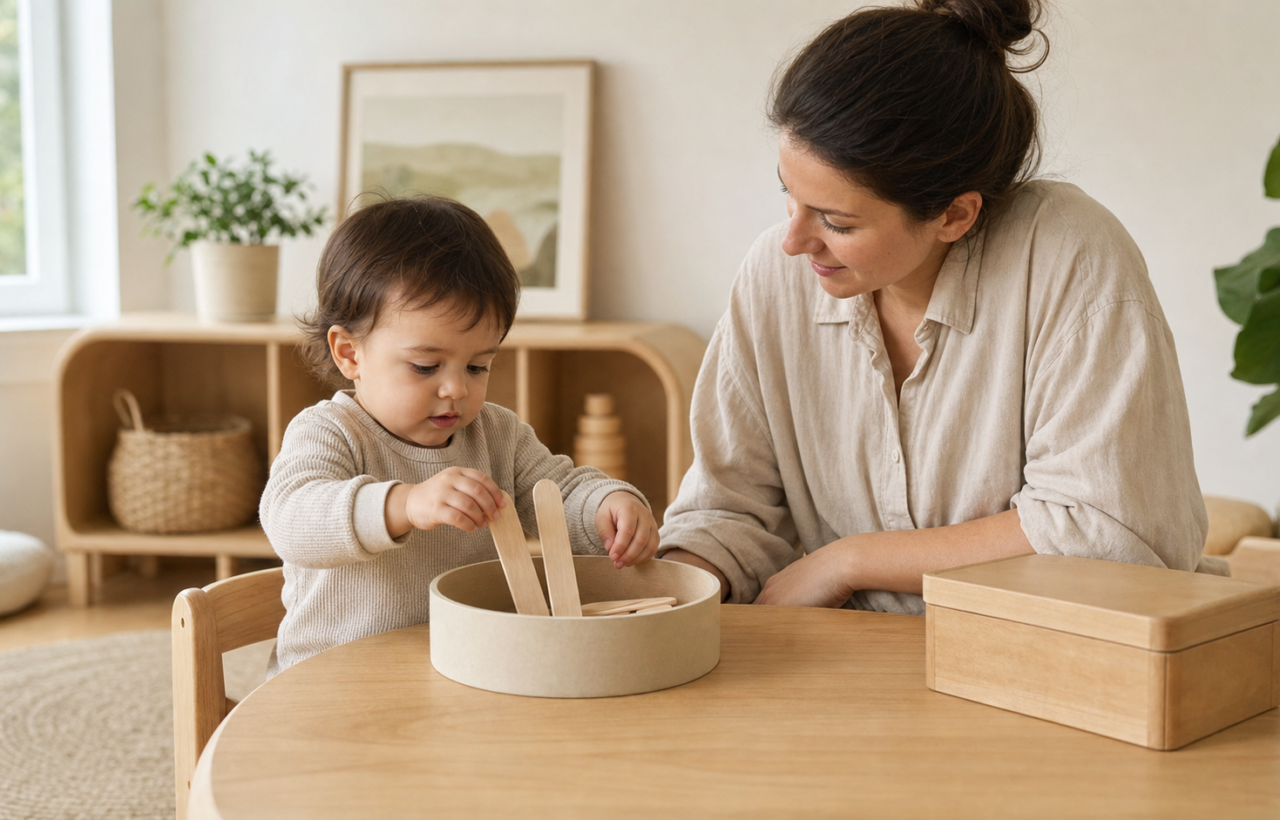
You want something your baby or toddler can do at the table without buying a kit or spending longer on setup than play. A small bundle of craft sticks can work, but the useful part isn’t the finished craft. It is giving your child one clear action: drop, post, place, or pretend.
Craft sticks are unusually flexible because they can be both craft materials and the working parts of simple activities. The four ideas below use that flexibility without requiring your child to produce a picture-perfect result.
Choose the activity by behaviour, not just age
The baby-and-toddler stage covers a wide range of abilities. One child may be ready to place sticks carefully into a container, while another still explores every object with their mouth. The second child is not ready to handle craft sticks, regardless of the age printed on an activity idea.
A craft stick is not a teether or an unsupervised toy. If your child mouths, bites, throws, or waves sticks near their face, put the activity away and try again at a later stage. Staying close does not make persistent mouthing safe.
- Use broad, smooth craft sticks without cracks, splinters, sharp corners, or peeling surfaces.
- Run your fingers along every edge before play. Discard a stick as soon as it becomes rough, bent, chewed, or damp.
- Use washable, non-toxic art materials, and let decorated sticks dry completely before your child handles them.
- Prepare slots, tape, and other components yourself. Scissors, loose tape, stickers, buttons, beads, and similar detachable pieces should not become part of the child’s play materials.
- Keep the activity within reach of an attentive adult from beginning to end. Store all sticks out of reach afterward rather than leaving them in a crib, playpen, or general toy basket.
You do not need to decorate the sticks before starting. Plain sticks make it easier to see whether your child is interested in the action itself. Colour, matching, and pretend-play details can come later.
Four craft stick activities that grow with your child
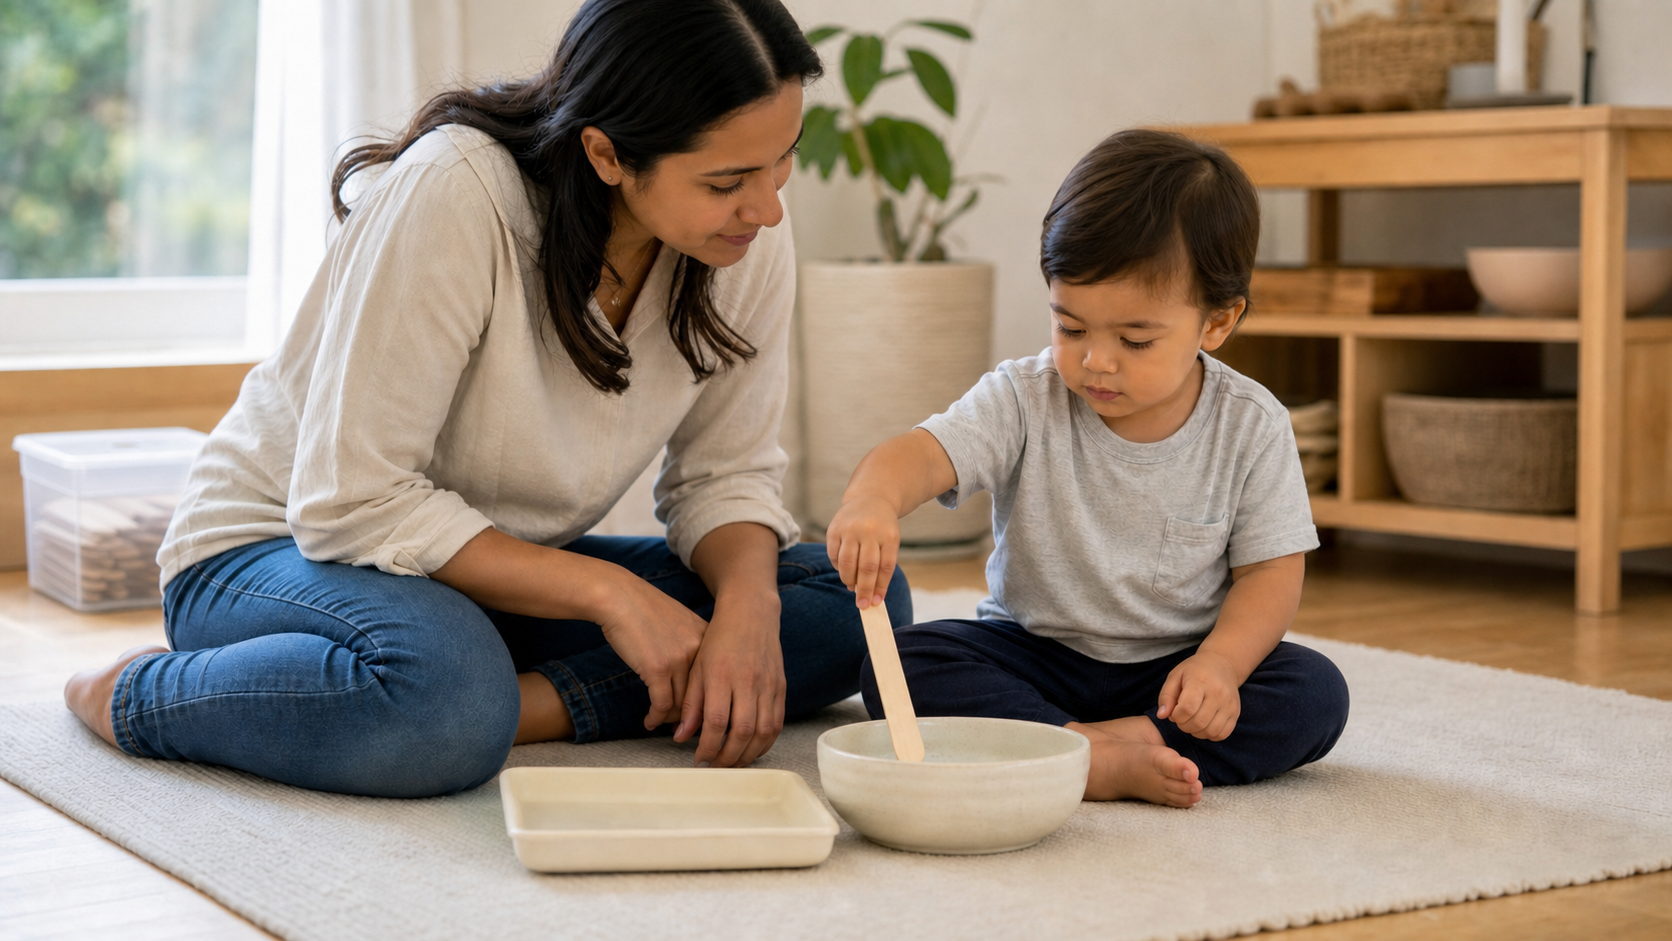
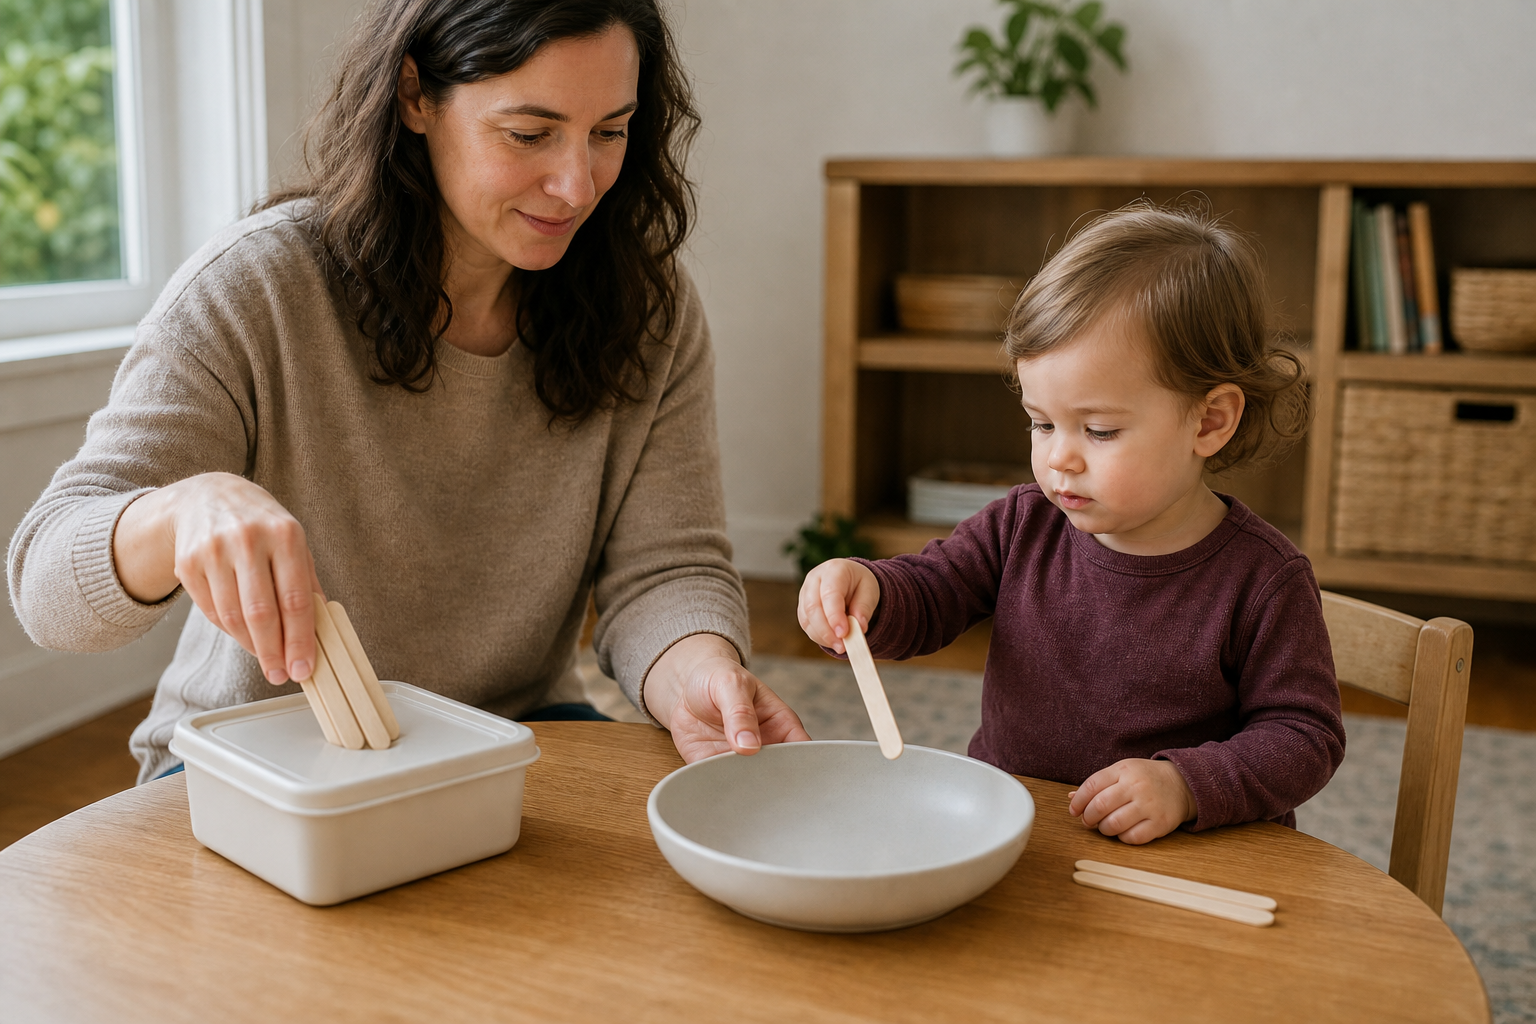
1. Drop, dump, and repeat
You need: several smooth craft sticks and a wide, unbreakable container.
- Put the empty container on a stable surface and place the sticks beside it.
- Slowly drop a stick into the container so your child can see the entire action.
- Offer a stick and wait. Avoid moving your child’s hand through the motion.
- When the sticks are inside, tip them back onto the surface and begin again.
This is the simplest setup because the target is large and a missed stick can be picked up immediately. If your child struggles, use a wider container or hold it steady. Once dropping becomes easy, introduce a second container and let your child decide where each stick goes.
Do not rush to turn this into a colour-sorting lesson. Repeatedly filling and emptying the same container may be exactly what interests your child. Follow that interest until the action becomes familiar.
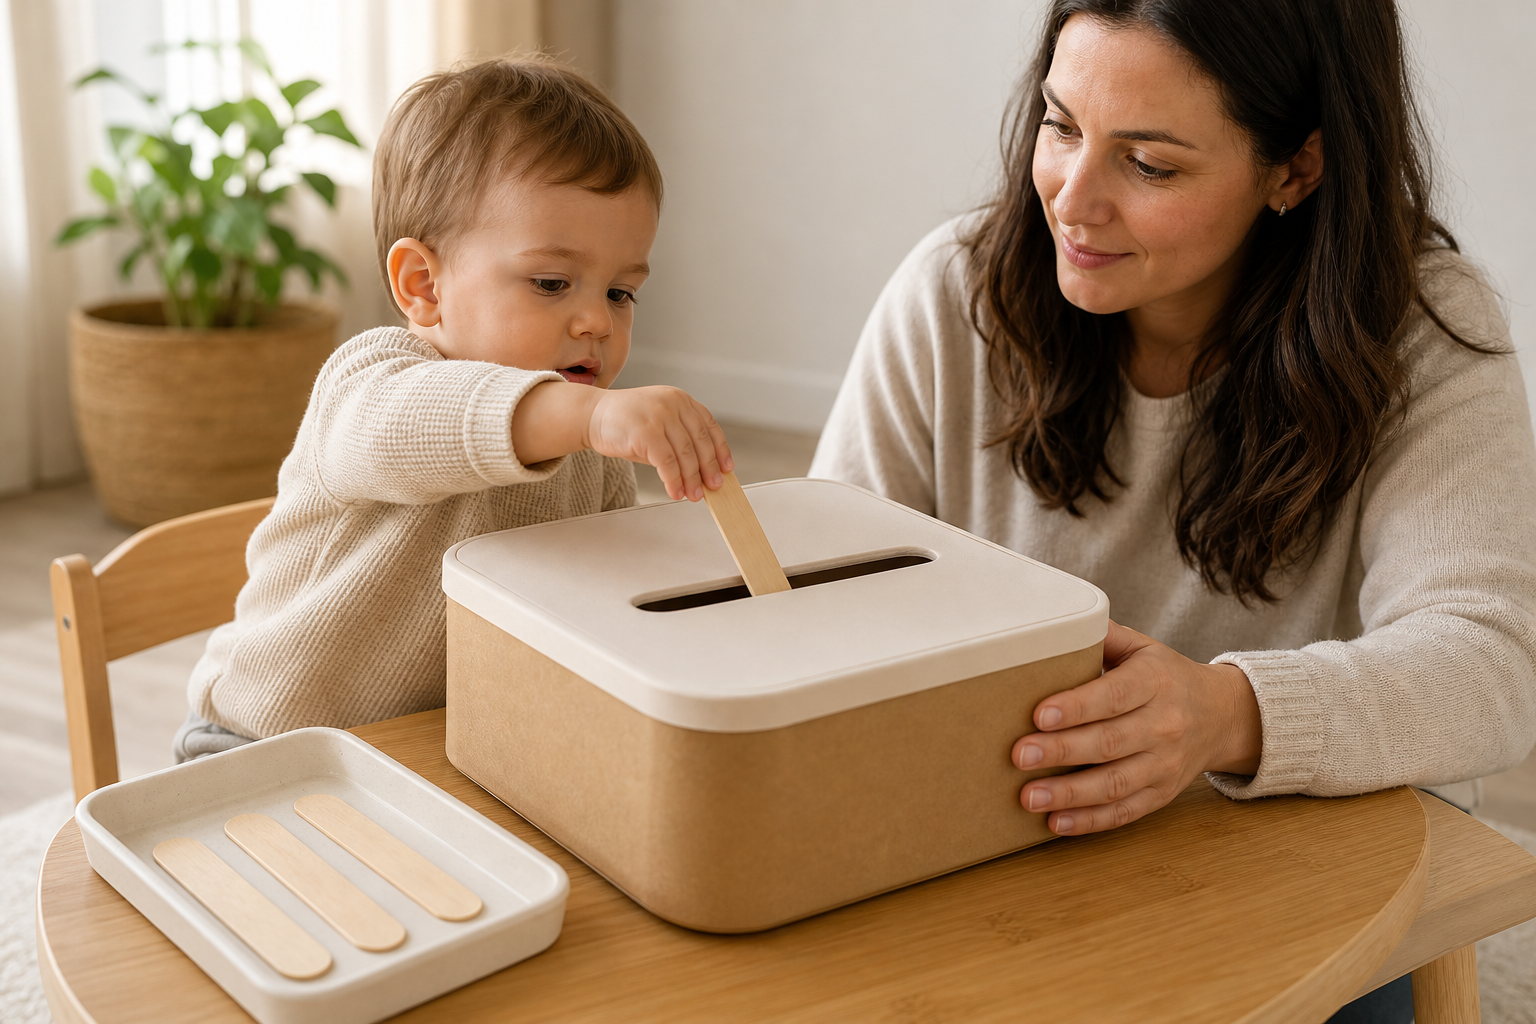
2. Post sticks into a cardboard box
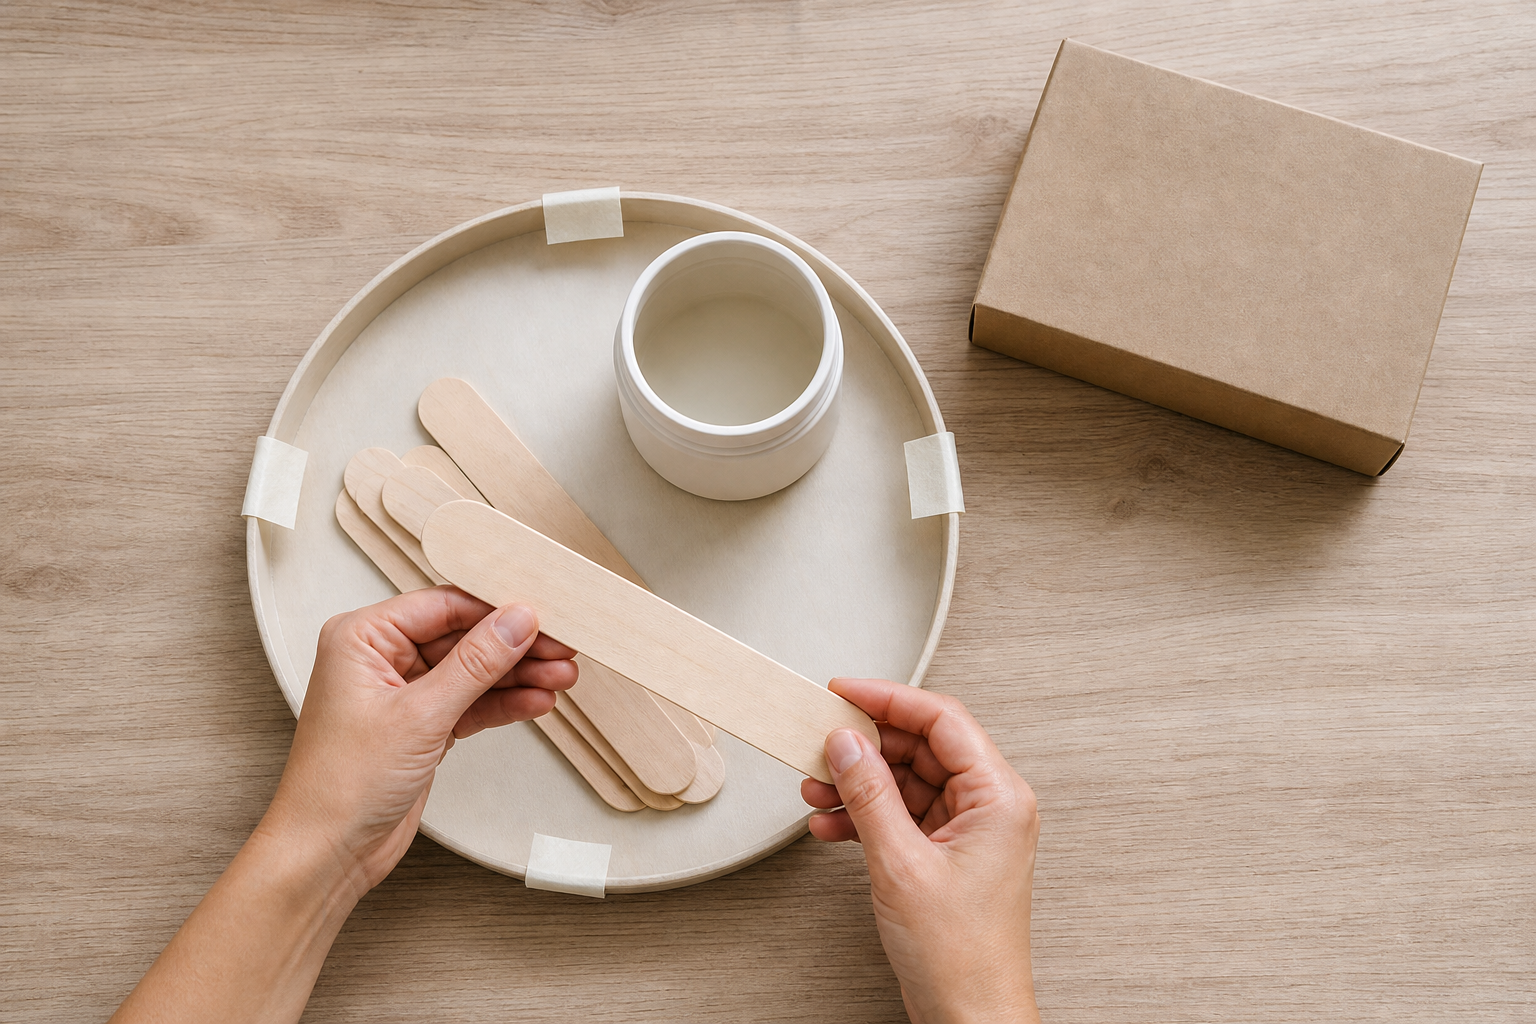
You need: an empty cardboard box, smooth craft sticks, scissors for adult use, and sturdy tape if the box needs reinforcement.
- Cut a horizontal opening that is clearly wider than a craft stick. Check that the cut cardboard is smooth and does not leave a sharp or ragged edge.
- Close the box securely and place it where it will not slide away.
- Post a stick through the opening, then hand the next stick to your child.
- Open the box together when all the sticks are inside, retrieve them, and reset the activity.
Make the first version forgiving. A narrow slot can turn an understandable idea into a frustrating precision task. Once your child can post sticks comfortably, rotate the box so the opening faces a different direction or add another opening with a different orientation.
Inspect the box before every use. Retire it if the cardboard becomes soft from chewing, the opening tears, or reinforcing tape begins to lift. Your child should not help cut the opening.
3. Copy, connect, and rearrange
You need: plain or fully dried coloured craft sticks and a clear, flat surface.
- Make a straight line from a few sticks, leaving space beside it for your child.
- Invite your child to make another line. A loose approximation is enough; this is not a test of accuracy.
- Change the arrangement into a corner, a zigzag, a small enclosure, or a path.
- Take the arrangement apart and let your child decide what to build next.
For a child who is not ready to copy a shape, simplify the invitation. Place a stick on the table, take it off, and offer the next turn. You can also use concrete words such as beside, across, inside, and under while moving the sticks, without requiring your child to repeat them.
Avoid correcting every angle or moving sticks into a more recognizable picture. The activity is arranging and rearranging. An adult-looking final product is not the goal.
4. Make simple stick puppets
You need: broad craft sticks and a washable, non-toxic marker.
- Draw a simple face directly on the end of a stick. Let the ink dry completely.
- Make another face with a different expression, or let your child choose what the face should look like.
- Use the puppets to wave, hide behind a cup, greet each other, or act out a familiar transition such as washing hands or getting ready to leave.
- Pause during the play so your child can move a puppet, point, look, make a sound, or otherwise take a turn.
Draw directly on the wood instead of gluing on eyes, buttons, yarn, or other pieces that can detach. If your child is more interested in bending or chewing the puppet than moving it, end the activity and save pretend play for later.
Adjust one part when the activity stalls
When an activity is too hard, adding more instructions usually makes the problem worse. Change one physical part of the setup so the intended action becomes easier to understand.
- If your child cannot hit the target: replace it with a wider container, widen the cardboard opening, or hold the target steady.
- If your child immediately dumps everything: let dumping be the activity. Reset the container and see whether your child wants to repeat it.
- If your child waits for you to do every step: demonstrate once, place a stick within reach, and pause. Give your child time to respond without guiding their hand.
- If the action has become easy: add a second destination, change the direction of the slot, or offer a simple arrangement to copy. Add only one new challenge at a time.
- If your child ignores the setup: pack it away without trying to persuade them. Interest on another day is more useful than extending an activity they have already left.
- If sticks are thrown, chewed, or waved near a face: end the activity calmly and move the materials out of reach.
It is also worth noticing whether the preparation has overtaken the play. If you spent time painting, labelling, and organizing a complex sorting system that your child only wants to empty, simplify the next version. A bowl and plain sticks may be the better activity.
Quick answers before you set up
Are craft sticks suitable for every baby or toddler?
No. They are supervised activity materials, not free-play objects. Wait if your child still puts play materials in their mouth, bites them, or cannot handle a stick without waving it near their face. Readiness is visible in how your child uses the object, not simply in their birthday.
Do I need paint, glue, or a craft kit?
No. Dropping, posting, and arranging all work with plain sticks. If you add colour, use non-toxic, washable materials and wait until every surface is dry. For children in this age range, drawing directly on a stick is simpler than adding decorative pieces that might come loose.
Can I save the materials for another day?
Yes, if everything remains clean, dry, smooth, and firmly attached. Inspect each stick and any cardboard setup before reusing it. Discard damaged sticks and torn boxes rather than trying to extend their life, then store the remaining materials in a closed container out of your child’s reach.
Start with the version that asks the least of your child: a wide bowl, a few smooth sticks, and one slow demonstration. If dropping the sticks holds their attention, you already have a complete activity. Save the slot, shapes, and puppets for the moment your child shows you they want a new challenge.