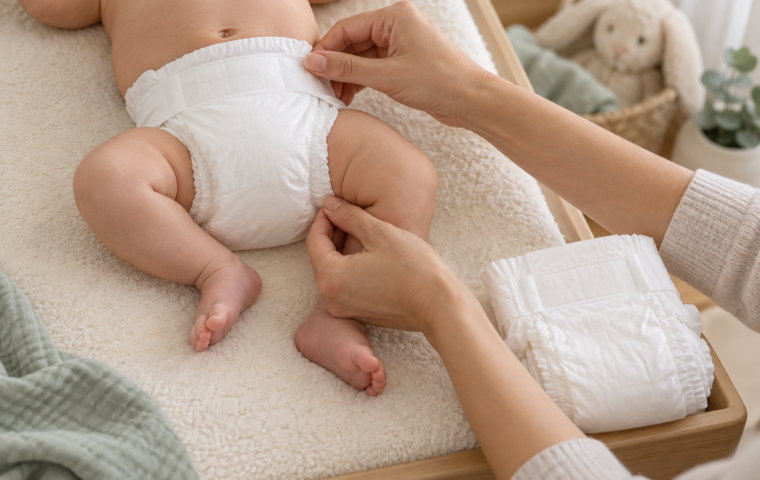
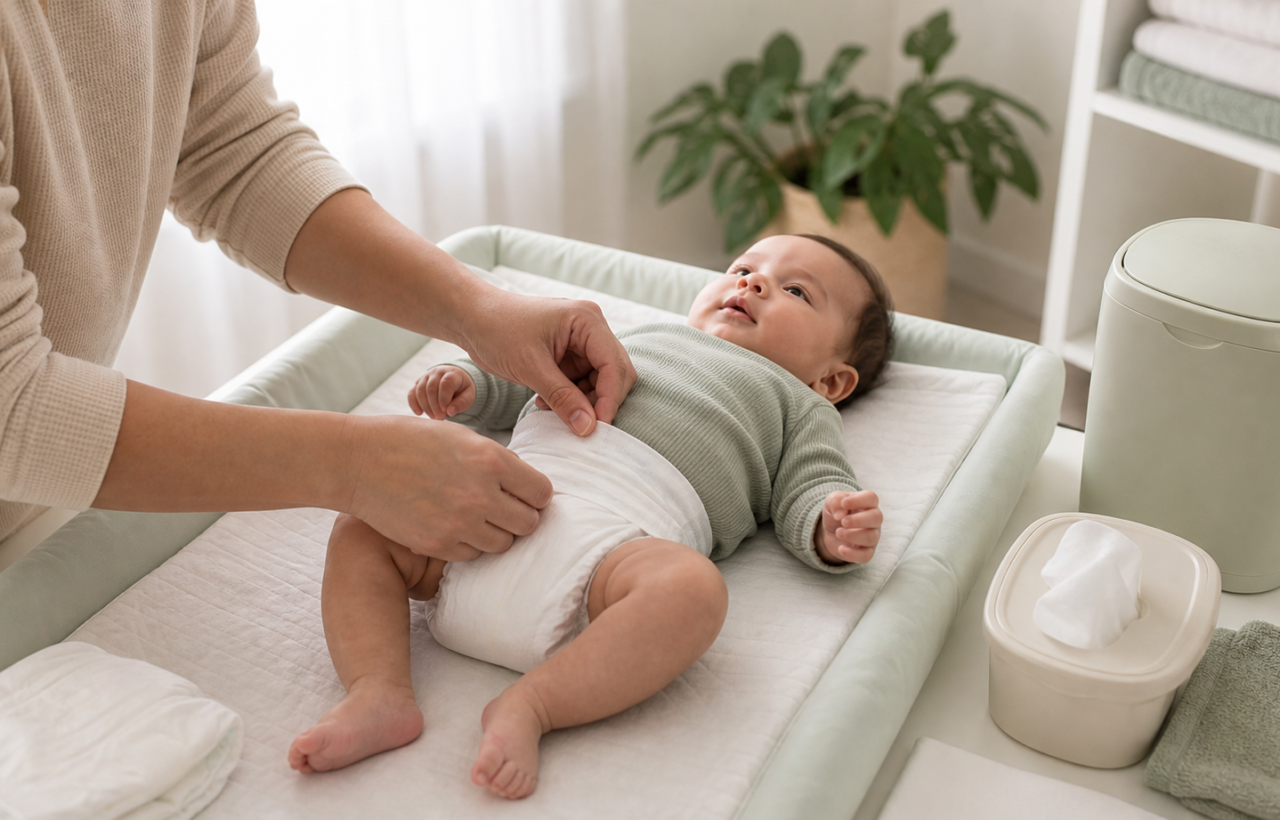
A leak at the leg, a red line at the waist, or fastening tabs that suddenly seem too short can make you wonder whether you are using the wrong diaper size. Sometimes you are. Just as often, the diaper is the right size but is sitting too low, off-centre, or with a leg cuff tucked inside.
You can sort out most diaper problems with two skills: reading the fit on your baby and following the same clean, safe routine at every change. Here is how to do both without treating every leak as a reason to buy a new package.
Read the fit on your baby, not just the size label
Diaper size charts are a starting point. Sizes are generally organized by weight, ranges can overlap, and two babies at the same weight can have different proportions. Brands and diaper styles can also be cut differently. The practical question is not whether your baby technically falls within a printed range; it is whether the diaper seals comfortably around your baby’s waist and legs.
What a good fit looks like
Put on a fresh diaper before judging its size. A wet, heavy diaper will naturally sit differently. On a properly fitted fresh diaper:
- The back and front panels cover the areas they are meant to cover without looking stretched tight.
- The diaper sits evenly rather than twisting toward one hip.
- The fastening tabs reach comfortably and land in roughly symmetrical positions.
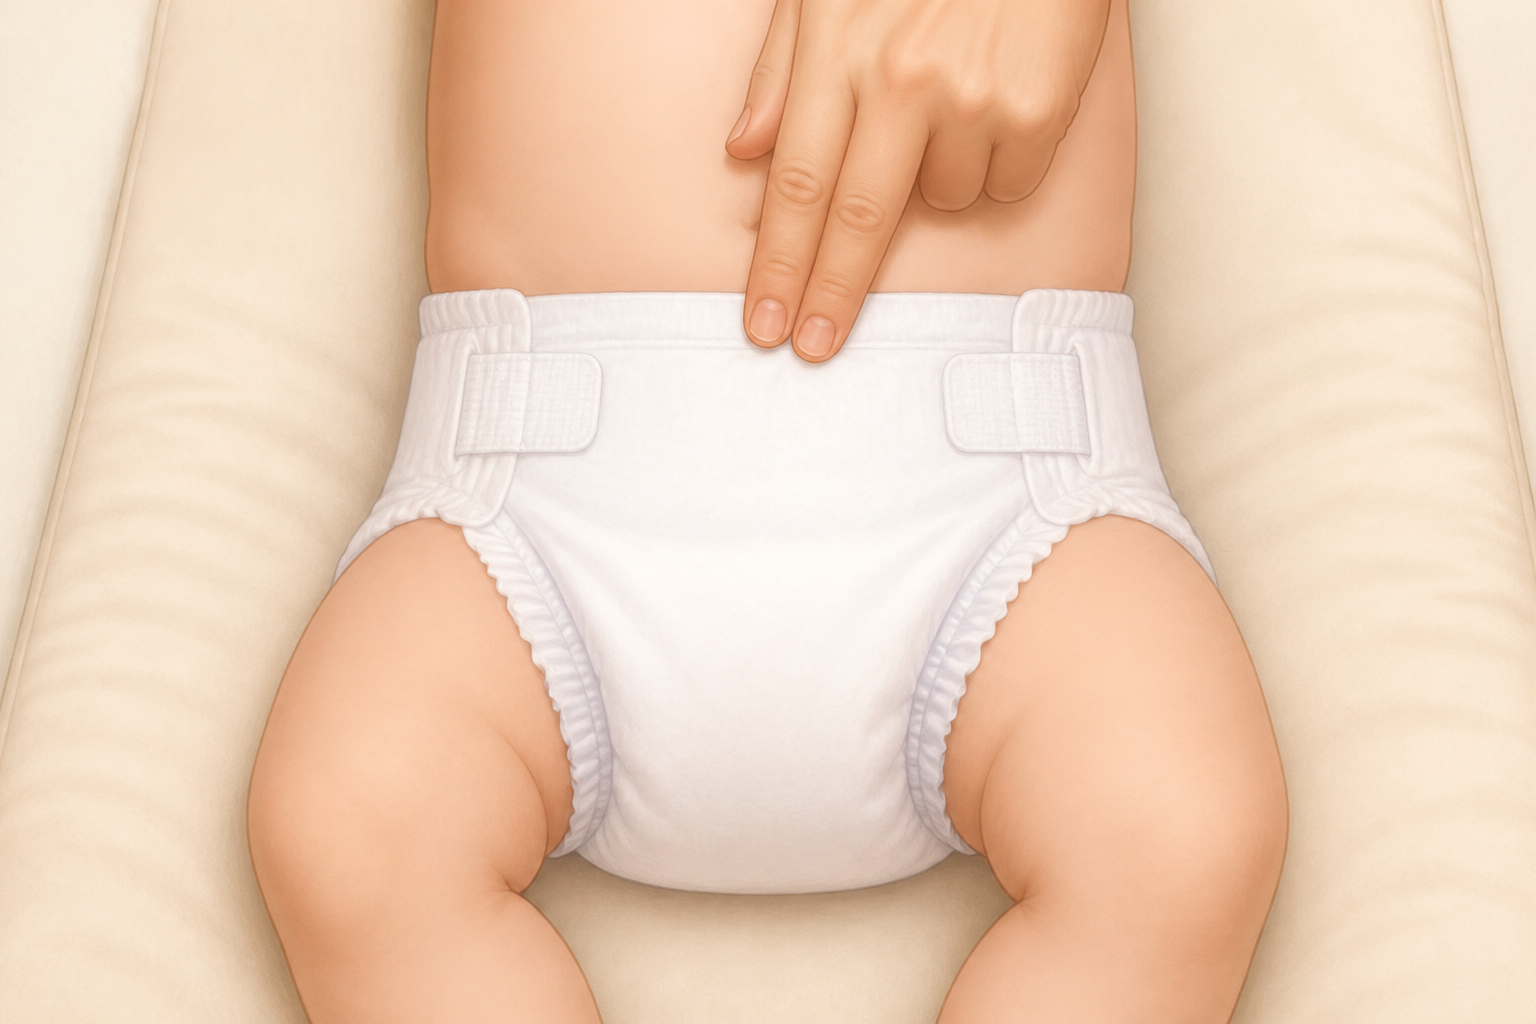
- The waistband is snug, but you can slide two fingers beneath it without forcing them.
- The elastic at each leg touches the skin without leaving an open gap.
- The leg ruffles are pulled outward instead of being trapped inside the elastic.
Those checks matter as a group. A single clue can mislead you. Tabs that sit farther apart than they did last week may reflect growth, for example, but if the waist and legs still seal comfortably and the diaper covers your baby’s bottom, the size may still be working.
Signs the diaper may be too small
- You have to pull hard to make the tabs reach, or they repeatedly pop open.
- The waistband feels tight when you try the two-finger check.
- The diaper no longer covers your baby’s bottom fully.
- You see persistent, pronounced pressure marks around the waist or thighs.
- Leaks or blowouts keep happening despite careful, centred application.
A faint line from elastic that fades does not automatically mean the diaper is too small. Look at your baby’s comfort and the complete fit. Deep or lasting marks, tightness, inadequate coverage, and repeated leaks together make a stronger case for moving up.
Signs the diaper may be too large
- You can see open space between the leg elastic and the skin.
- The waistband remains loose after you fasten the tabs securely.
- The diaper hangs low or looks baggy while it is still clean and dry.
- The tabs overlap substantially, yet the diaper still does not form a reliable seal.
- Urine or stool escapes through obvious gaps at the legs or back.
If you are between sizes, correct the application before opening another package. Centre the diaper, bring the front panel high enough, fasten both sides evenly, and pull out the leg ruffles. If gaps or tightness remain, try the adjacent size. If neither size seals well, a different cut may suit your baby’s shape better.
Set up the change so you never have to step away
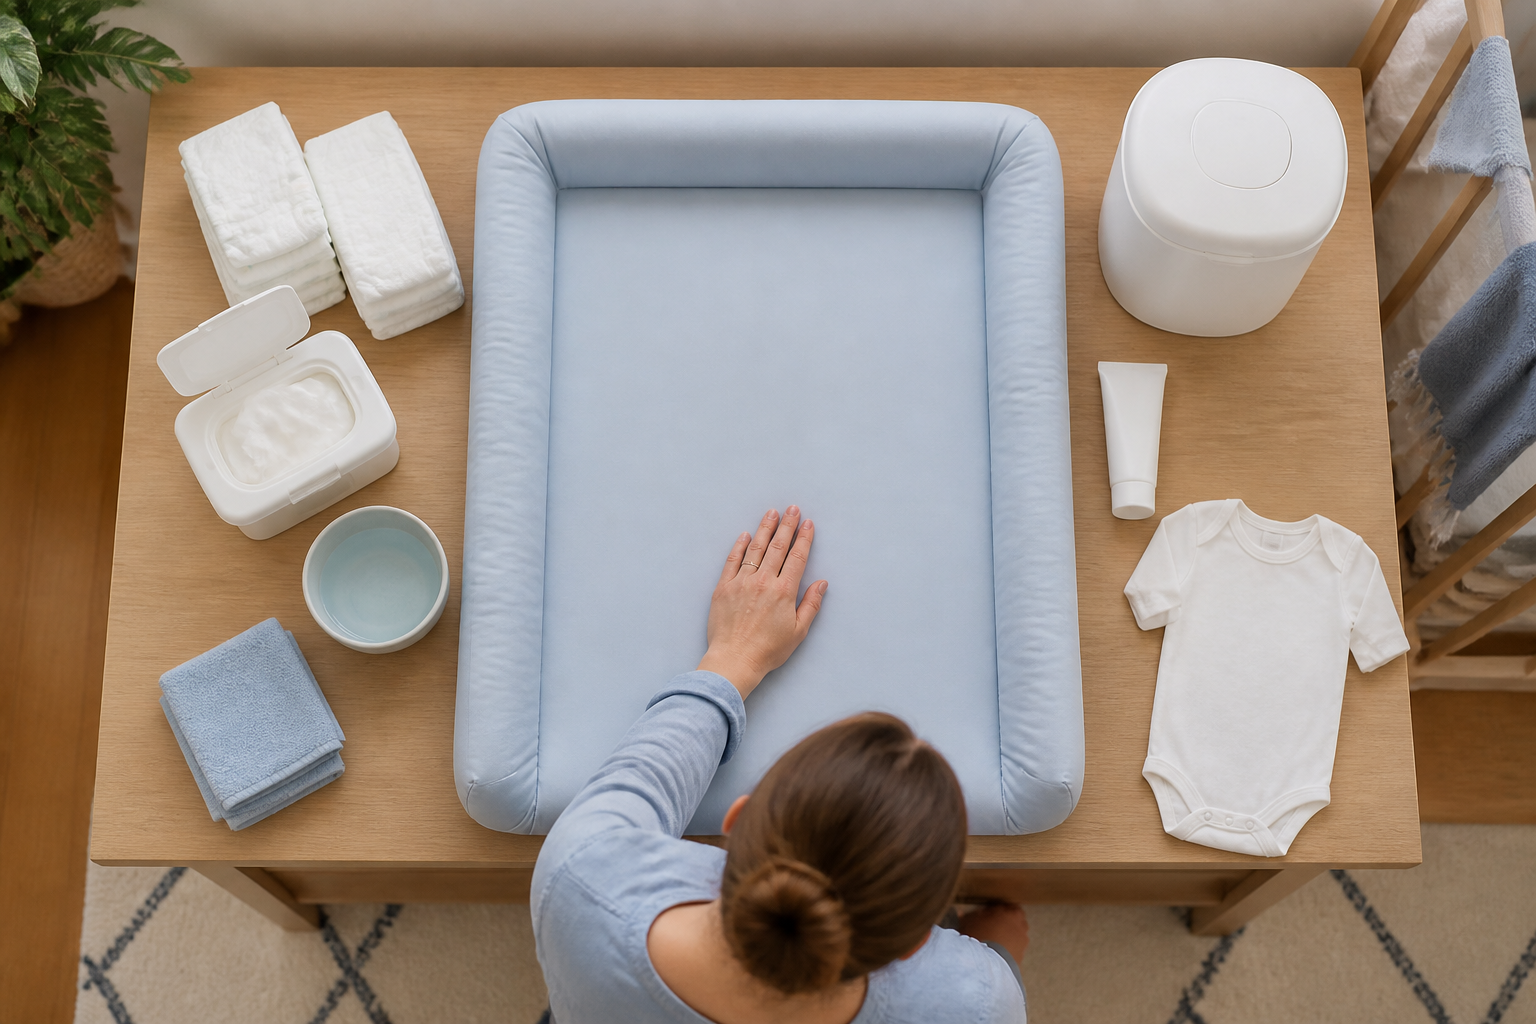
The safest changing routine begins before you put your baby on the surface. Once your baby is there, especially on a changing table, bed, or other raised surface, you should not turn away or leave to retrieve something. A safety strap is a backup rather than a substitute for your hand and attention. If an item is missing, take your baby with you.
Place the supplies within easy reach of your free hand:
- One clean diaper, opened and ready.
- Wipes or a clean damp cloth.
- Diaper cream or barrier ointment, if you use one.
- A bag, bin, or diaper pail for the dirty diaper.
- A clean outfit in case clothing is soiled.
- A washable cover or spare changing-pad liner.
Keep creams, wipes, plastic bags, pins, and other small or potentially unsafe items outside your baby’s reach. On a raised surface, keep one hand on your baby whenever you reach for a supply. Once rolling begins, the floor can be a simpler changing location because it removes the fall risk.
A portable setup does not need to be elaborate. A clean, washable mat, a diaper, cleaning supplies, and a disposal bag are enough for an ordinary change. What matters is that everything is ready before the dirty diaper comes off.
Use the same clean sequence at every diaper change
The mechanics feel awkward at first, particularly when your baby is moving or the change is messy. Repeating one basic diaper-changing sequence makes the task faster and reduces the chance that you will miss a skin fold, contaminate a clean diaper, or discover too late that the fit is wrong.
- Prepare the surface and supplies. Open the clean diaper and its tabs before placing your baby on the changing area. Wash your hands when possible.
- Lay your baby on their back. Keep your supplies to one side and maintain contact with your baby on any raised surface.
- Open the dirty diaper carefully. If there is stool, you can use the cleaner front portion of the diaper to remove some of it, then fold that portion inward so the mess is contained.
- Clean from front to back. Use a fresh part of the wipe or cloth as it becomes soiled. Clean the external skin and the visible folds where stool or urine may collect; do not scrub.
- Let the skin dry. Pat rather than rub. A short pause before fastening the clean diaper helps avoid trapping excess moisture against the skin.
- Move the dirty diaper out of the way. Gently raise your baby’s bottom just enough to remove it, or roll your baby slightly to one side if that is easier and safer for you.
- Slide the clean diaper underneath. Place the back panel beneath your baby’s bottom and centre it. The absorbent area should sit beneath the body rather than being pulled noticeably to one side.
- Apply a barrier product if needed. Use it on clean, dry skin and follow the product directions or your baby’s healthcare professional’s instructions.
- Bring the front panel up and fasten both sides. If your baby has a penis, point it downward before closing the diaper to reduce the chance of urine travelling toward the waistband. Fasten the tabs at similar positions, then check that two fingers fit beneath the waist.
- Release the leg ruffles. Run a finger around the outside edge of each leg opening and pull any tucked ruffle outward. Do not force a finger beneath tight elastic.
- Finish the hygiene step. Secure your baby in a safe place, dispose of or store the diaper appropriately, clean the changing surface if it became soiled, and wash your hands.
Adjust the front for a healing umbilical stump
For a newborn whose umbilical stump is still attached, keep the diaper from rubbing or covering it. Use a newborn diaper with a suitable front shape, or fold the front edge down if that produces a comfortable fit. Follow the care instructions you received from your baby’s healthcare professional if the area is irritated, bleeding, or otherwise concerning.
Fix the leak pattern before changing sizes
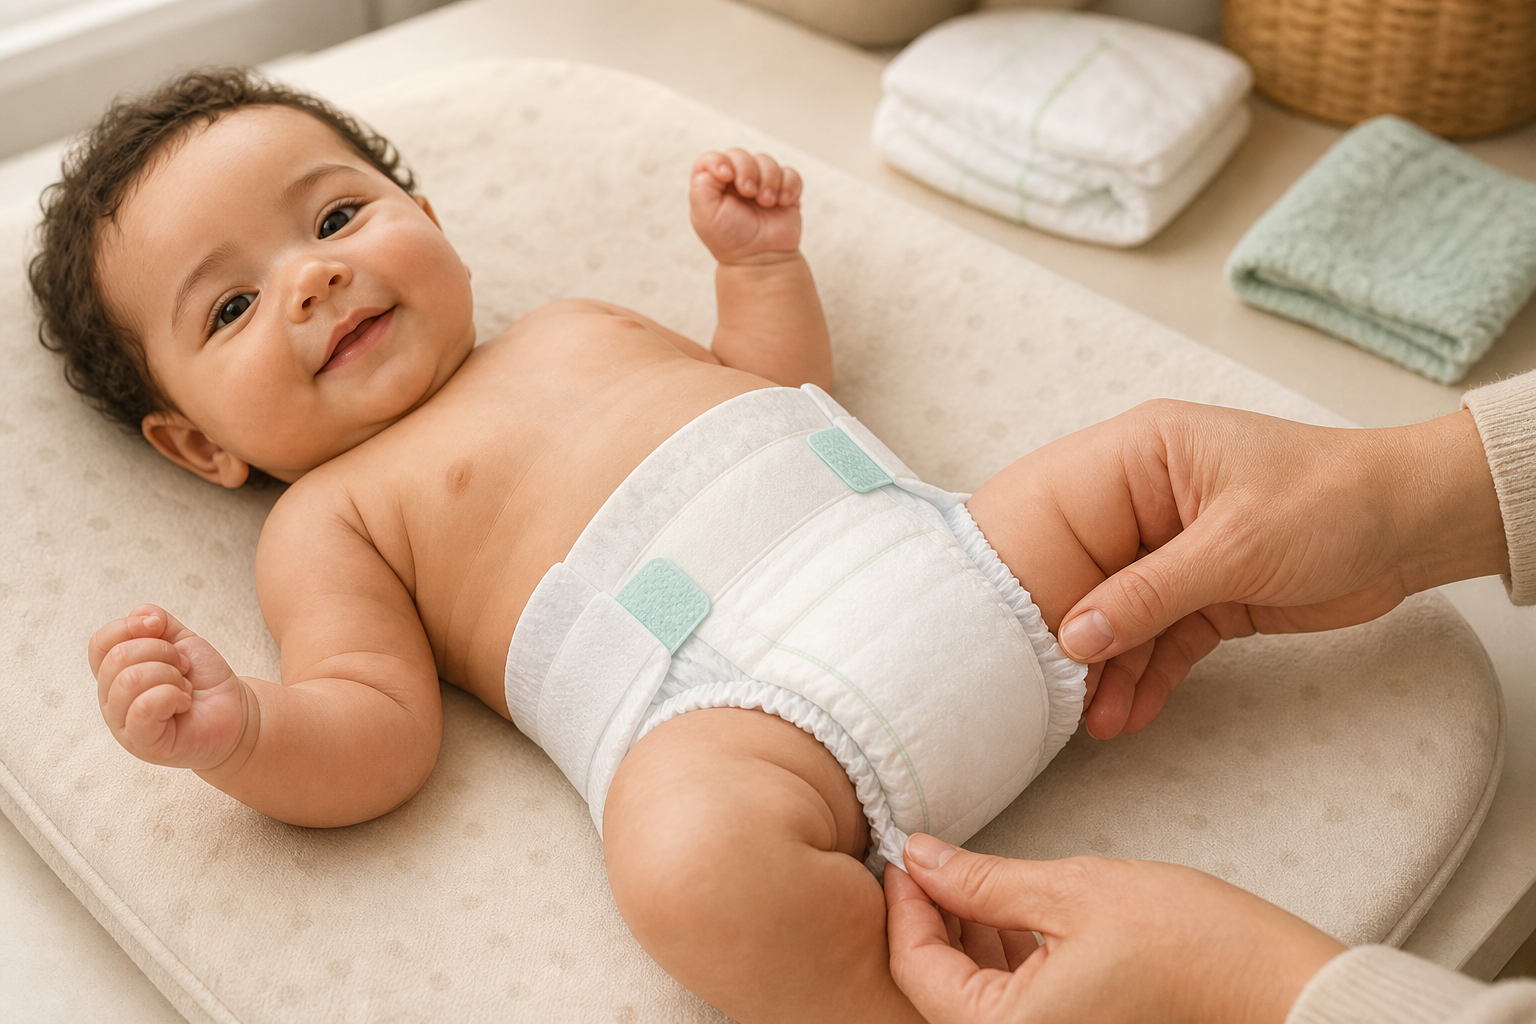
A leak tells you where the seal or capacity failed, but it does not identify the cause by itself. Check the location while the evidence is still visible. Then correct one likely cause at the next change instead of changing several things at once.
| What you notice | What to check first | What to do at the next change |
|---|---|---|
| Leak at one leg | A tucked ruffle, an off-centre diaper, or a gap between the elastic and skin | Centre the diaper, fasten both sides evenly, and pull the ruffle out. If a gap remains, reassess the size or cut. |
| Leak at the front or waistband | A low front panel, uneven tabs, or a penis pointing upward | Raise and centre the front panel, point the penis down if relevant, and refasten without leaving a waist gap. |
| Leak at the back | A low back panel, loose waistband, twisted fit, or inadequate coverage | Place the back panel evenly beneath your baby and check the waist seal. Repeated leaks after correct application can mean the diaper is too small or the cut is unsuitable. |
| Leak only when the diaper is very wet or heavy | Whether the diaper has simply reached its absorbent capacity | Change sooner and see whether the problem disappears before changing sizes. |
| Stool escaping at the back or legs | Open gaps, poor bottom coverage, tucked cuffs, or a diaper that has become too small | Correct the cuffs and positioning. If the fresh diaper cannot cover and seal comfortably, move up or try another cut. |
One unusually full diaper or one forceful bowel movement can overwhelm an otherwise good fit. Repetition is more useful evidence. If leakage keeps appearing in the same place after you have applied a fresh diaper carefully, the size or shape deserves attention.
Protect the skin without over-cleaning it
Change a soiled diaper promptly, clean gently, and dry the skin before closing the new diaper. More rubbing does not produce a cleaner baby; it can add irritation. Use a barrier product when appropriate, but do not use it to hide a fit problem. Tight elastic and repeated friction still need to be corrected.
Diaper-area irritation is not always caused by the diaper size. Moisture, stool, friction, and sensitivity to a product can all matter. Seek medical advice if the skin is blistered, bleeding, oozing, rapidly worsening, or accompanied by fever or a baby who seems unwell. A rash that persists or does not improve with ordinary diaper care also deserves professional assessment. Do not try to diagnose a persistent rash from its appearance alone.
Key takeaways for the next change
- Judge a clean diaper by coverage, waist comfort, leg seals, and tab position rather than relying on the package range alone.
- Correct centring, tab symmetry, and tucked leg ruffles before deciding that every leak requires a new size.
- Set out the clean diaper, wipes or cloth, cream, disposal option, and spare clothing before placing your baby on the changing surface.
- Keep one hand on your baby on any raised surface, and take your baby with you if you need to retrieve something.
- Clean from front to back, dry gently, fasten the new diaper snugly, and check the fit before dressing your baby.
- Use repeated leak patterns as evidence: a recurring gap points to fit, while leaking only when the diaper is very full points first to changing sooner.
At your next change, pause before fastening the clothes. Centre the diaper, make both tabs even, pull out the ruffles, and perform the two-finger waist check. If a leak repeats in the same place after that careful setup, you have a useful reason to change the size or cut instead of guessing from the number on the package.
References
- BabyCenter – How to find the right diaper size for your baby
- BabyCenter – How to change a diaper: A beginner’s guide for new parents