Your child has come home from an autumn walk with a fistful of leaves. Some are smooth, some are brittle, and several are already breaking apart. You can turn that collection into worthwhile sensory play without buying a themed kit or trying to produce a perfect keepsake.
The right activity depends less on your child’s exact age than on what they currently do with objects. A baby who mouths everything needs sealed leaves. A toddler who can keep materials away from their mouth can explore an open tray, make prints, or arrange a picture. Start with that distinction, then keep the setup small enough that you can supervise every part of it.
Choose leaves as carefully as you choose toys
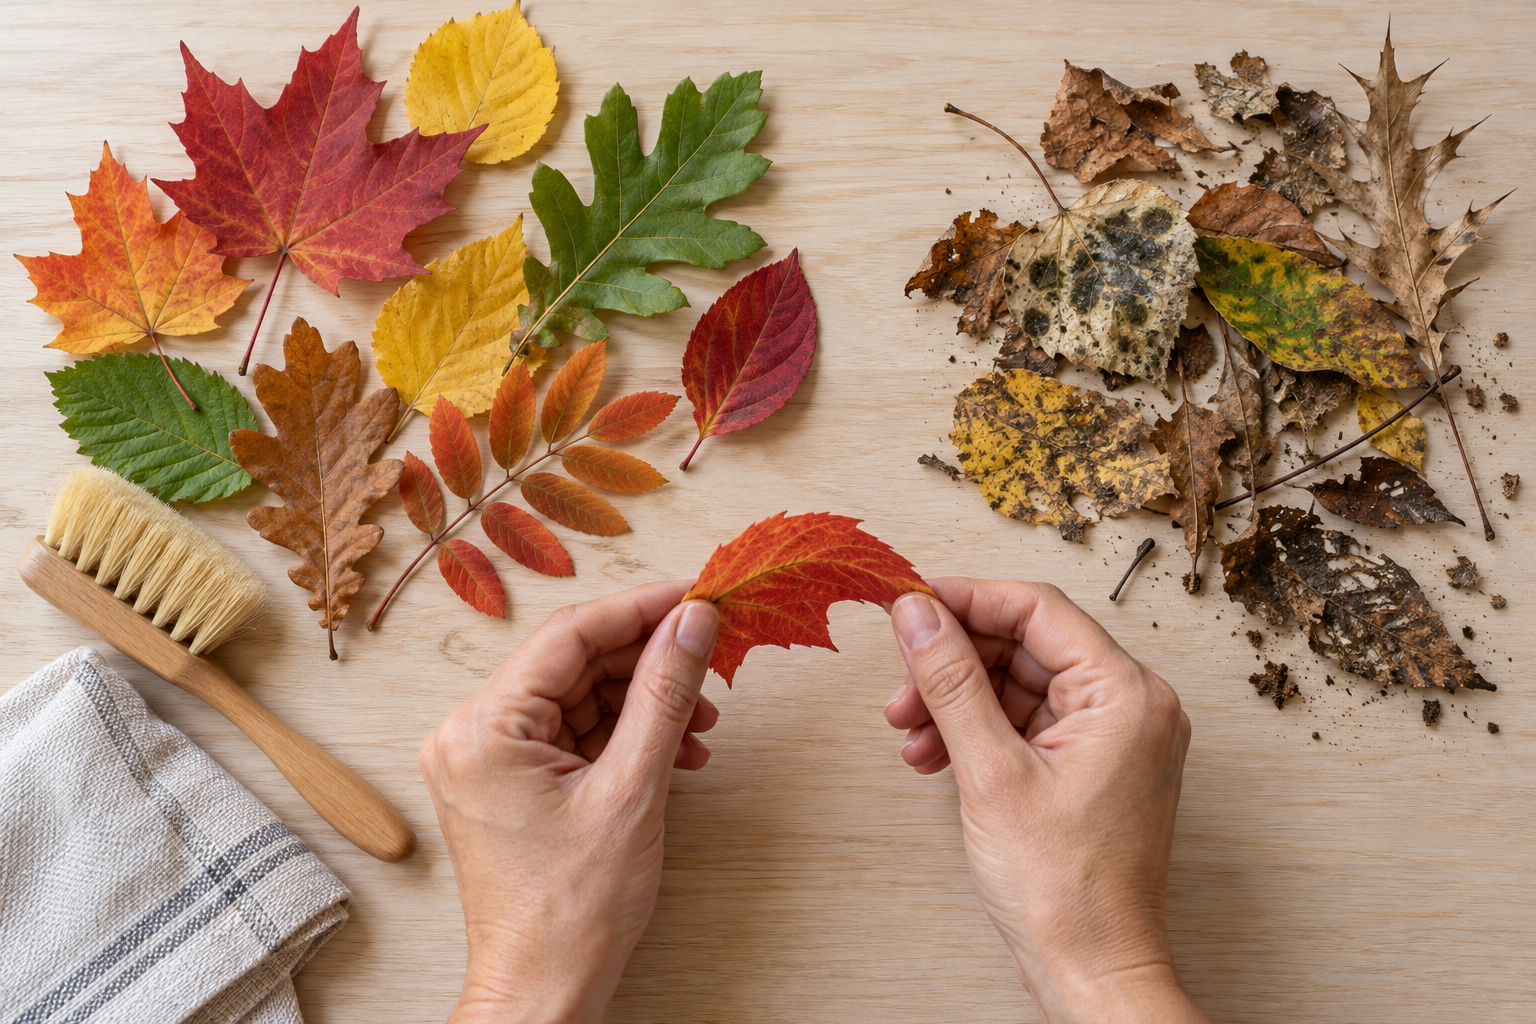
Outdoor material is not automatically play material. You do not need flawless leaves, but you do need to screen the collection before it reaches your child’s hands.
- Collect from a familiar, visibly clean area. Skip leaves beside animal waste, standing water, heavy traffic, or a lawn that may have been recently treated.
- Take ordinary fallen leaves only. Leave mushrooms, berries, seed pods, and unfamiliar plant parts where they are.
- Reject anything with visible mold, a strong unpleasant smell, sticky sap, sharp thorns, or insects attached.
- Choose leaves that are dry and intact. A damp leaf can deteriorate inside a sealed craft, while a very brittle one can immediately become a handful of small fragments.
- Shake the leaves outdoors, inspect both sides, and remove loose dirt. If you rinse them, let them air-dry completely before pressing or sealing them.
- Wash your child’s hands after the activity, especially before food or a bottle.
Keep direct supervision throughout the activity. Dry leaves can tear into pieces small enough to reach a child’s mouth, nose, or ears. If your child still explores by licking, chewing, or stuffing objects into their mouth, do not offer loose leaves. Use a sealed activity instead.
If an unknown leaf or other plant part is swallowed, remove the remaining material and contact your local poison information service for advice specific to your child and the plant involved.
Match the setup to what your child does with objects
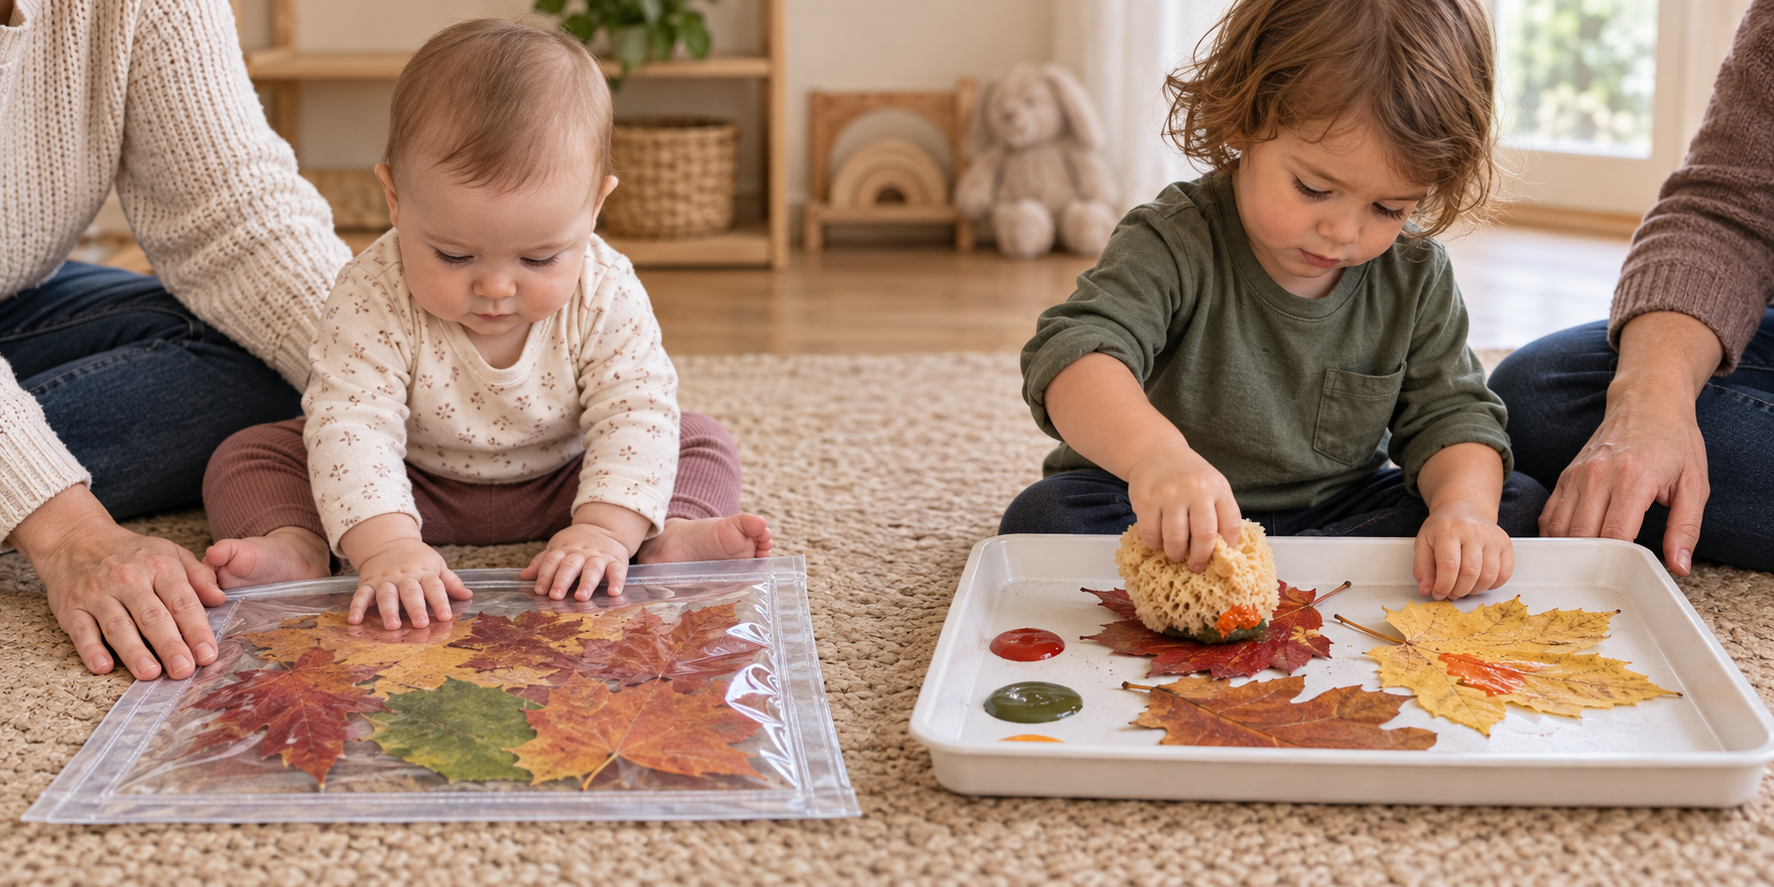
Children between birth and age three do not move through sensory play at the same pace. Watch the behaviour in front of you rather than relying on a birthday alone.
- If everything goes into the mouth: Seal the leaves between clear adhesive sheets. The adult should assemble and inspect the panel before every use.
- If your child grabs and tears: Offer one sturdy leaf at a time over a tray, but only if they can keep pieces out of their mouth. The tray contains the fragments without limiting the urge to investigate.
- If your child enjoys placing and removing: Use a sticky collage surface. Leaves can be moved, pressed, and layered without requiring a complicated result.
- If your child can press or scribble with an age-appropriate tool: Try leaf printing or rubbing. Use washable, non-toxic art materials labelled for your child’s age and remove broken tool pieces promptly.
Keep the material list short: leaves, a tray, paper, clear adhesive film, tape, and an age-appropriate crayon or washable paint when needed. Rice, dried beans, beads, pom-poms, and other small fillers add more things to monitor without making the leaf exploration more meaningful.
Four autumn leaf sensory crafts that adapt easily
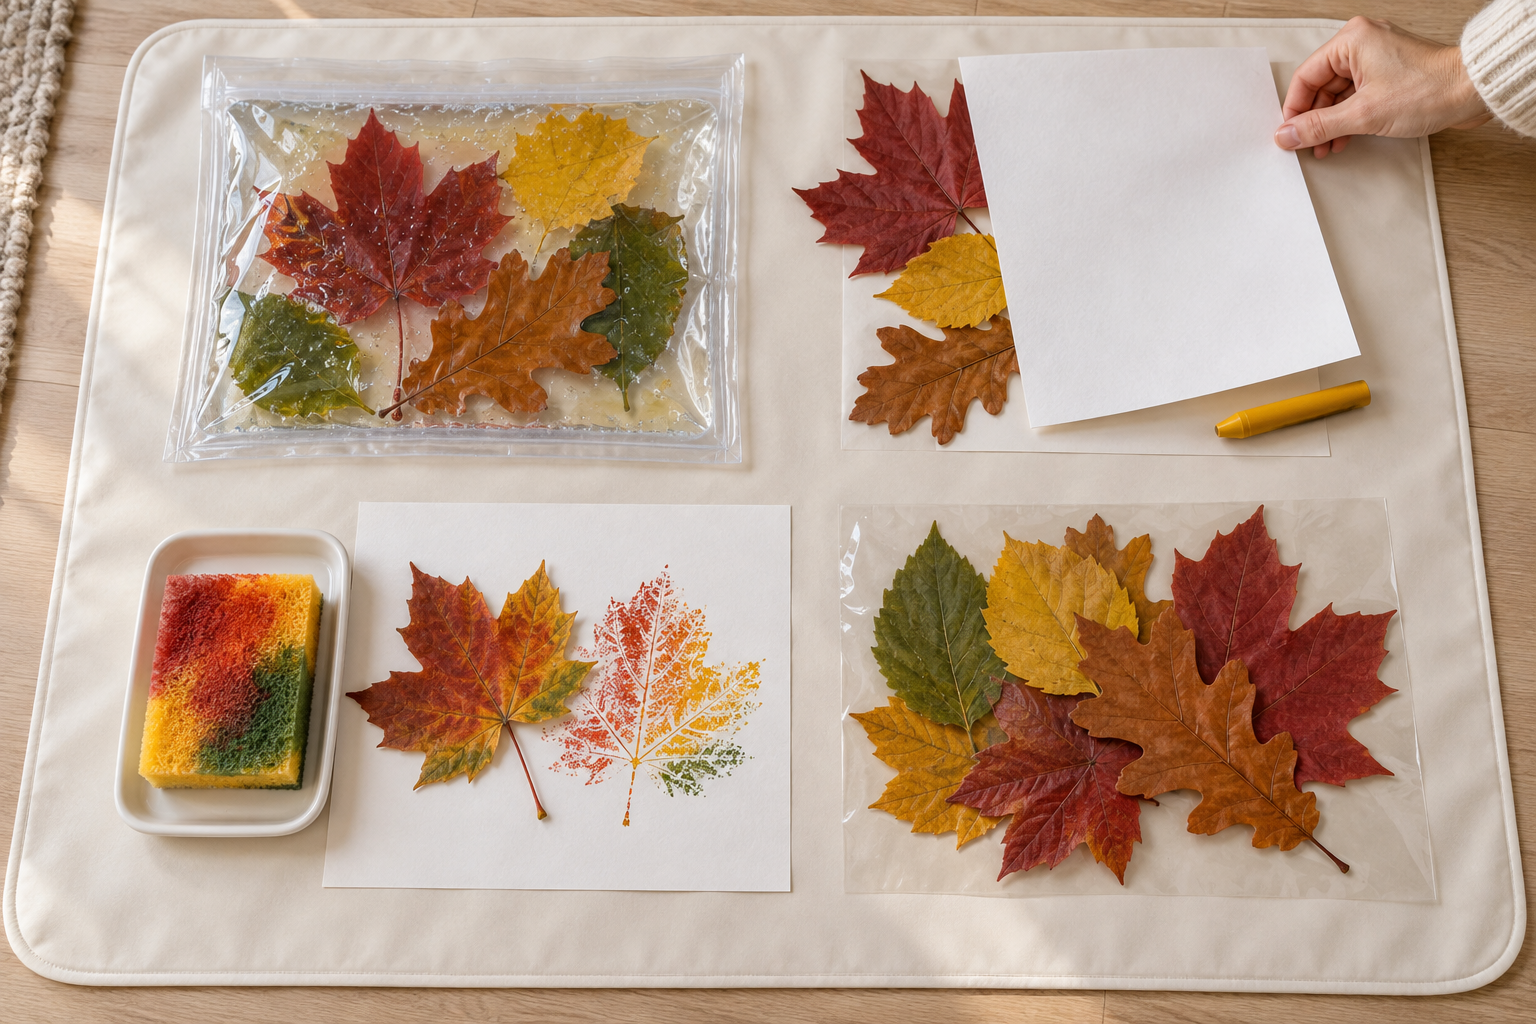
A leaf tray that becomes a picture is a useful starting format because exploration can come first. Your child can touch, compare, and rearrange the leaves before deciding whether to make anything with them.
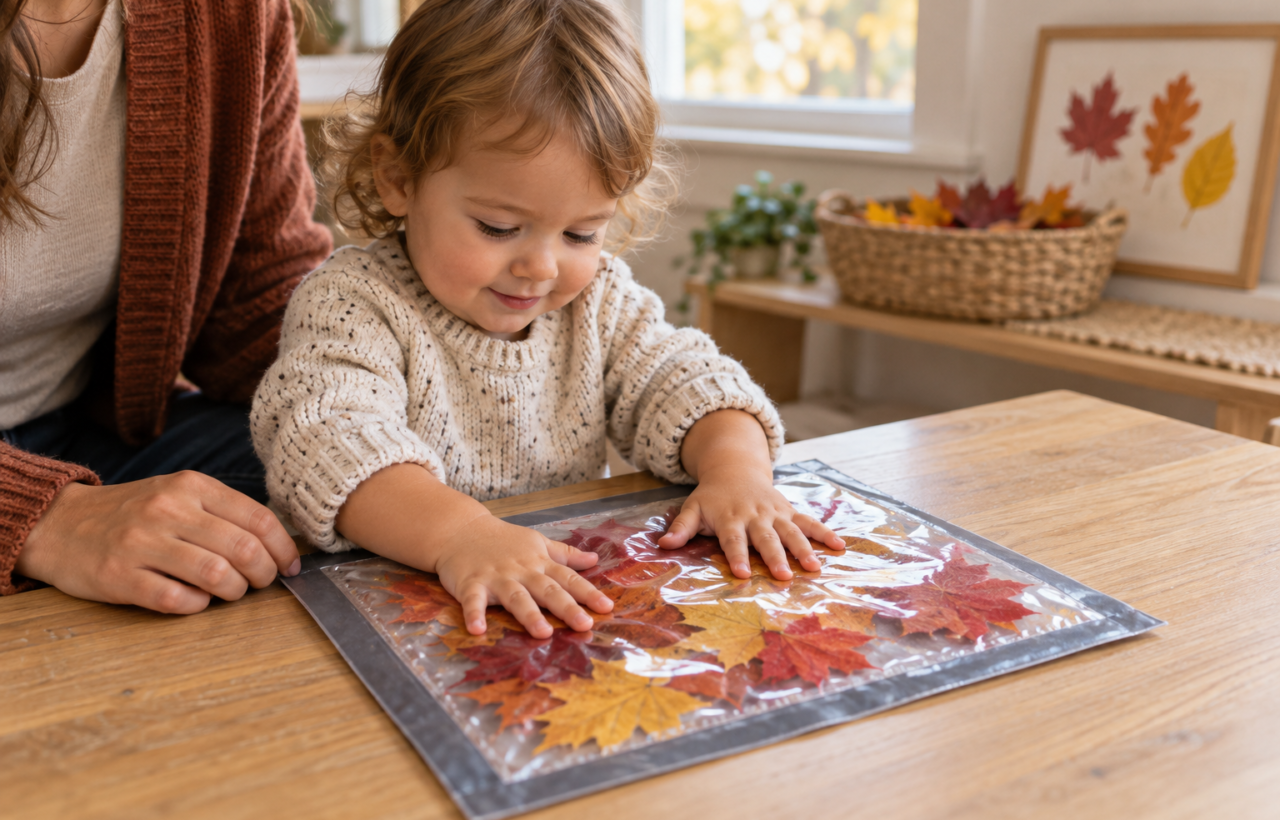
1. A sealed crinkle panel for children who mouth objects
This gives your child access to the colours, shapes, movement, and crackling sound of dry leaves while keeping the plant material enclosed.
- Place a few fully dry leaves on the sticky side of a clear adhesive sheet.
- Cover them with a second sheet and press firmly around every leaf and along every edge.
- Reinforce the outside edges with wide tape. Make sure no loose backing, tape ends, or sharp corners remain.
- Secure the finished panel to a clean, flat surface. Let your child pat it, press the leaves, and watch the fragments shift.
- End the activity immediately if an edge lifts, a seam opens, or the plastic is punctured.
A sealed panel still requires an adult beside the child. It is not a teether, and it should not be placed in a crib or left with a baby during unsupervised floor play. An ordinary zip-top bag is also a poor substitute because its closure can open and the loose bag can reach a child’s face.
2. An explore-first leaf tray and sticky picture
Use this version for a child who no longer puts loose craft materials in their mouth. Put a small selection of intact leaves on a tray with an empty bowl. Let your child move them between the tray and bowl, stack them, turn them over, or group them in any way that makes sense to them.
When that exploration slows, tape a sheet of clear adhesive film to the table with the sticky side facing up. Show your child how one leaf stays when pressed onto it, then let them decide what to add. Cover the finished arrangement with another clear sheet and seal the edges if you want to display it.
There is no need to correct the arrangement or fill every gap. Placing one leaf and removing it repeatedly may be the part your child finds interesting. If the leaves become a pile in the middle, that is still an honest record of the activity.
3. Leaf prints with washable paint
Choose a leaf that is flexible enough to lie mostly flat. Put it on a washable surface, brush a thin layer of age-appropriate washable paint over one side, and turn the painted side onto paper. Your child can press with an open hand while you keep the paper from sliding. Lift the leaf by its stem or edge to reveal the print.
Too much paint hides the leaf’s shape and makes the process slippery, so begin with a light coating. One paint colour is enough. The useful sensory contrast is between brushing, pressing, lifting, and seeing the mark left behind.
Painted leaves are craft material, not play food. Stop if your child begins tasting the paint or rubbing it near their eyes, then clean their hands and face according to the product directions.
4. A leaf rubbing for a child ready to scribble
Place a dry, fairly flat leaf under a sheet of paper. Tape the paper to the work surface so it does not shift. Help your child move the side of a chunky, age-appropriate crayon across the paper. The outline and veins will appear more clearly when the crayon passes over the raised parts of the leaf.
If nothing appears, the leaf may be too crumpled, the paper may be too thick, or your child may be pressing too lightly. Change one thing rather than taking over the whole craft. A few visible lines are enough to demonstrate the effect.
Let the sensory part matter more than the finished craft
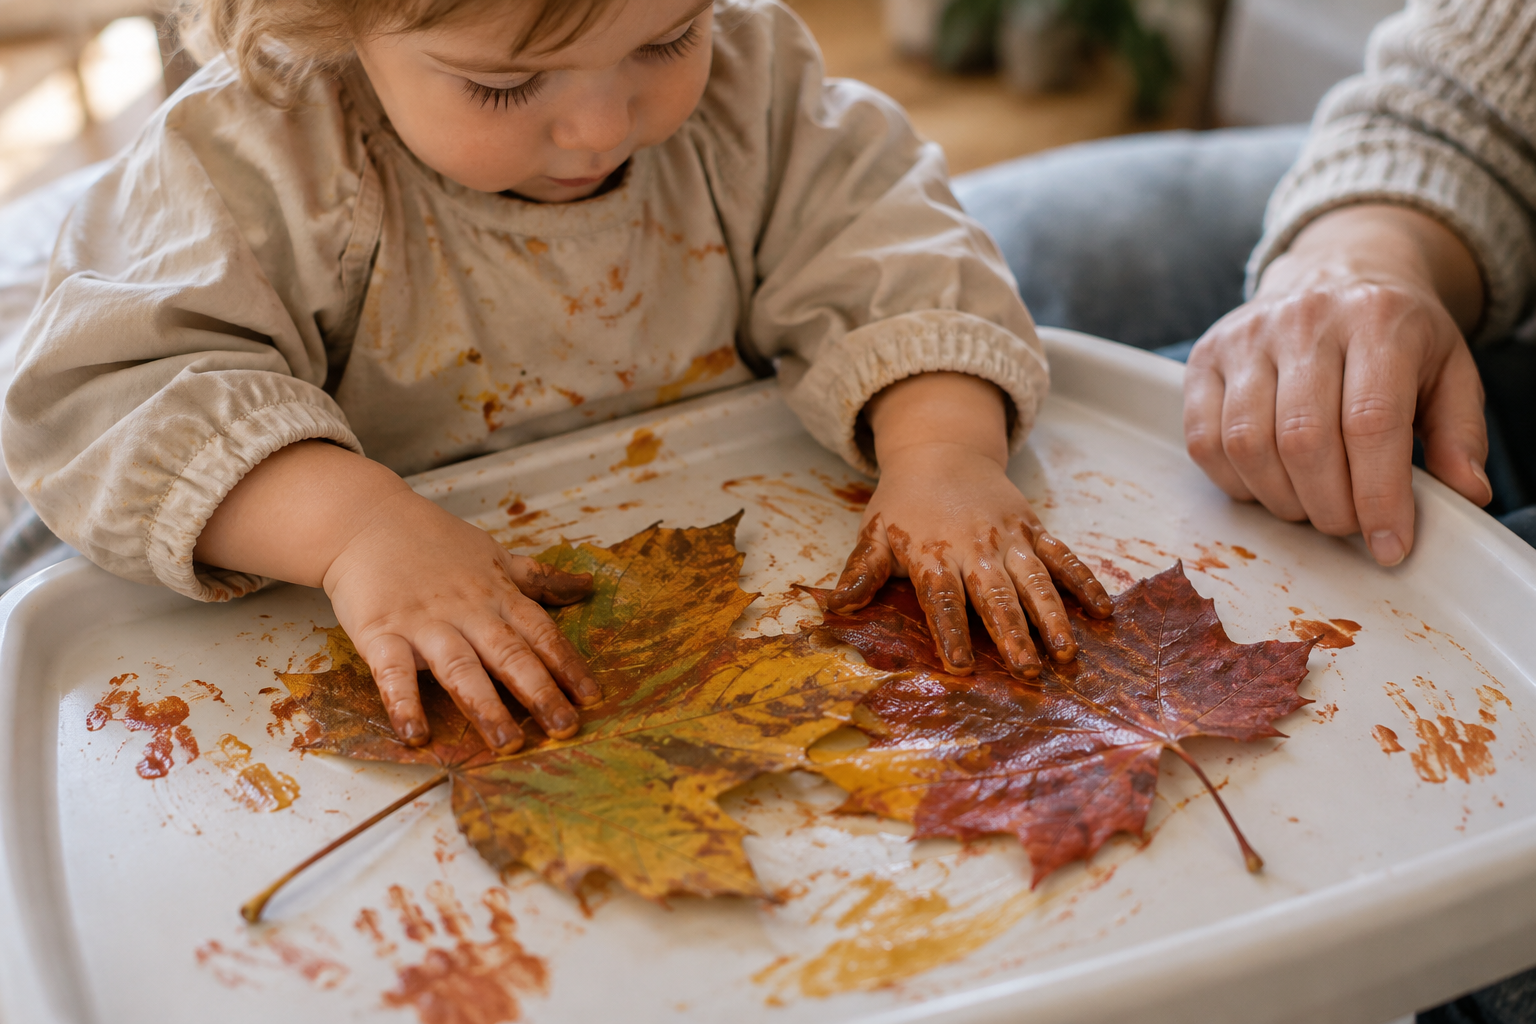
The adult prepares the safe boundary; the child decides what to investigate inside it. You do not need to turn the activity into a colour test, counting lesson, or display-worthy project.
- Describe what is happening: Try simple observations such as “That leaf crackles” or “This one bends.” Use words that match what your child can see, hear, or feel.
- Offer a contrast: Put a smooth leaf beside a rougher one, or a flexible leaf beside a crisp one. Let your child notice the difference before naming it.
- Use genuine choices: Ask whether they want the yellow leaf or the brown leaf, then accept either choice – including neither.
- Allow repetition: Dropping the same leaf into a bowl over and over can be the whole activity. Repetition does not need to be redirected into a more recognisable craft.
- Notice the stopping point: Turning away, repeatedly leaving the area, becoming frustrated, or using the materials in an unsafe way means the session is finished.
Autumn leaf art is temporary. Photograph a picture if you want a lasting record, then discard it when the leaves become damp, moldy, powdery, or loose inside the covering. Do not seal damp raw leaves for storage. After open play, collect the fragments, wipe the surface, and wash hands.
Key takeaways
- Screen fallen leaves for dirt, mold, sap, insects, sharp parts, and moisture before bringing them into play.
- Use sealed leaves whenever your child still mouths or chews objects; loose leaf crafts are for children who can reliably keep materials away from their mouth.
- Begin with a small selection and one clear action, such as patting, transferring, pressing, printing, or rubbing.
- Choose washable, non-toxic art materials that are labelled for your child’s age, and supervise the entire activity.
- Let touching, listening, moving, and repeating count as the activity. A polished picture is optional.
- Discard the craft when natural material deteriorates or the seal begins to fail.
On your next walk, collect only enough leaves for one setup that matches what your child can safely do now. A tray for an older toddler or a sealed panel for a child who mouths objects is enough to turn the walk’s small discoveries into purposeful play at home.
References