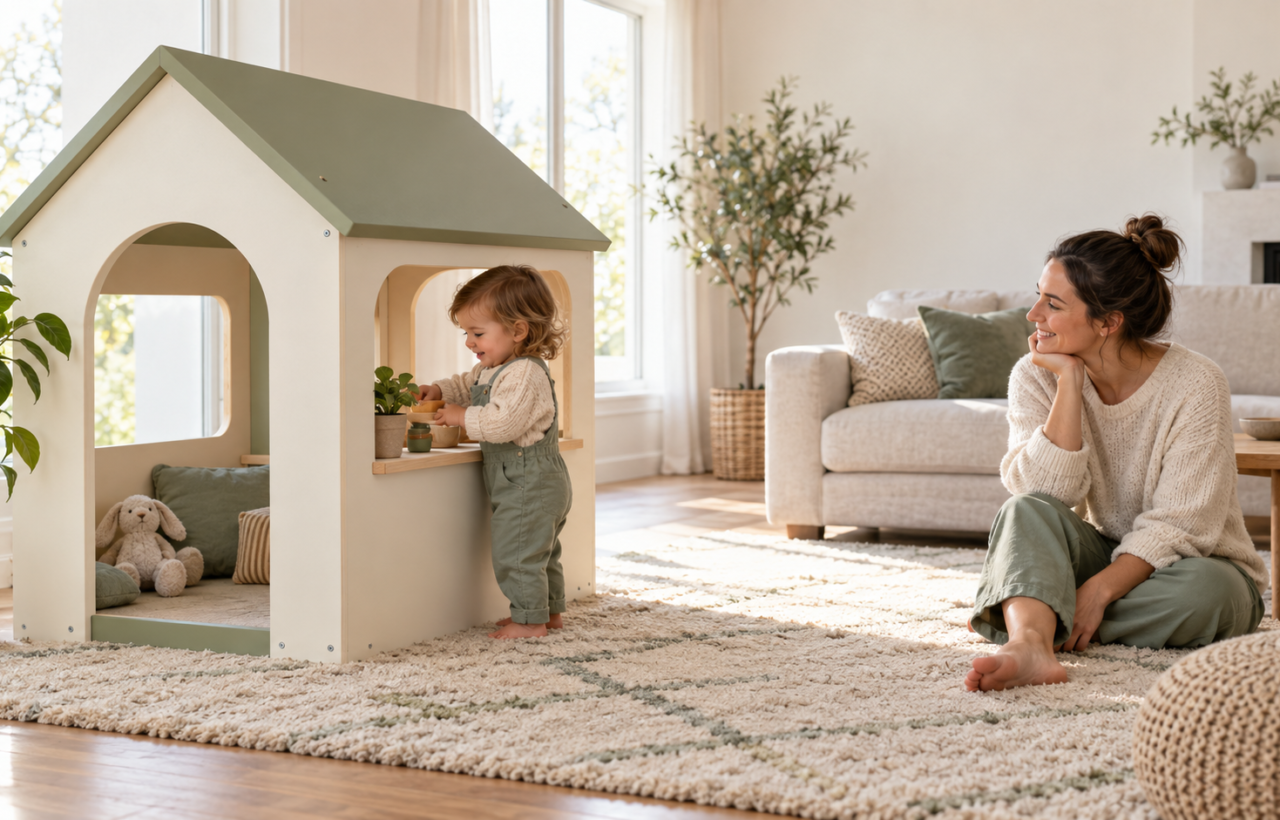
You are not really deciding whether the cutest little house will fit in your living room or yard. You are deciding whether your child can use it now, whether you can supervise the play comfortably, and whether the structure will still feel manageable after the novelty wears off.
A playhouse can give a child a dedicated play space that feels like their own, but it is not a developmental requirement. For children from birth to 36 months, readiness and design matter more than an impressive feature list.
Buy for what your child does now
A stationary baby usually gets more from an open floor area where you can sit together than from walls, a doorway and pretend-play accessories. The playhouse becomes more useful when a child is mobile enough to move through it and interested in games that the structure can support.
Look at your child’s current play before you shop. A playhouse may be a good fit if your child already enjoys several of these activities:
- Moving in and out of small, child-sized spaces.
- Playing peekaboo or hiding and reappearing.
- Carrying toys from one place to another.
- Putting objects into containers and taking them out again.
- Copying familiar routines such as cooking, serving food, answering a door or caring for a doll.
- Returning to the same pretend-play setup over several days.
You do not need to see every behaviour on that list. You are looking for evidence that the structure itself will add something to play. If your child would mainly sit beside the house and handle its accessories, a small activity station or open play corner may do the same job with less cost and less floor space.
Do not buy ahead merely because a model promises years of use. A structure that is too advanced now still has to be stored, cleaned and kept out of the way until your child is ready. It may also include doors, ledges or loose accessories that make supervision harder during the mouthing and early-mobility phases.
Test the footprint before bringing the house home
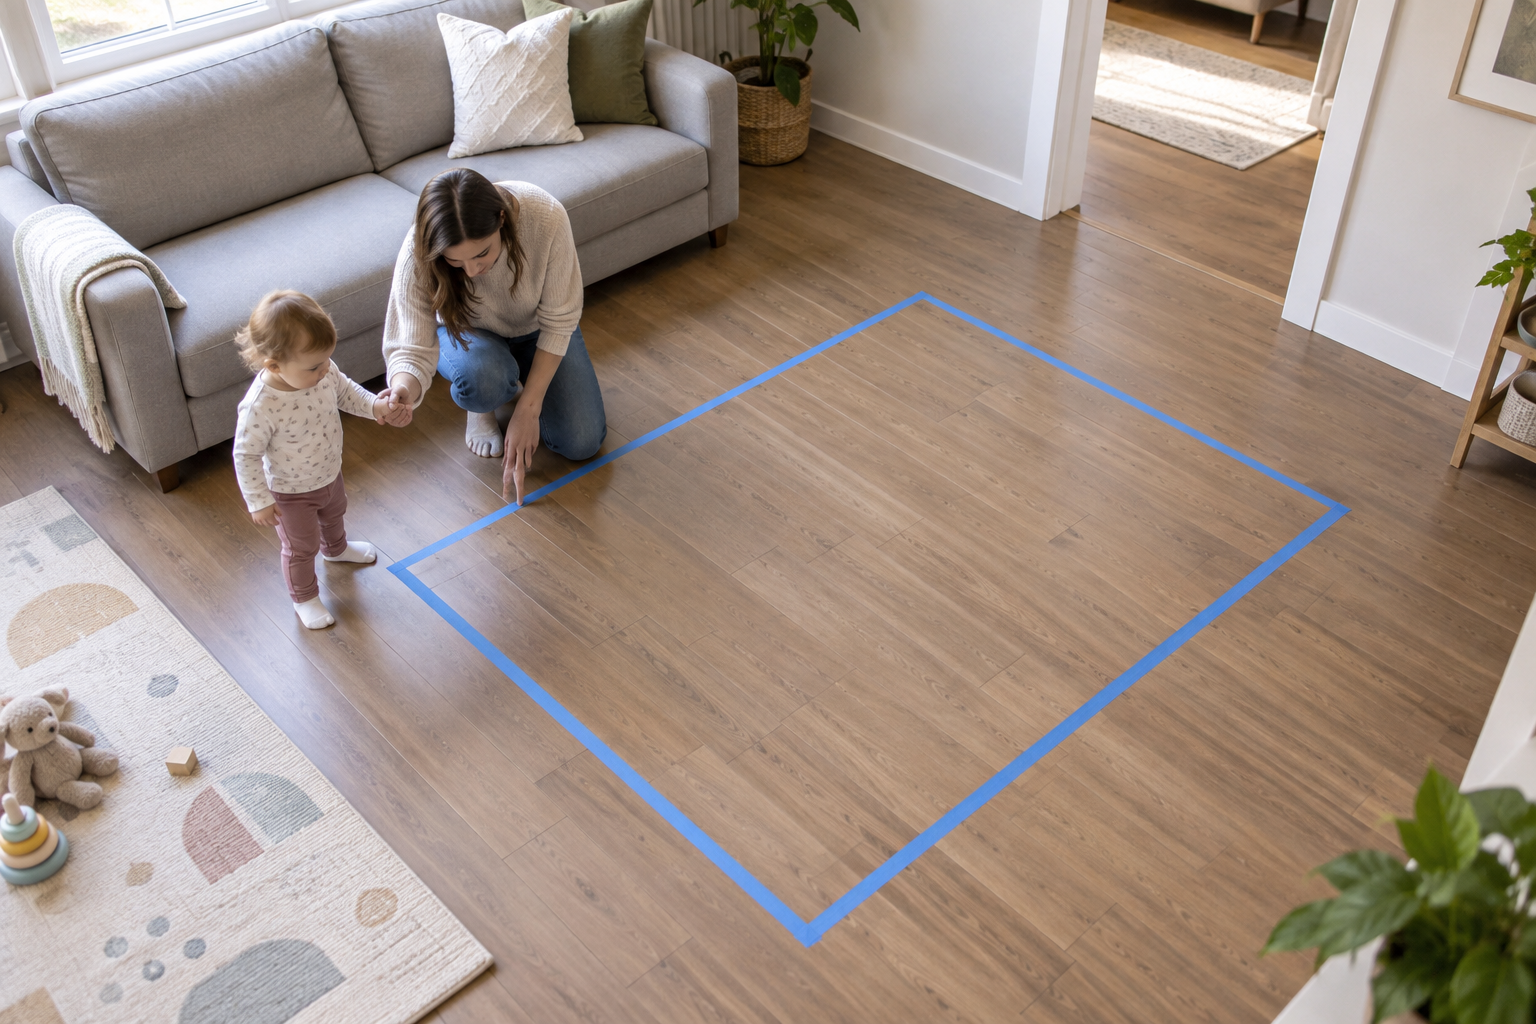
The assembled dimensions tell you how much space the structure occupies. They do not tell you how much space it needs in daily use. A door needs room to open. A child needs room to approach each entrance. You need a clear route to reach the child from more than one side.
Mark the full footprint on the floor with painter’s tape. Add the space required for any swinging door or projecting counter, then live with that outline for a day. Walk your normal routes while carrying your child, a laundry basket or a tray. Open nearby cupboards. Sit where you usually supervise. If the taped area disrupts the room before the walls even exist, the assembled house will not improve matters.
Check the assembled dimensions rather than the package size, and identify a storage plan before buying a folding or seasonal model. “Folds away” is only useful when the folded structure fits somewhere you can reach without shifting other heavy items.
For an indoor playhouse
- Place it where you can see the main entrance and at least one window from your usual position.
- Keep normal walking routes clear, especially the route between the play area and the room’s exit.
- Do not let the structure block doors, heating equipment, electrical outlets or access to storage you use regularly.
- Keep it away from stairs, blind cords and furniture that a child could reach by standing on a playhouse ledge.
- Check what the roof puts within reach. A low playhouse beside a table, shelf or windowsill can become an unintended step.
For an outdoor playhouse
- Use a level location where the base can sit as the manufacturer intends.
- Choose a position that lets you see through the openings instead of supervising a solid back wall.
- Keep the house away from driveways, streets, pools, grills, fire features and other hazards that require their own safety boundaries.
- Consider drainage after rain. Water and mud around the entrance can make the approach slippery and complicate cleaning.
- Check surfaces before play in sunny weather. An outdoor structure can feel much hotter to a child’s hands and bare legs than the surrounding air.
Use a model only in the setting named by its manufacturer. A light indoor fabric house is not automatically suitable for wind or wet ground, and an outdoor structure may be too large or difficult to anchor safely indoors.
Make safety the first inspection, not the last feature
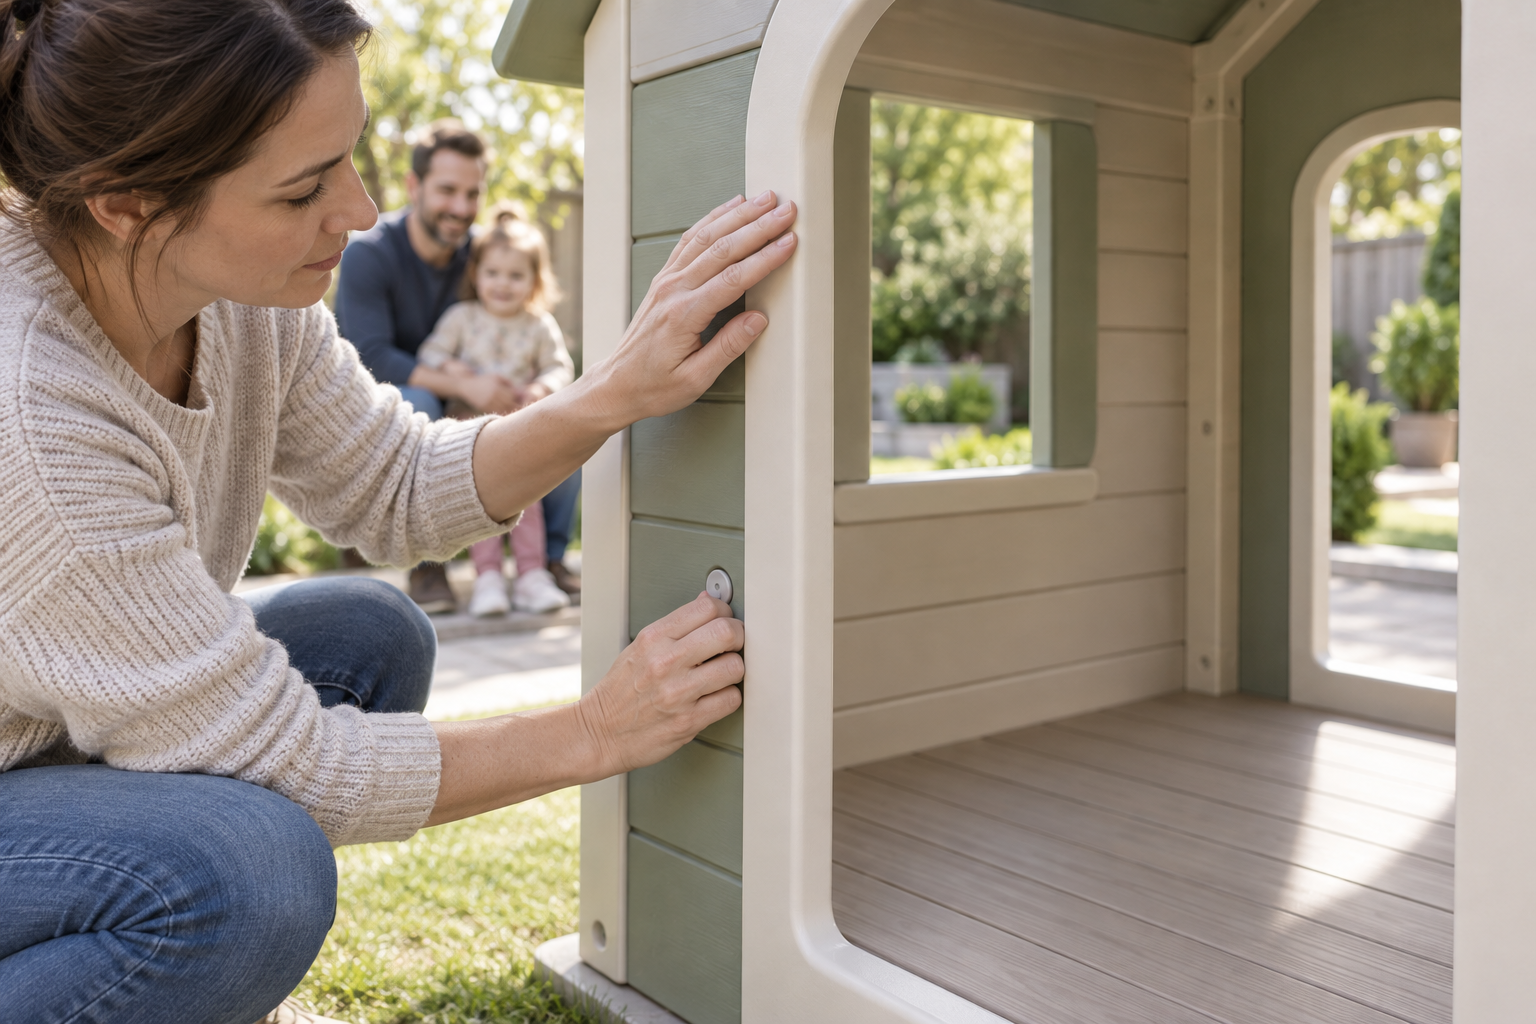
The stated age range is a gate, not a suggestion. If your child falls outside it, choose another model even if the doorway appears to fit. The instructions also tell you how the house is meant to be assembled, placed, anchored and maintained.
Inspect a new, borrowed or second-hand playhouse while it is empty. Use this sequence:
- Confirm the model, intended age range and approved indoor or outdoor use. If you cannot identify a second-hand structure or obtain its instructions, do not guess at its setup.
- Account for every required panel, connector, cap and fastener. Do not replace missing hardware with improvised screws, wire or tape.
- Assemble it exactly as directed. Tighten connections in the specified order and install every required anchor or stabilizing part.
- Run your hands over child-height surfaces. Look for sharp edges, splinters, cracks, rust, exposed fasteners and damaged plastic.
- Open and close every door, shutter and movable panel from both sides. Check for pinch points and make sure a child cannot be latched inside.
- Apply gentle pressure from different sides while the house is empty. Stop if the structure rocks, lifts, folds unexpectedly or separates at a joint.
- Examine every opening and pass-through. Follow the manufacturer’s design and do not enlarge, cover or modify openings.
- Stand at your normal supervision point. If you cannot see where your child will sit, move the house or choose a design with better sightlines.
Repeat the physical check after moving the house, after severe outdoor weather and whenever a panel starts to look different. Stop play while you investigate looseness, cracks, sharp damage or missing components. A temporary patch can hide a failing connection without restoring the structure the manufacturer designed.
Do not add string lights, cords, garlands, hanging fabric, door ties or other decorations unless they are supplied or specifically approved for that model. A decorative addition can create an entanglement hazard, obstruct an opening or give a child something new to pull down.
Keep climbable objects out of the house. A stool, large bin or pile of firm toys can turn a window or counter into a route to the roof. Unless the instructions explicitly identify a surface for climbing, treat the roof, counters and window ledges as non-climbing parts.
Most importantly, a playhouse does not replace active supervision or make the surrounding room or yard childproof. Its walls can briefly hide mouthing, climbing, a sibling conflict or a damaged part from view. Stay close enough to see and intervene.
Choose a design that earns its space
The best feature is one your child can use repeatedly without creating extra work or risk. A basic doorway, window and counter can support hiding, greeting, serving and object-transfer games. More electronic effects and accessories do not automatically create richer play.
Openings and doors
An open arch is simple and keeps the entrance visible. A working door can add pretend play, but it also introduces a moving part, a possible pinch area and a bottleneck when two children play together. If siblings or playmates will share the house, a second usable opening can make entry and exit less contentious.
Counters and ledges
A counter supports pass-through games and can hold a few large pretend-play pieces. It can also invite climbing. Look at its position from your child’s perspective: if it resembles a step and leads toward the roof or a nearby object, the feature may work against the way you intend to use the house.
Floors and thresholds
A built-in floor clearly defines the play area and separates toys from the ground, but its threshold needs to work with your child’s current movement. A floorless design makes the surface underneath part of the product decision. Inspect that surface for levelness, cleanliness and anything that could protrude into the play area.
Plastic, wood and fabric
Rigid plastic is usually straightforward to wipe, but connectors, cracks and sun-heated surfaces need attention. Wood calls for regular checks for roughness, moisture damage and exposed hardware. Fabric and pop-up designs are easier to relocate, but you still need to inspect the frame, seams and stability and use them only where the instructions allow.
No material is automatically the right choice. Pick the one whose inspection and maintenance needs fit your home. A beautiful wooden house is a poor fit if you cannot keep up with outdoor surface checks. A large plastic house is a poor fit if moving it prevents you from cleaning underneath.
Set it up for play, not toy storage
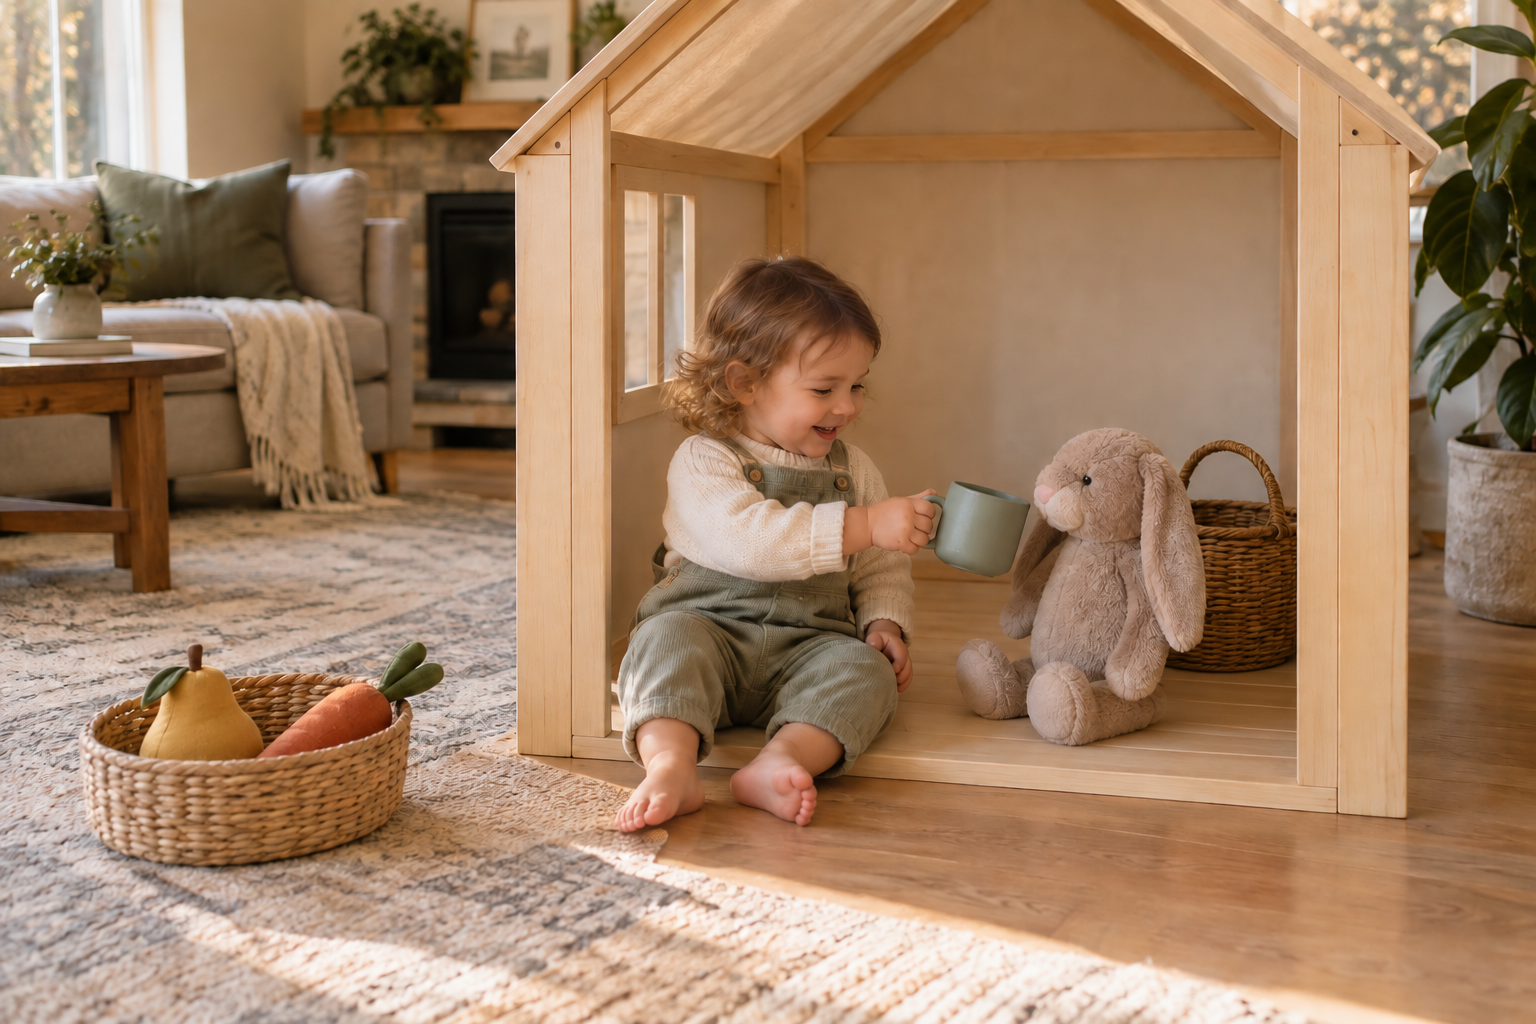
An empty playhouse gives your child room to move and decide what the space will become. Start with a small basket of age-appropriate props rather than filling every corner. A doll, a few large pieces of play food, sturdy child-safe containers or board books can support several kinds of play without covering the floor.
Keep the props beside the house if the interior is tight. When the house becomes the storage bin, children have to climb over toys to enter, and you lose the clear floor that made the space usable. Remove broken pieces and anything your child has begun using as a step.
Clean according to the manufacturer’s directions. Deal with food residue, sticky spills and outdoor debris before they settle into joints or fabric. Let washed parts dry fully before closing, folding or storing the structure. While cleaning, use the chance to inspect the base, fasteners, door edges and places normally hidden by toys.
Watch how your child changes the intended use. Repeated attempts to climb the roof, squeeze through an unsuitable opening, tip the house or reach a nearby hazard are reasons to remove access and reconsider the setup. Retire the playhouse when your child exceeds its age guidance, becomes cramped in the openings or uses it in ways the design cannot safely support.
Key takeaways
- Choose a playhouse for behaviours your child already shows, not abilities you hope it will eventually prompt.
- Tape out the assembled footprint and allow working space around doors, windows and adult access points.
- Treat the manufacturer’s age range, assembly method, location guidance and anchoring instructions as requirements.
- Inspect stability, surfaces, moving parts and sightlines before your child enters.
- Prefer a few usable features over extra parts that add pinch points, clutter or maintenance.
- Keep the interior open, supervise actively and stop use when the structure is damaged or your child begins climbing it in unintended ways.
Before you order, make one pass through the decision in this order: readiness, footprint, sightlines, instructions and hands-on inspection. If a house clears all five, you can set it up with a few simple props and let your child show you what the space should become.
References